 NEWS 220406 ABOUT Exton|OS with KDE Plasma Desktop, Android Studio and Refracta Snapshot
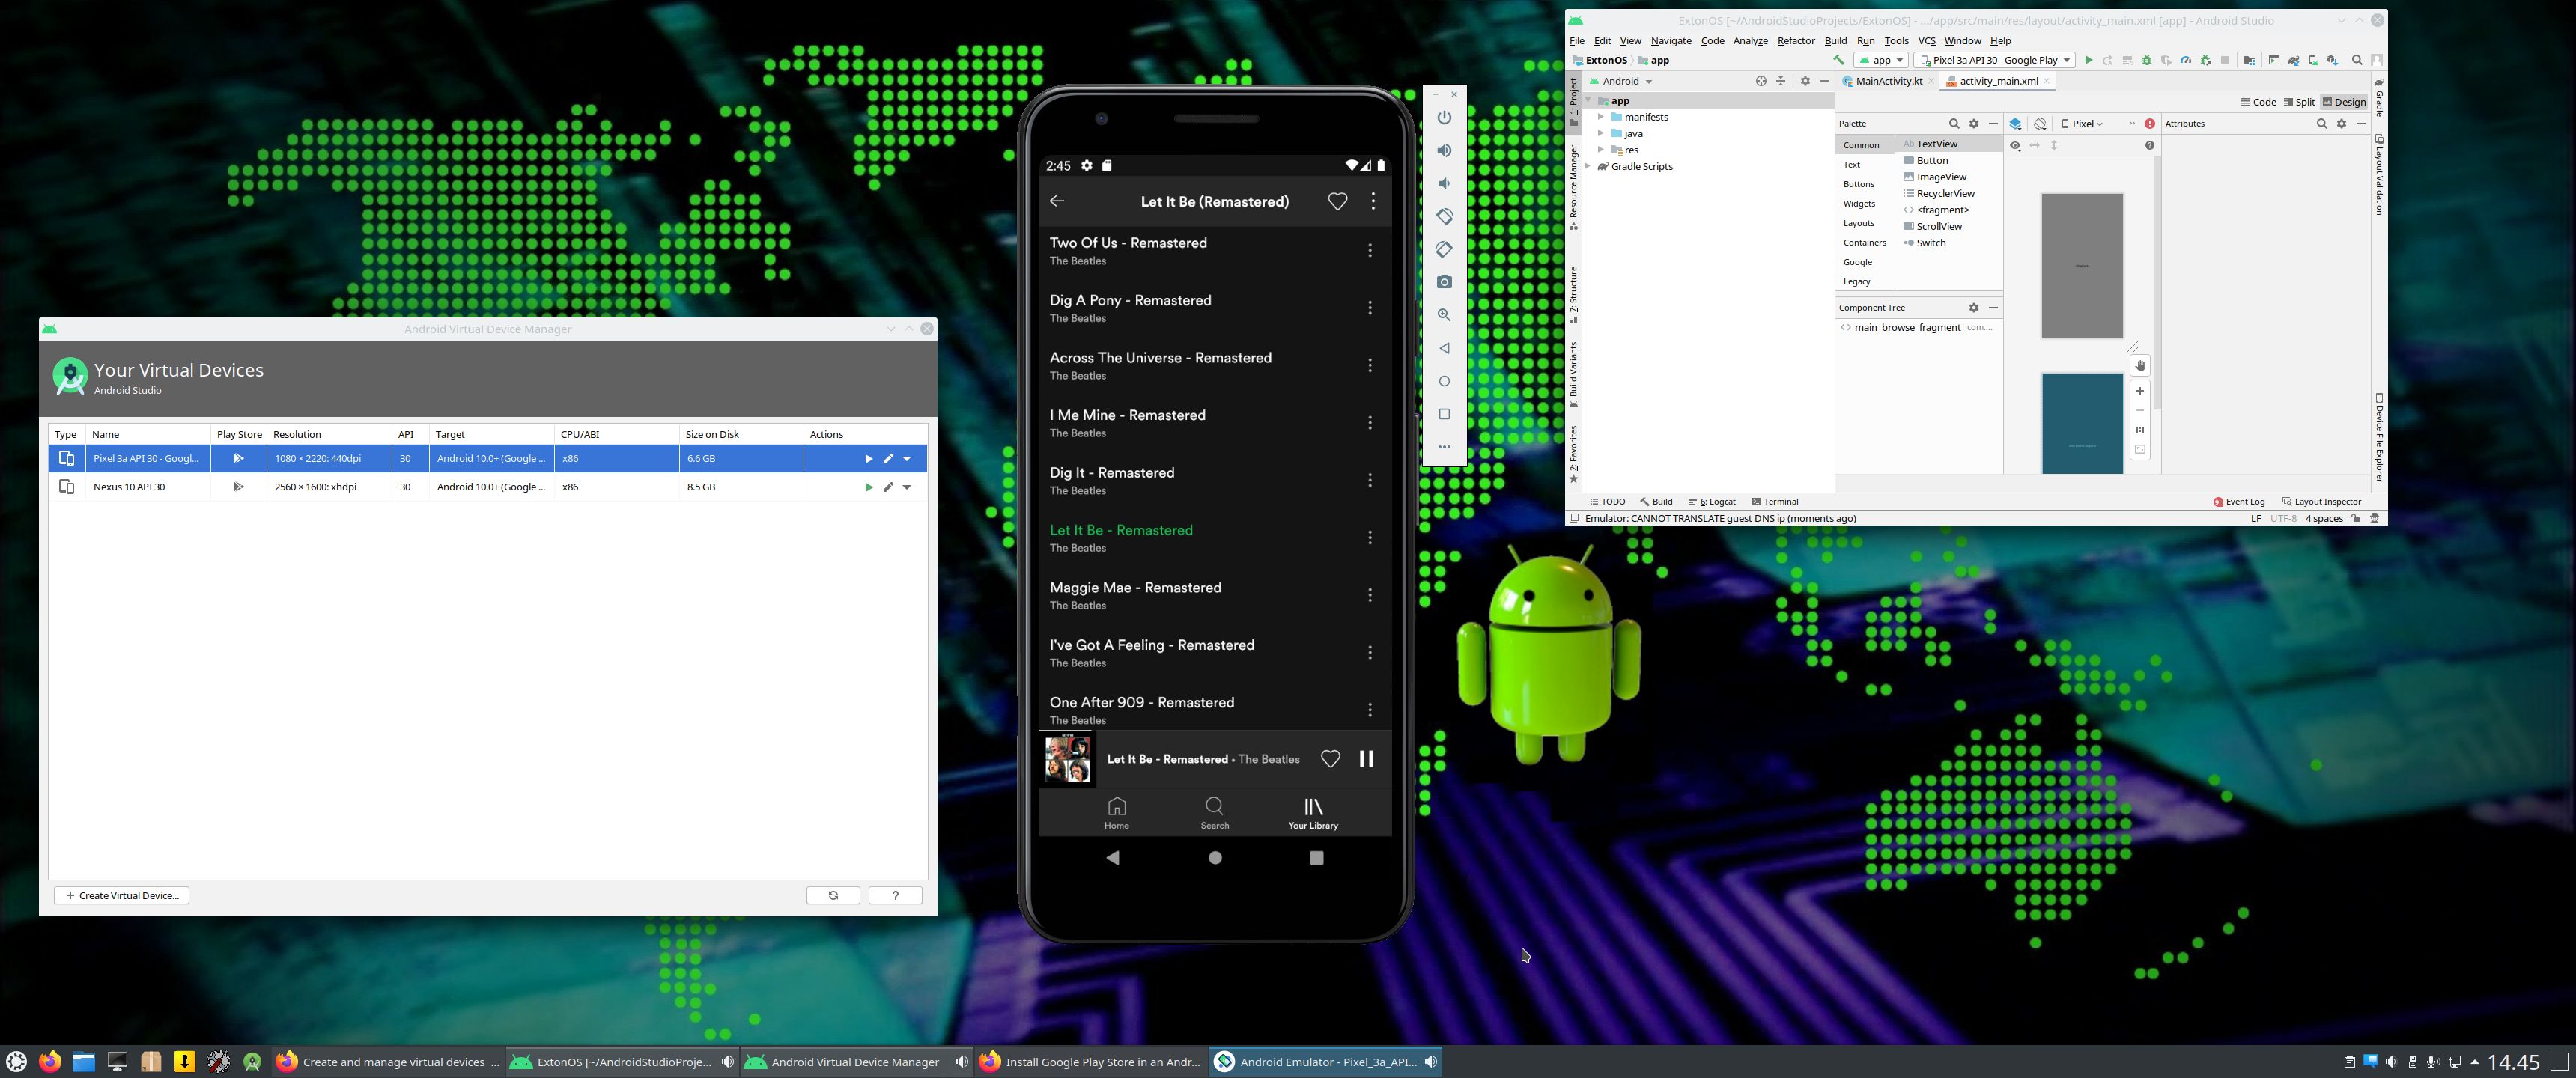
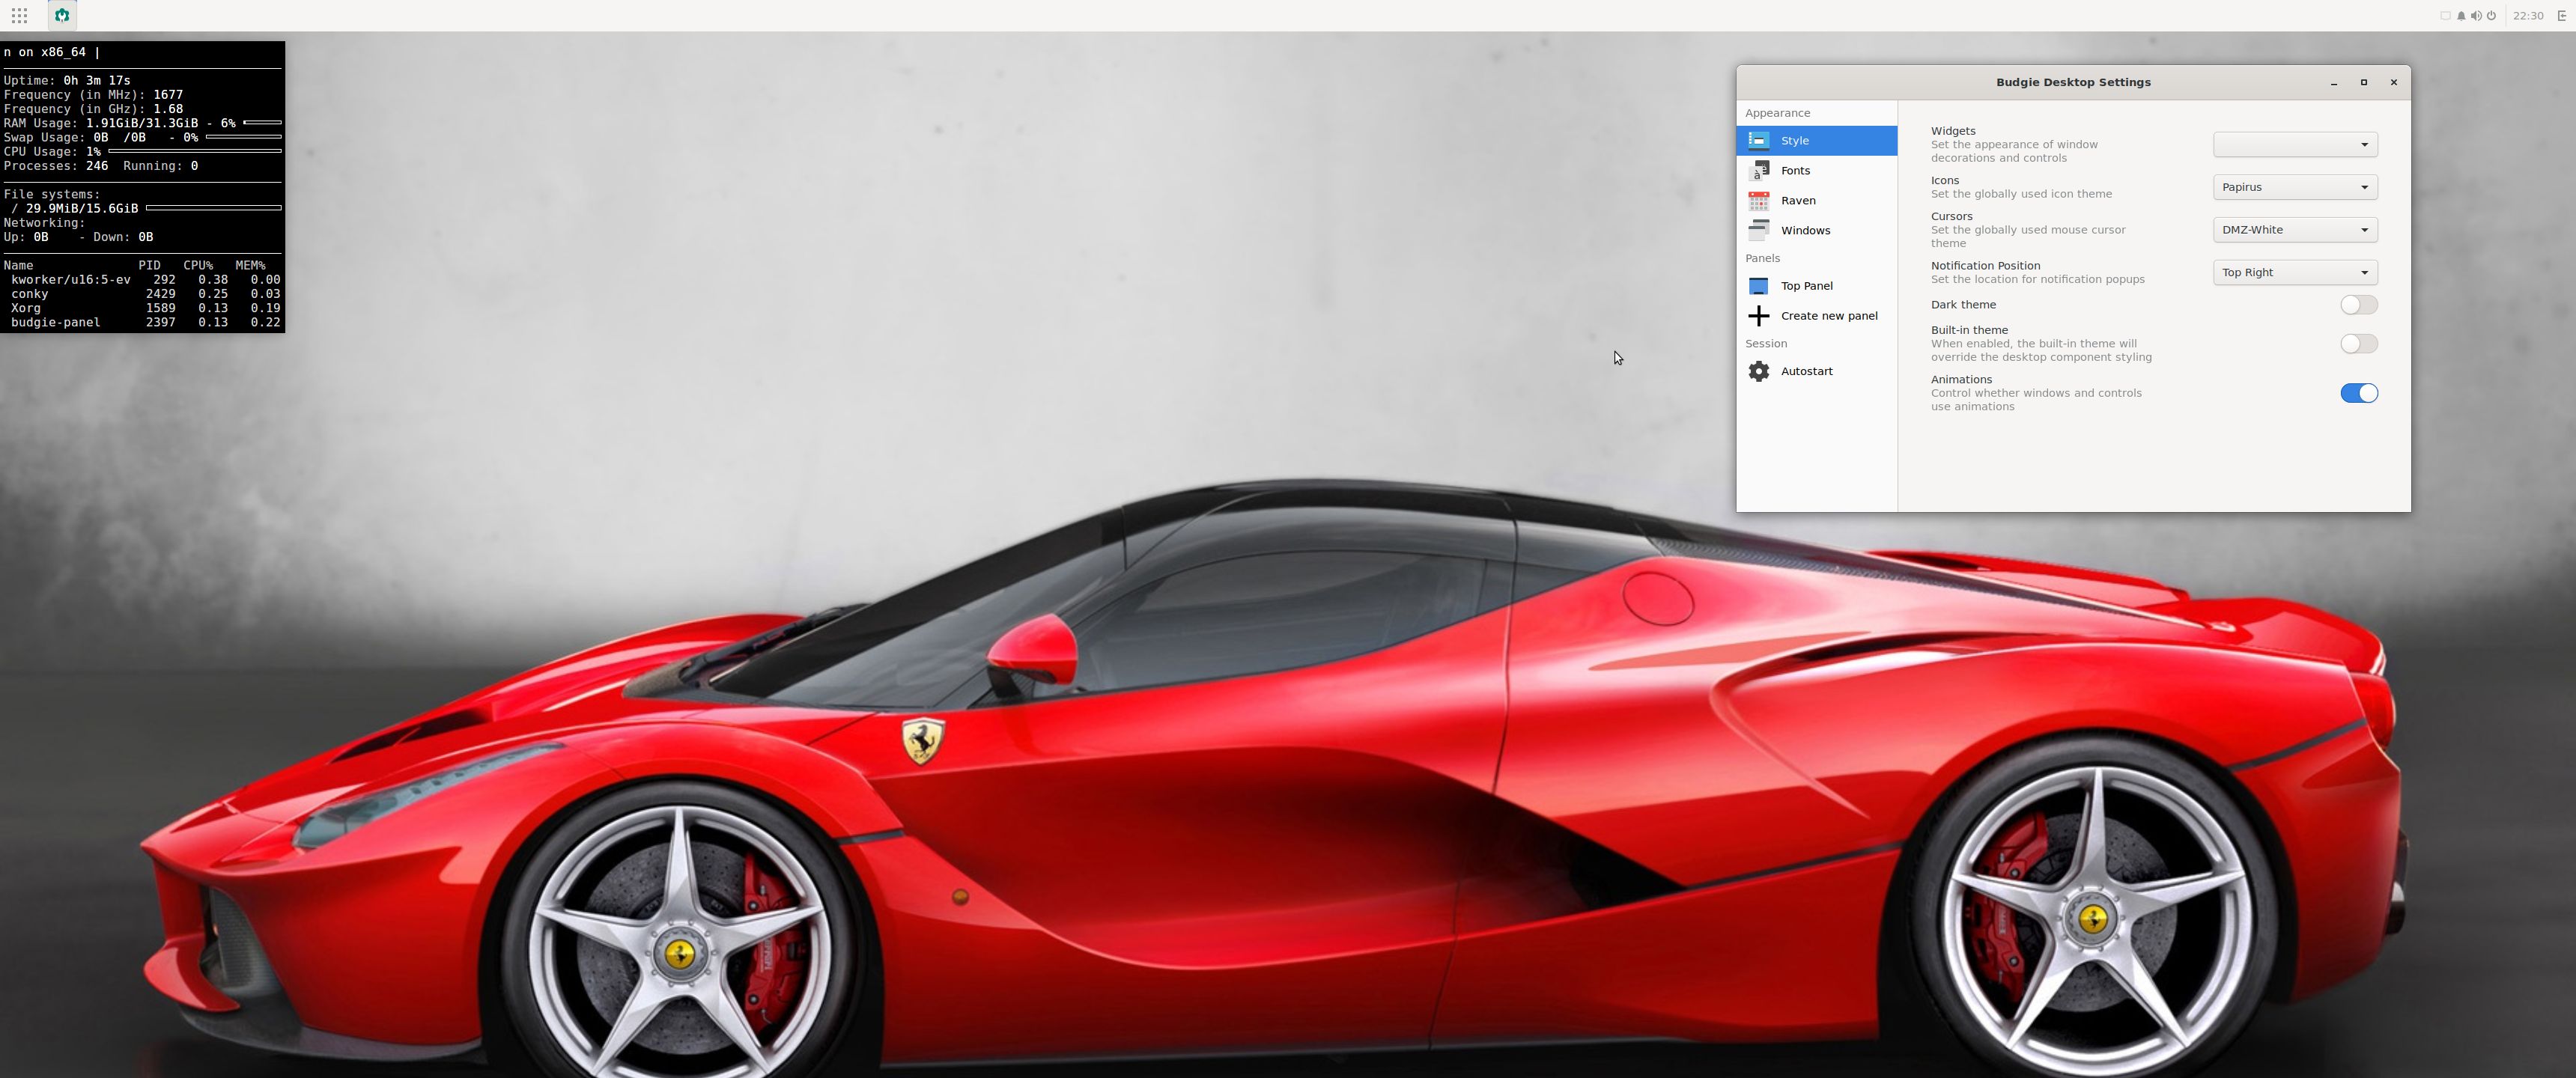
The Desktop Environment in this Exton|OS build is KDE Plasma 5.24.4. Plasma is made to stay out of the way as it helps you get things done. But under its light and intuitive surface, it’s a powerhouse. So you’re free to choose ways of usage right as you need them and when you need them. Program content in build 220406: Most important are Refracta Snapshot and Android Studio with an excellent Android Emulator. You can run several Android systems directly in Exton|OS. Also with GAPPS (Google Play Services and Google Play Store) pre-installed. Watch a screenshot when Android 11 is running with Google Play Store enabled. Other pre-installed programs are Firefox, Gimp and GParted. Also all necessary additions in order to install programs from source. Kernel 5.15.0-23-generic is used. All packages have been updated to the latest available version as at April 6, 2022 Study the NEW PACKAGE list. Google Chrome has been removed since it’s now possible to use Netflix in Firefox. Using Refracta Snapshot you can change everything to your liking and create your own live installable Ubuntu system with Android Studio included. I mean create your own installable Ubuntu 22.04 LTS Live DVD once you have installed Exton|OS to hard drive. Ubuntu 22.04 LTS will be supported until April 25, 2027. In this version of Exton|OS VirtualBox Guest Additions are pre-installed. This means that you can run Exton|OS live (directly from the ISO file) in full screen. Watch this screenshot. I have also installed Nvidia Proprietary Graphics driver 470.94 so that you can use it while running Exton|OS live (from a DVD or a USB stick).
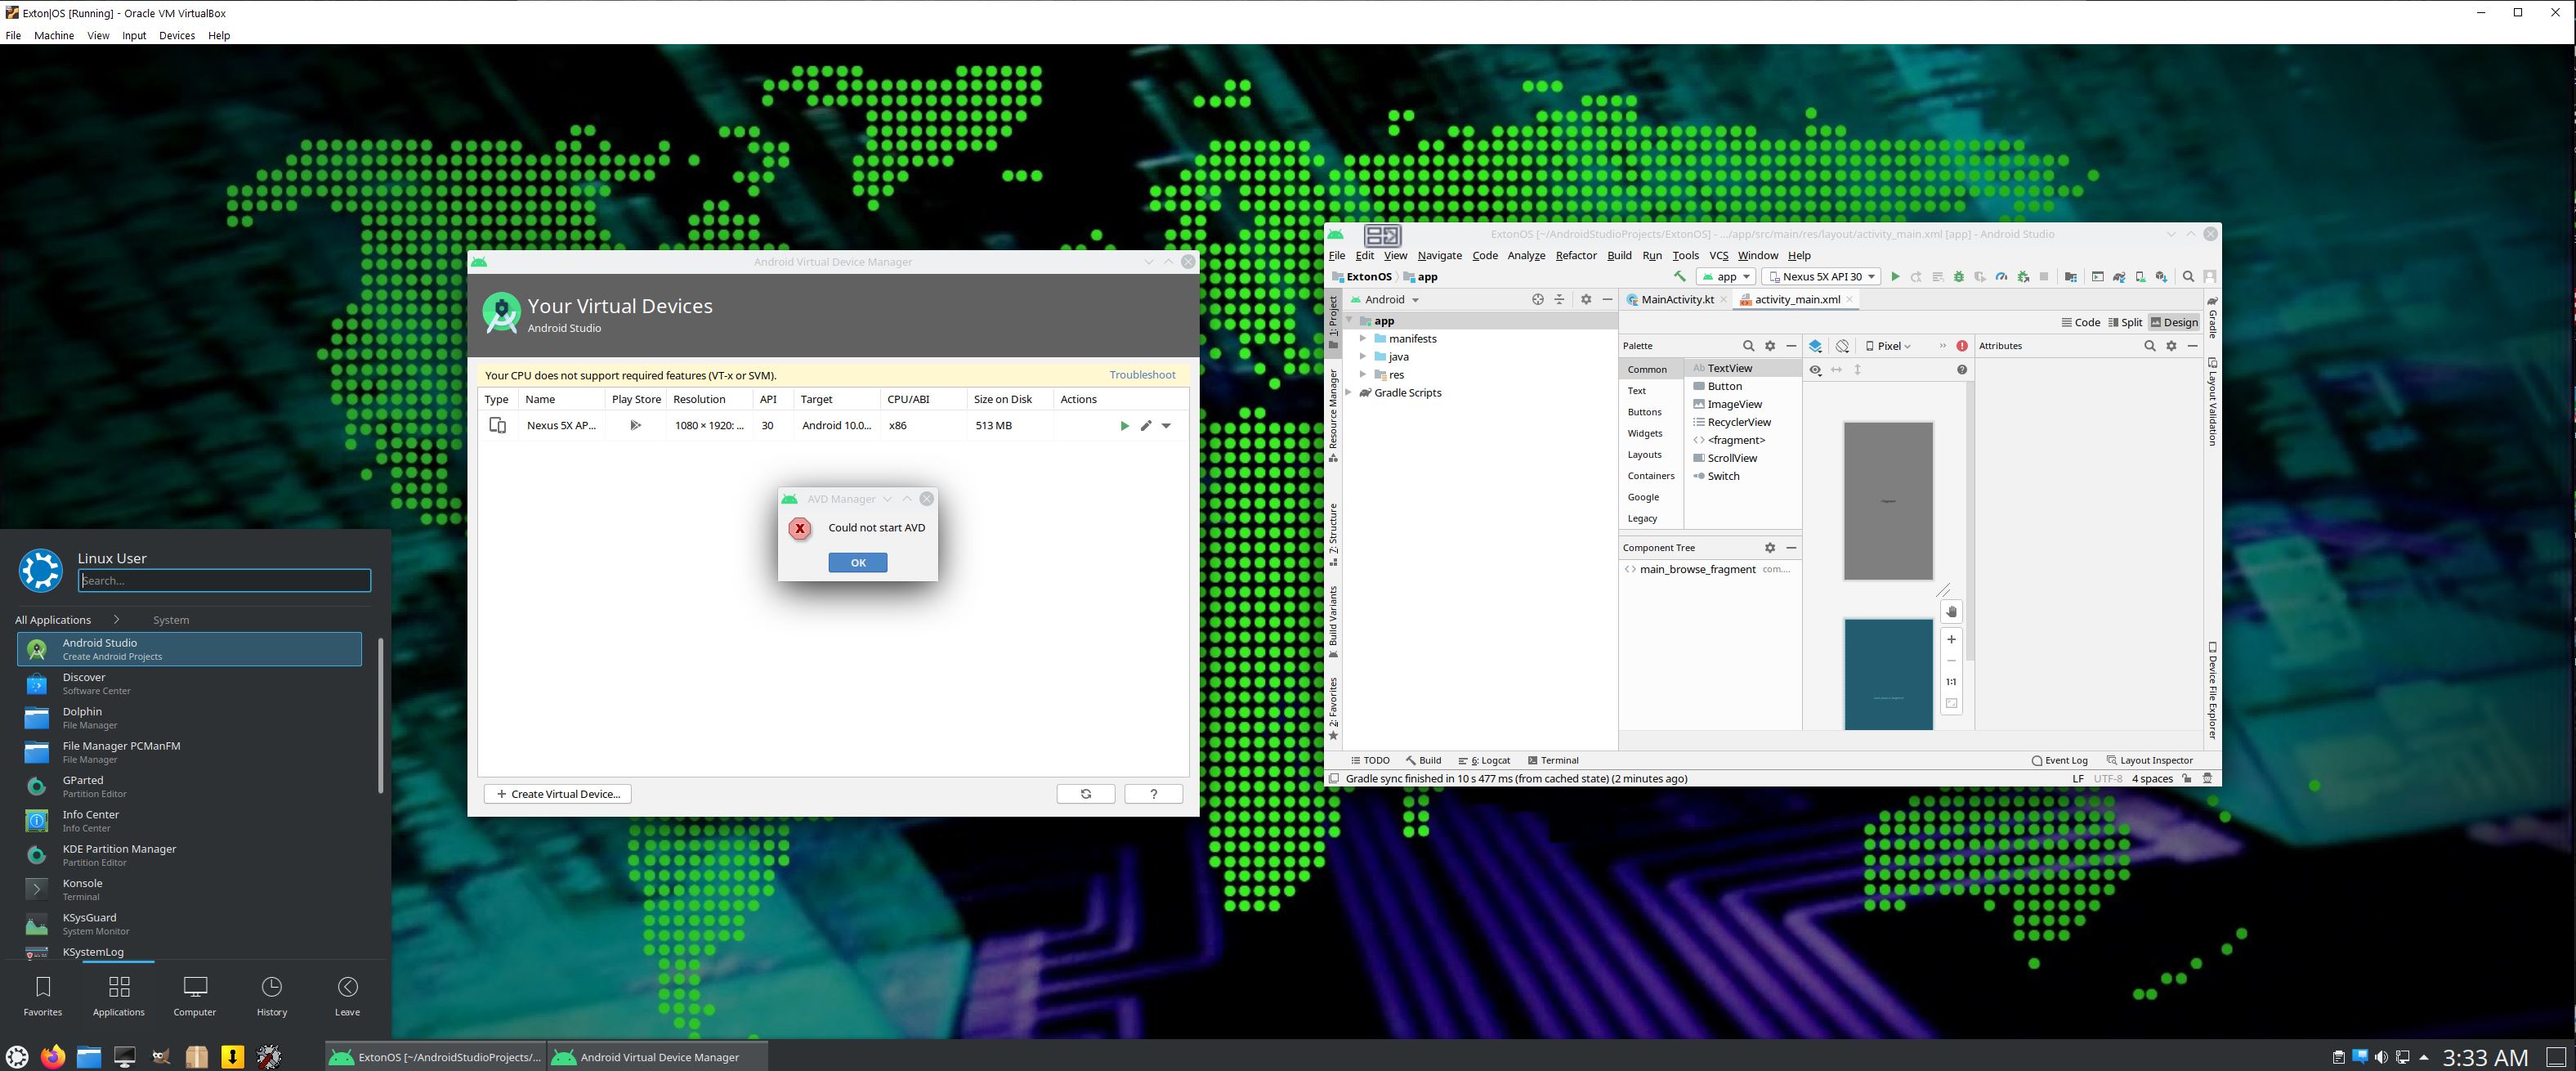
IMPORTANT NOTE: You can’t run Android Studio’s Emulator live if you don’t have plenty of RAM. (I.e. while running Exton|OS from a DVD or USB stick). On one of my computers with 32GB RAM I could run Android Studio without problems. On another with 8GB RAM I could see that the RAM was consumed almost immediately (while running Android Studio). Then the computer was “frozen”. You can also not run the emulator In VirtualBox and VMware. You’ll have to install Exton|OS to a “real” hard drive before you can use the Android emulator. In VirtualBox you will get an error message saying Your cpu does not support required features (vt-x or svm) – screenshot. That’s because VirtualBox as of yet does NOT support nested virtualization.
MOST IMPORTANT CHANGES IN BUILD 220406
1. This Exton|OS version is for UEFI computers.
2. I have installed and configured Android Studio. It has the very best Android Emulator with support directly from Google (the creator of Android). You can also develop your own Android apps in Android Studio.
3. Nvidia Proprietary Graphics driver 470.94 is pre-installed.
4. VirtualBox Guest Additions are pre-installed.
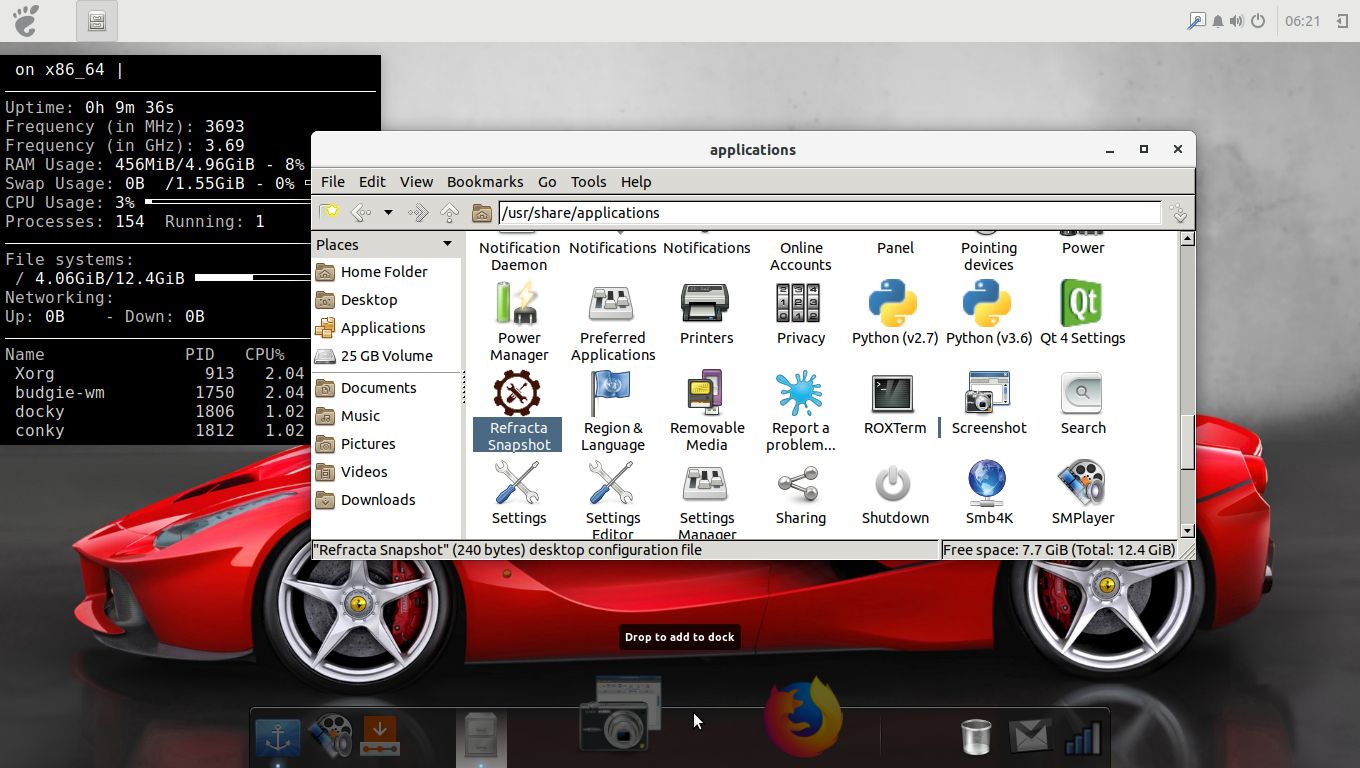
IMPORTANT ABOUT REFRACTA Snapshot
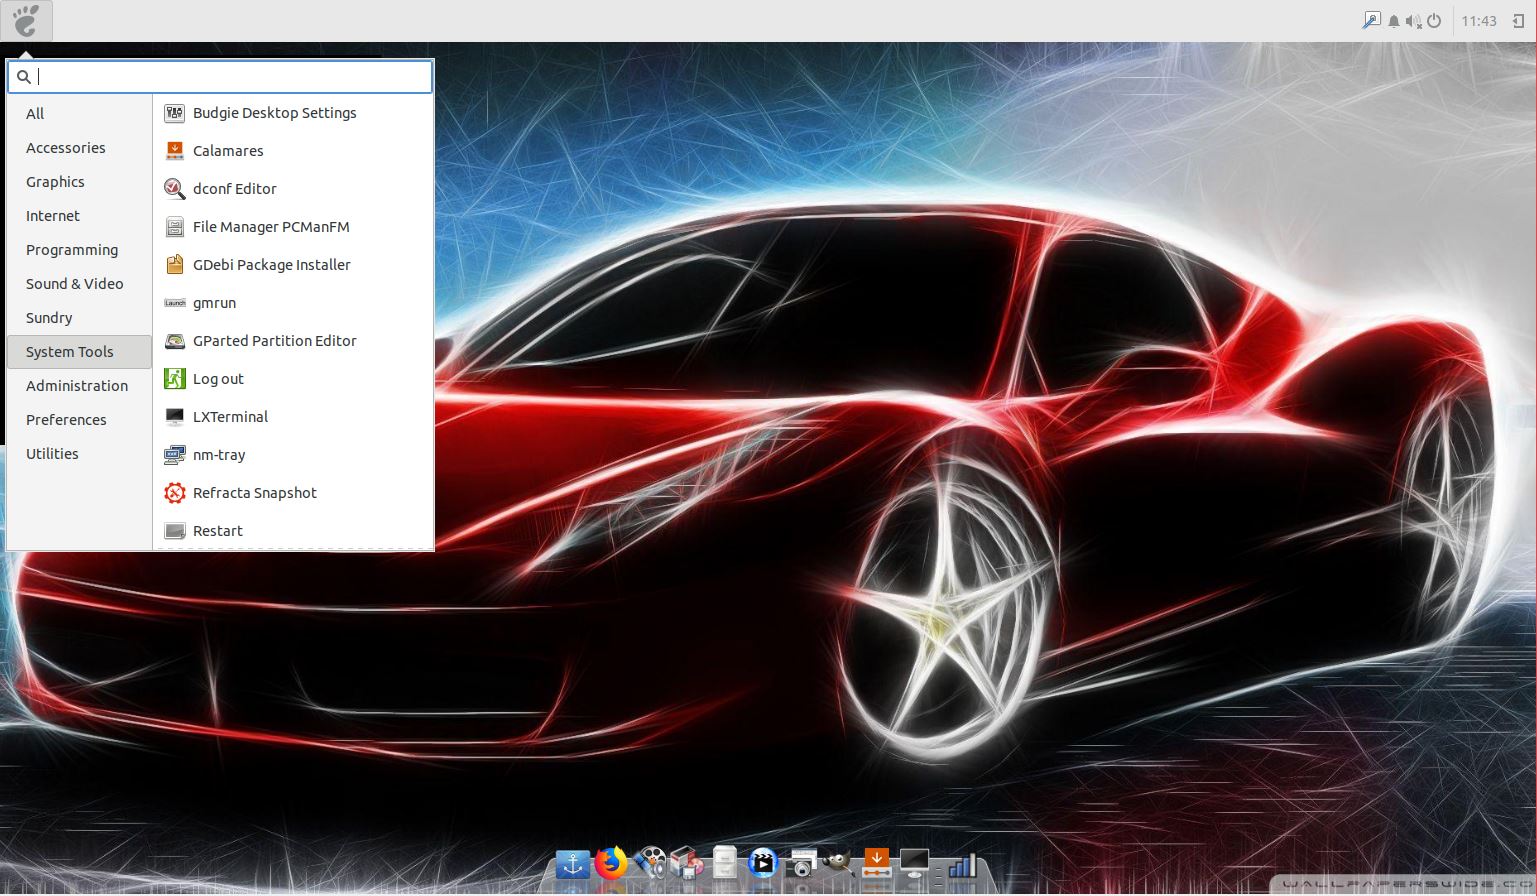
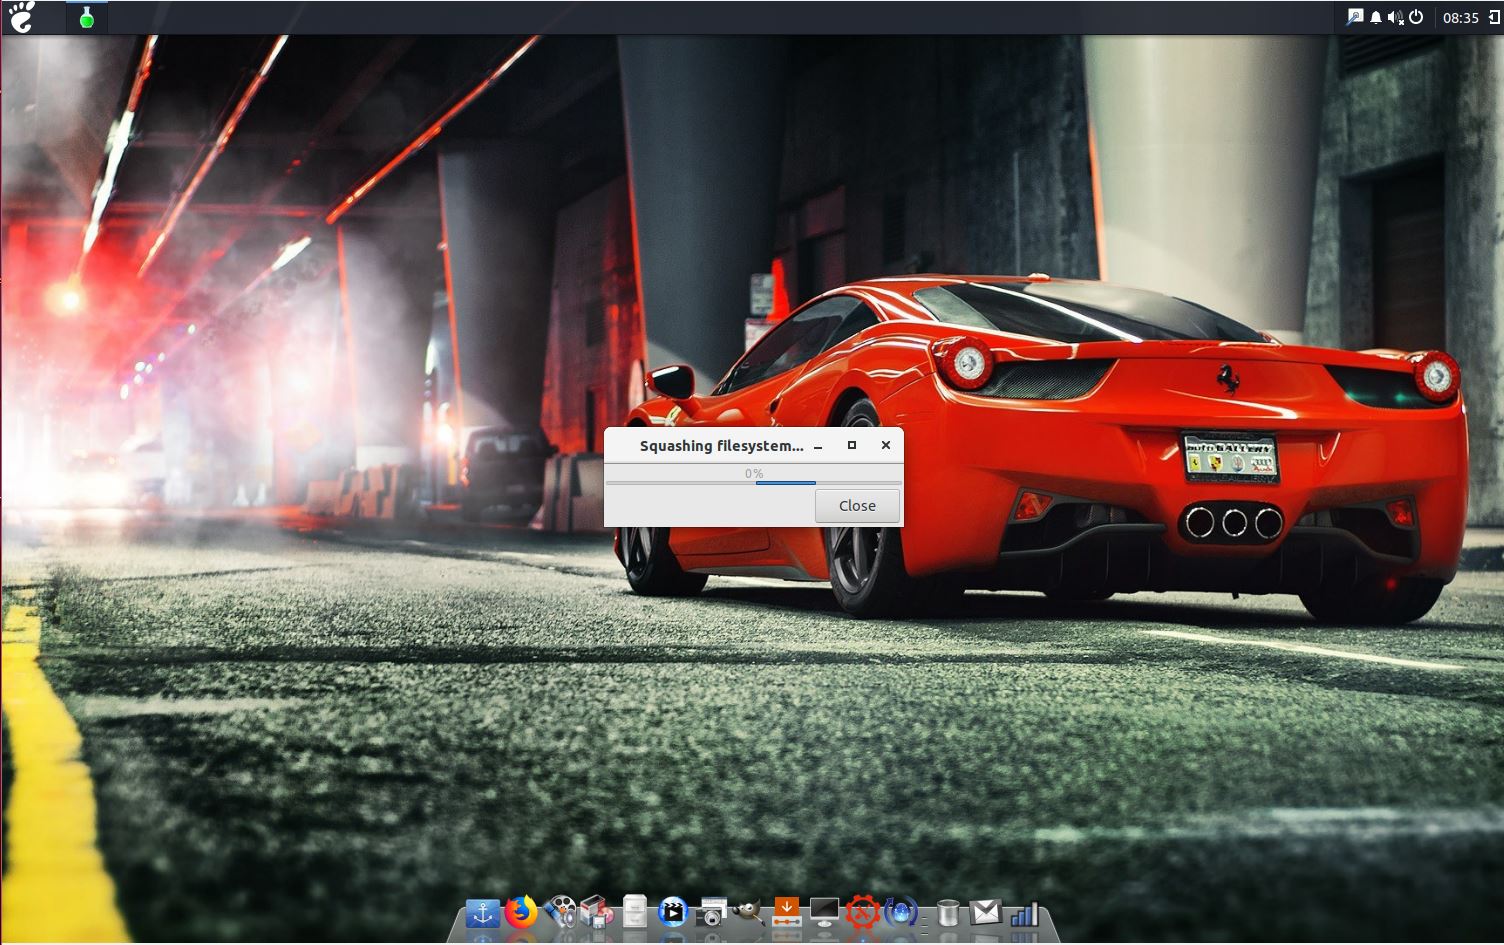
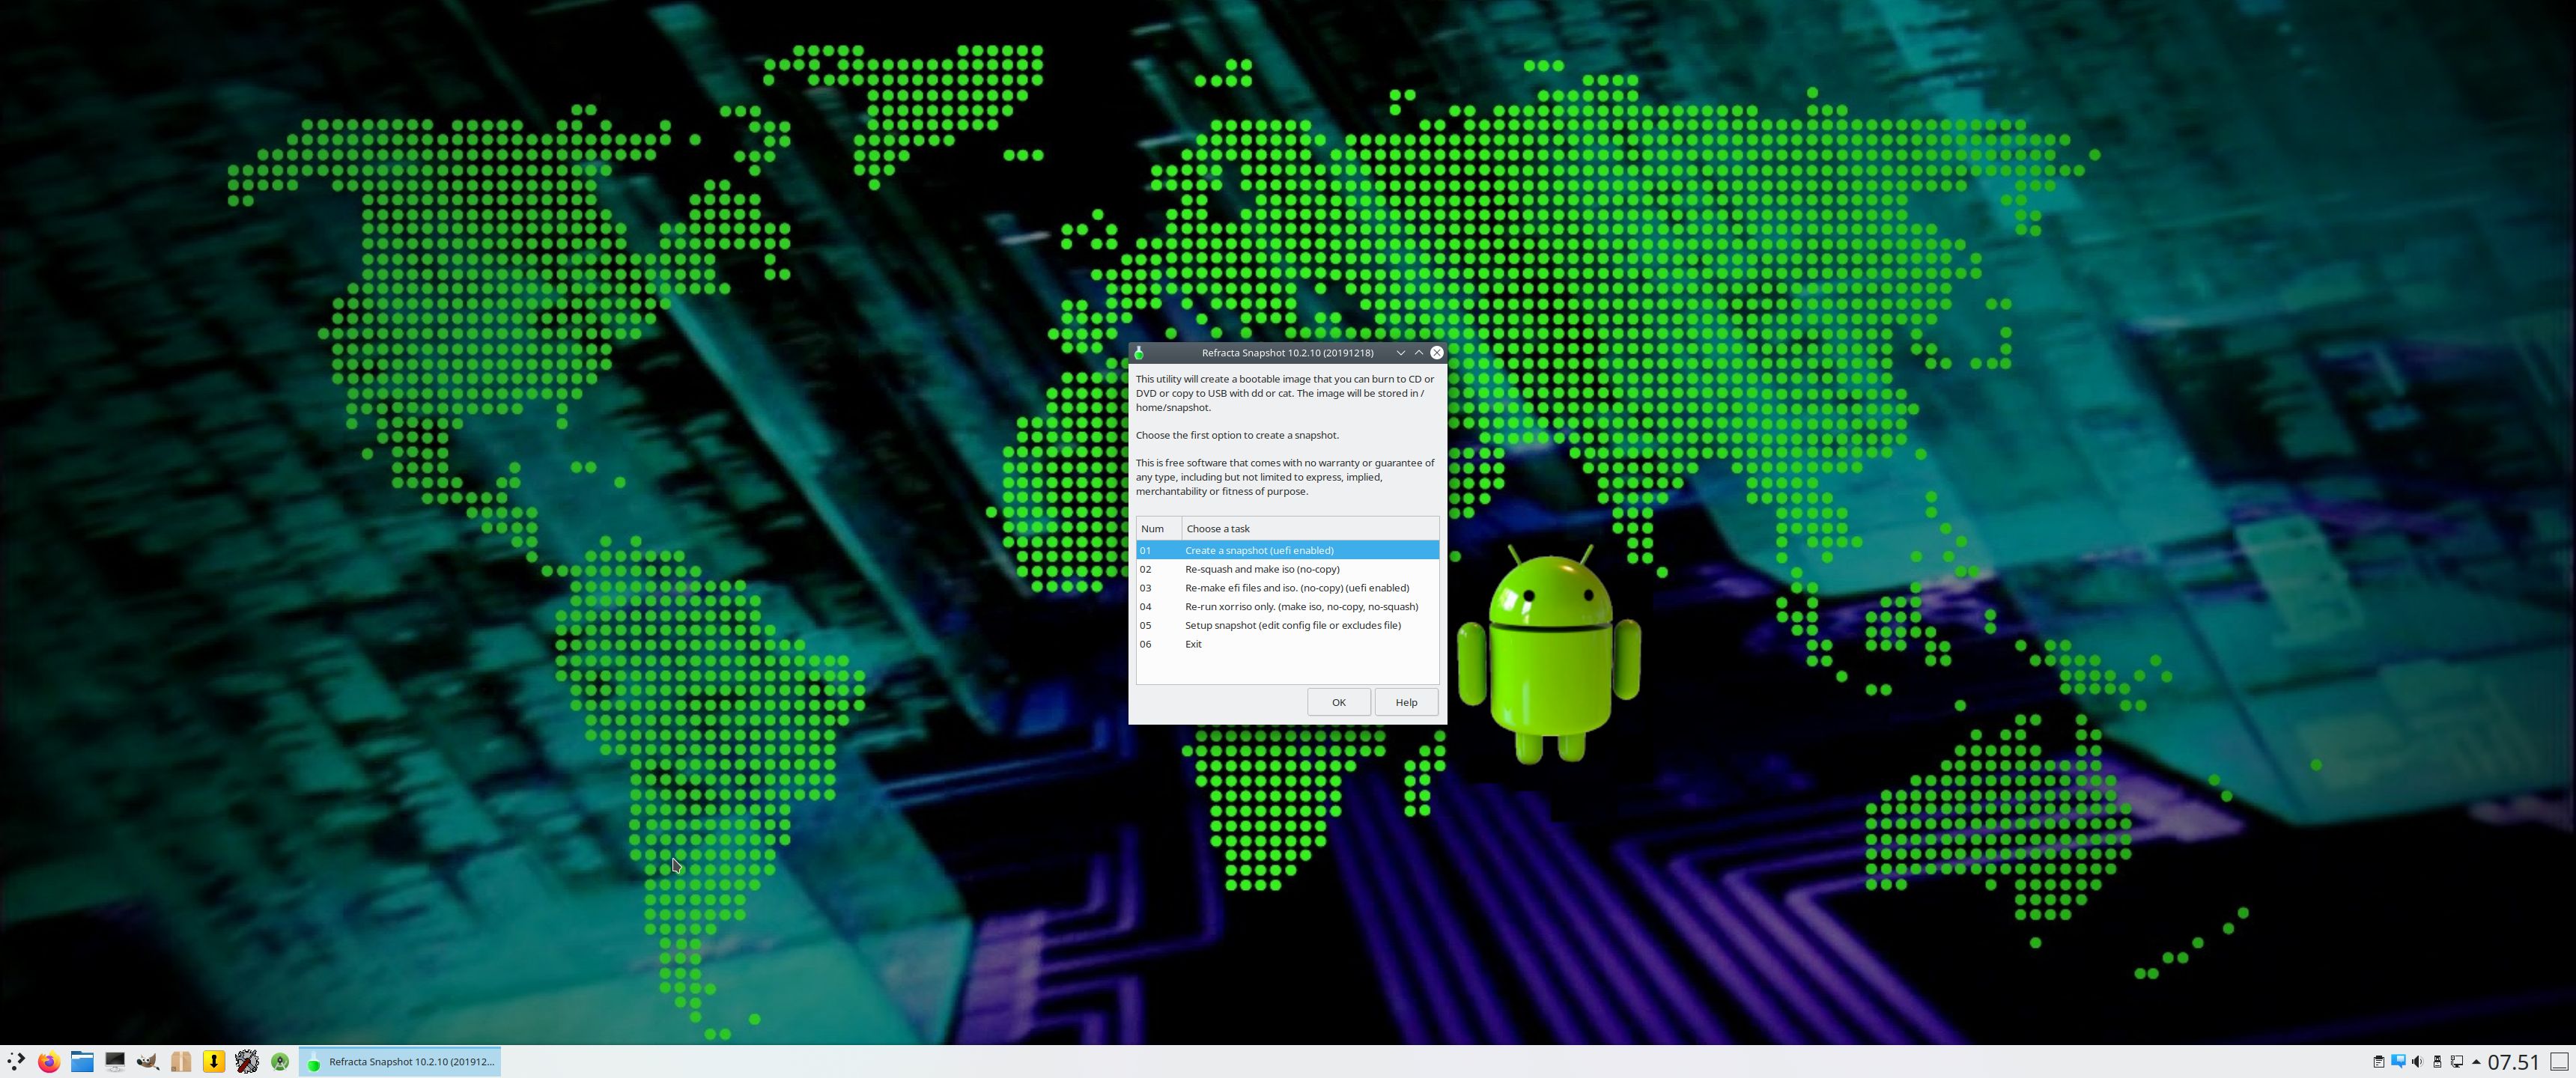
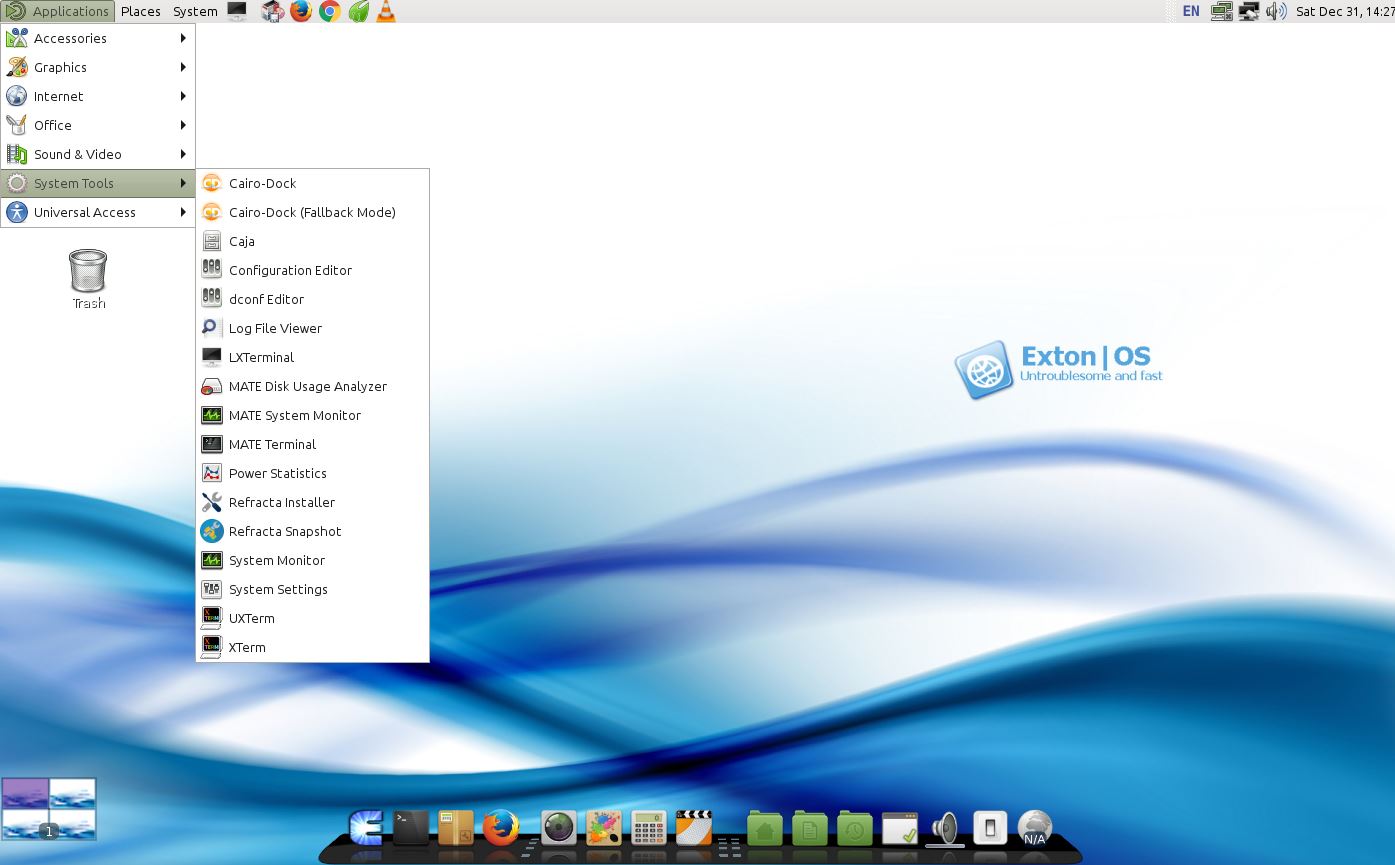
Refracta Snapshot is pre-installed in Exton|OS Build 220406. Use it to create your own live installable Ubuntu system. I mean create your own installable Ubuntu 22.04 LTS Live DVD once you have installed Exton|OS to hard drive. I mean change everything and then create a whole new Ubuntu live system. Start Refracta from Applications >> System Tools >> Refracta Snapshot. You don’t even have to install Exton|OS to hard drive before you can use Refracta Snapshot. If you have plenty of RAM you can create a new (your own!) Ubuntu system while running Exton|OS from DVD or a USB stick. Please note that the whole Refracta process (creating your new ISO) will take only 15 – 40 min! You’ll find the ISO in /home/snapshots. (Or change that in /etc/refractasnapshot.conf). The whole thing is very simple. NOTE: You may have to run the remaster process in three (3) steps before your new ISO is ready. (1, 2, 3). Watch a screenshot when Refracta Snapshot has started.
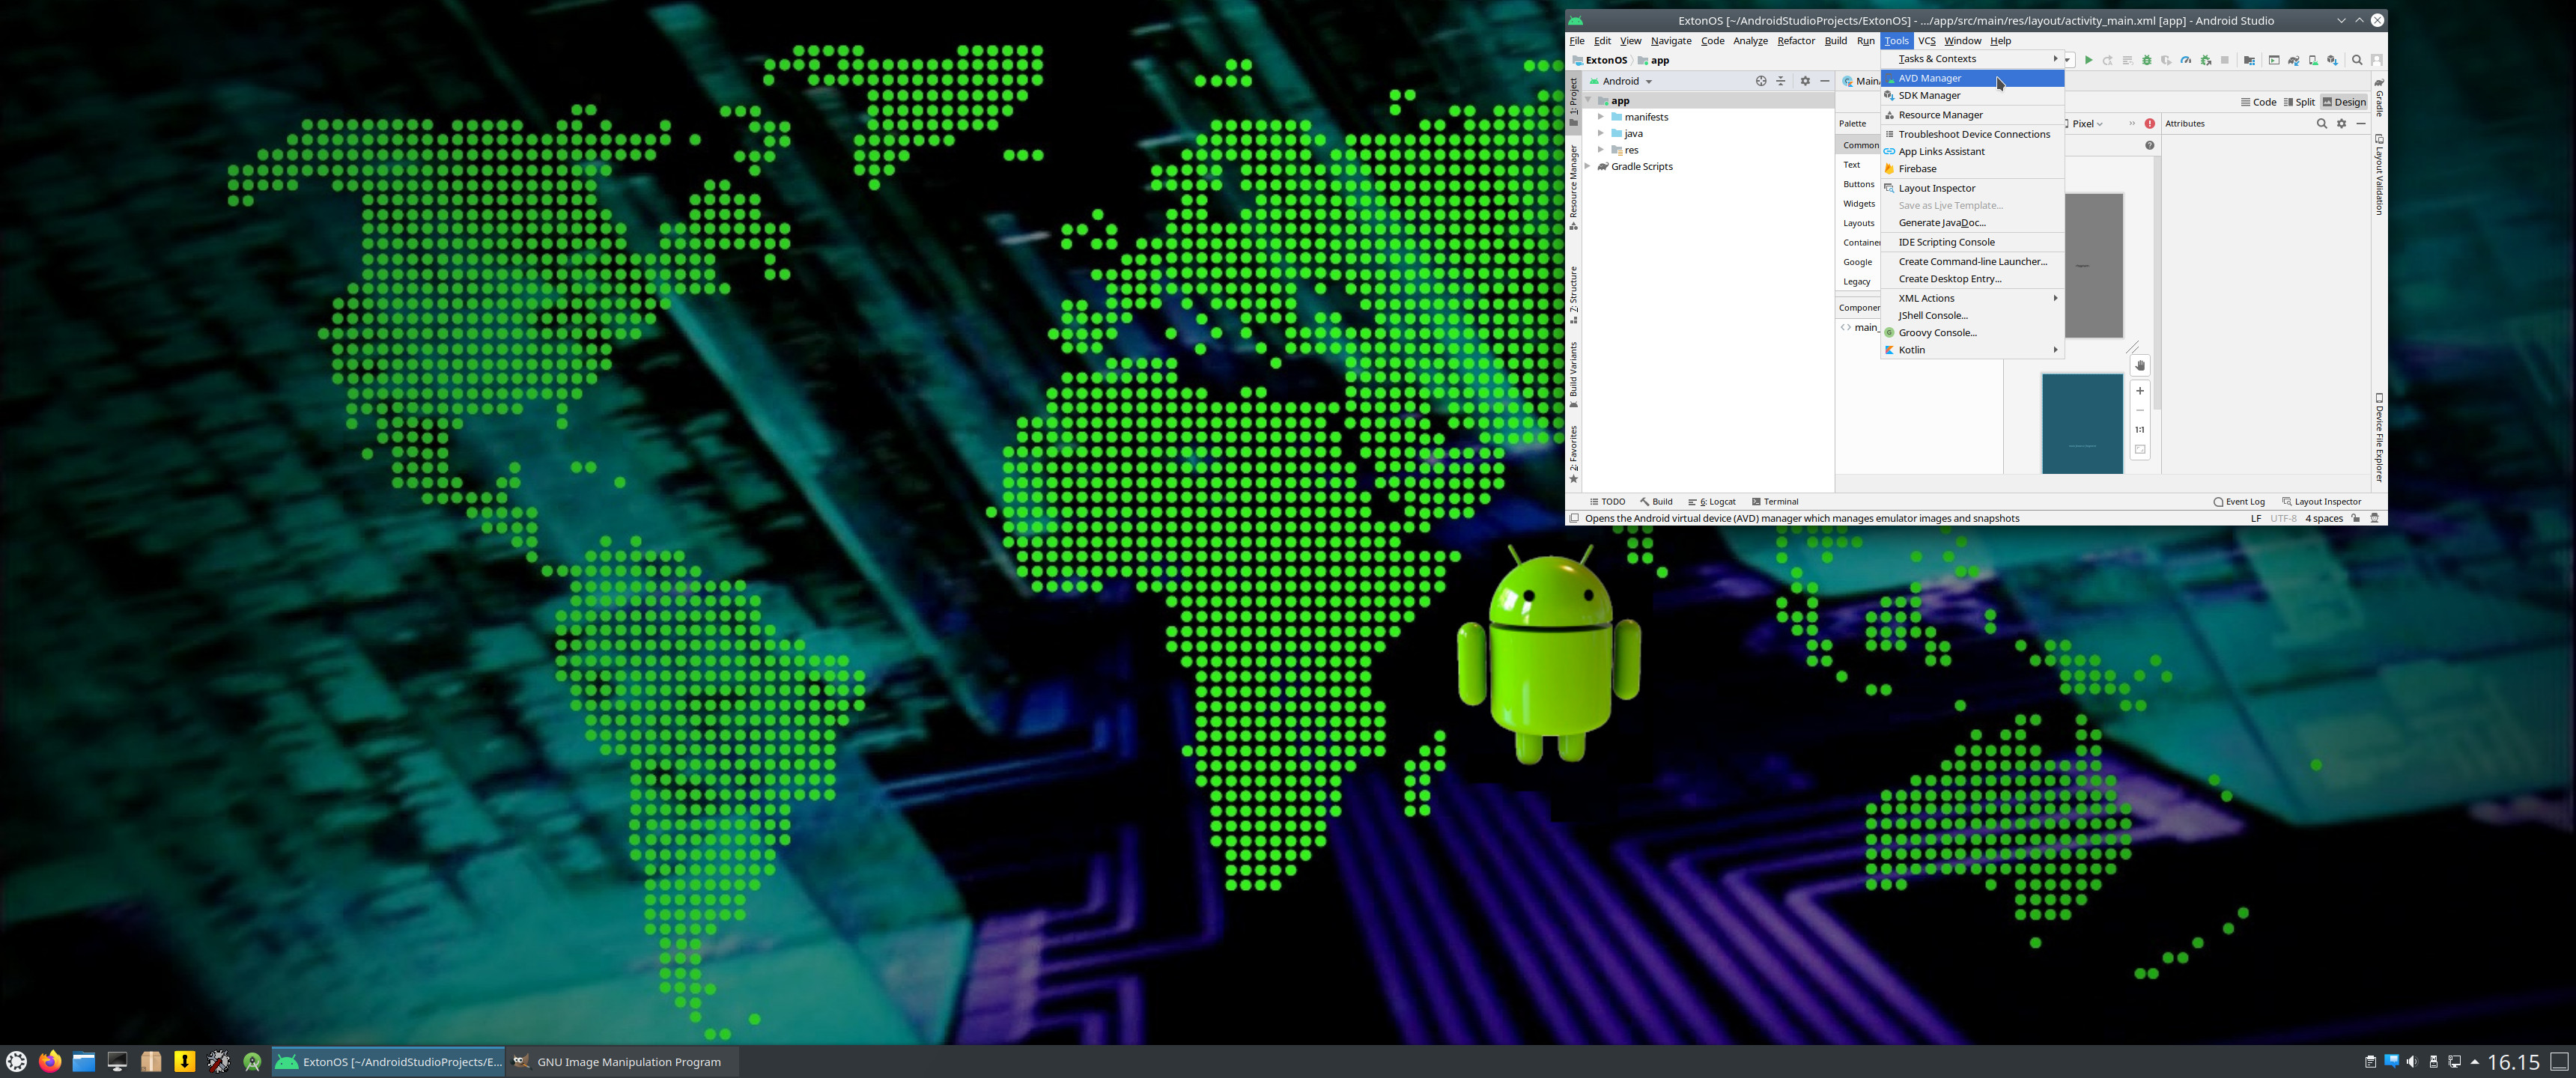
HOW TO use Android Studios Android Emulator
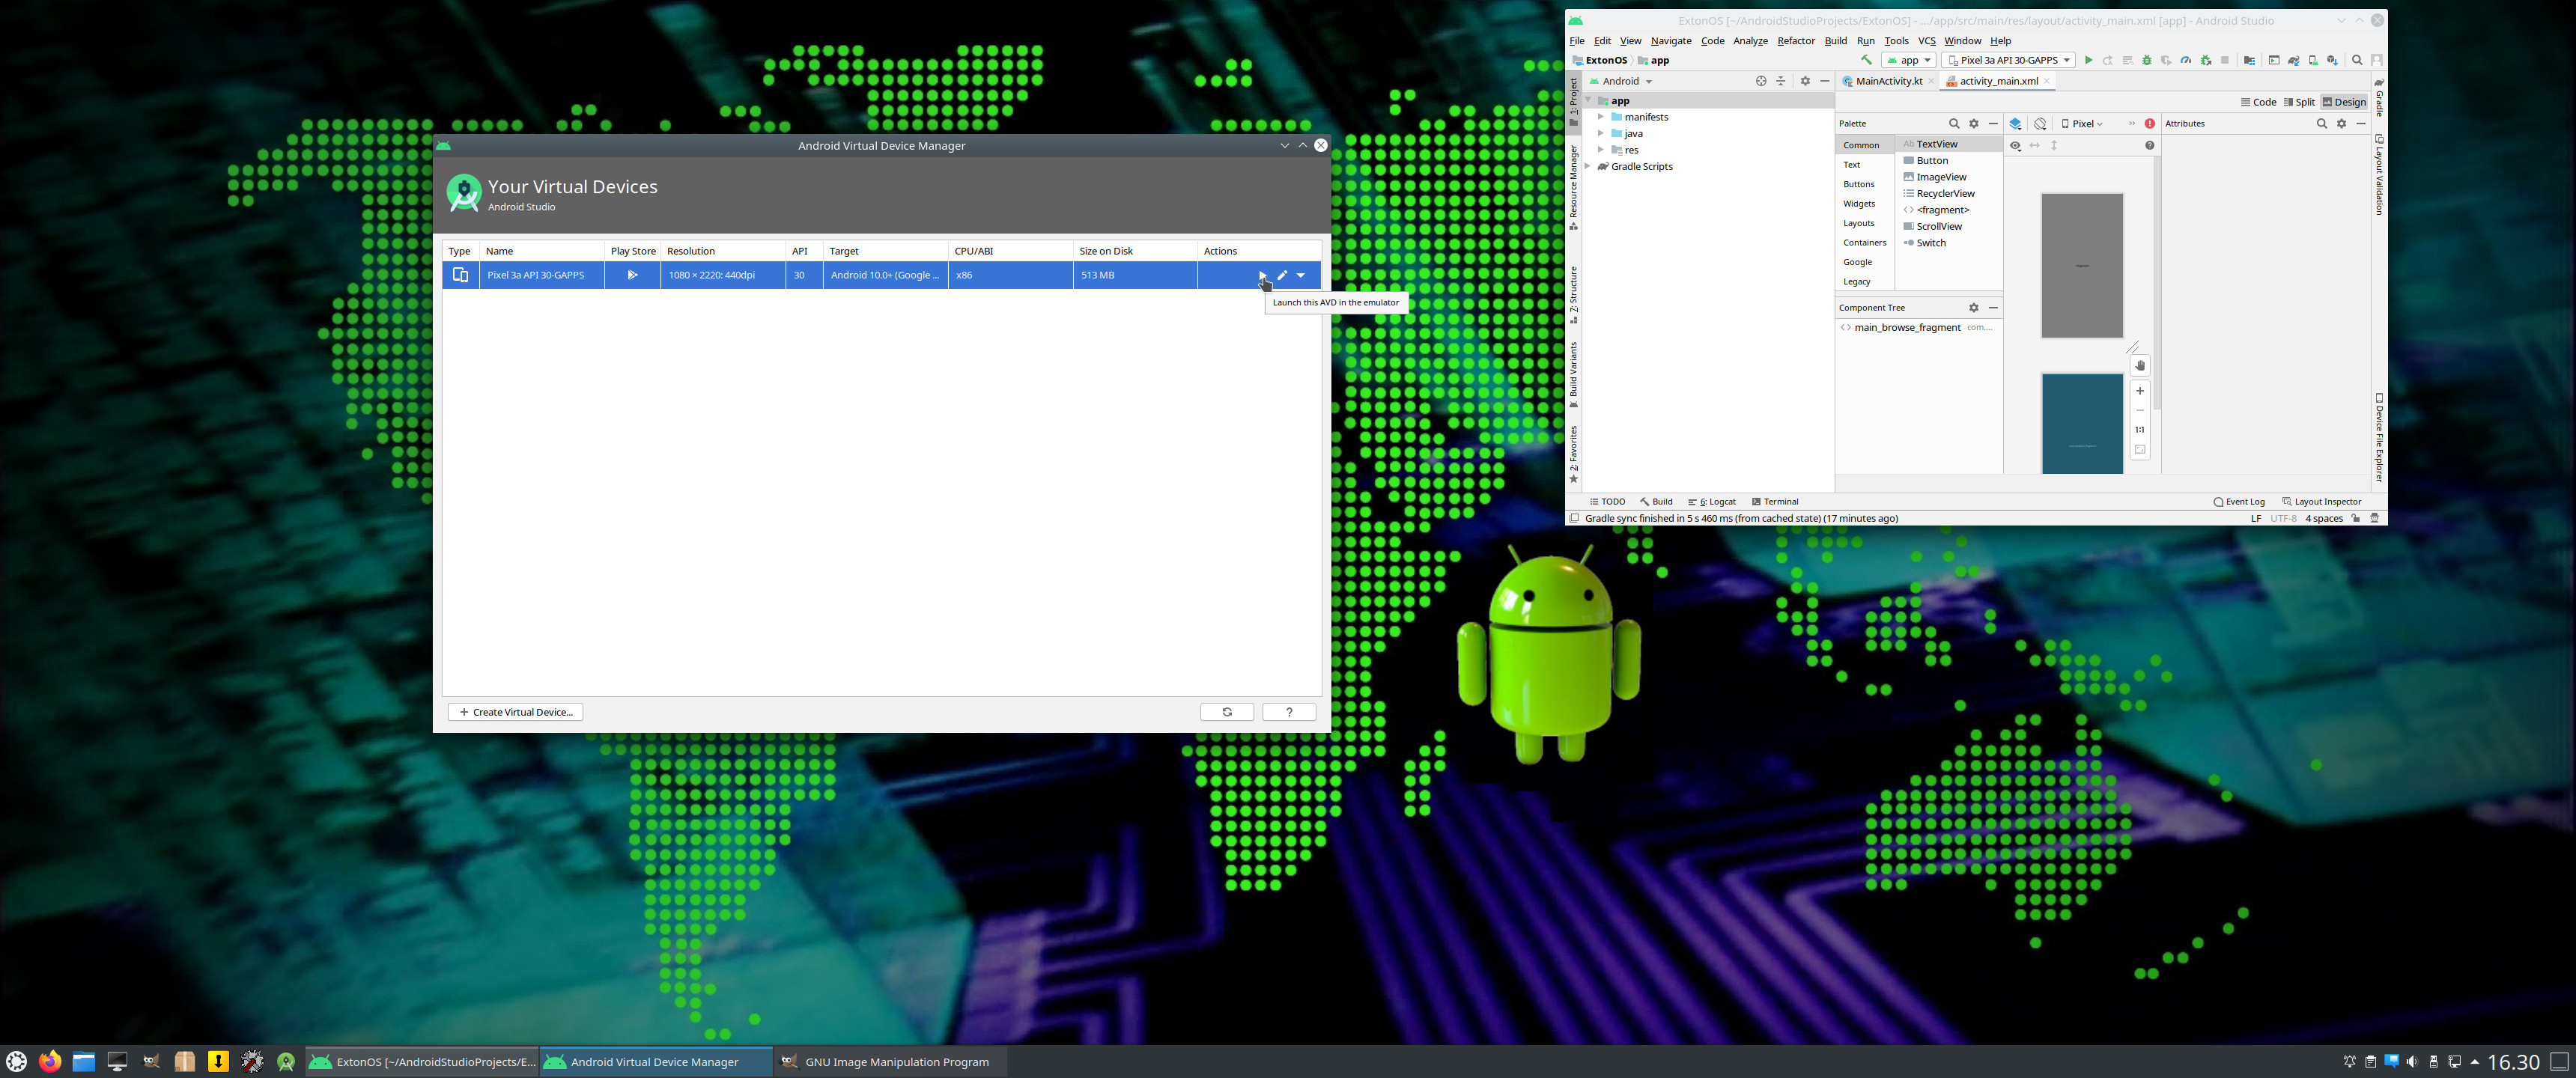
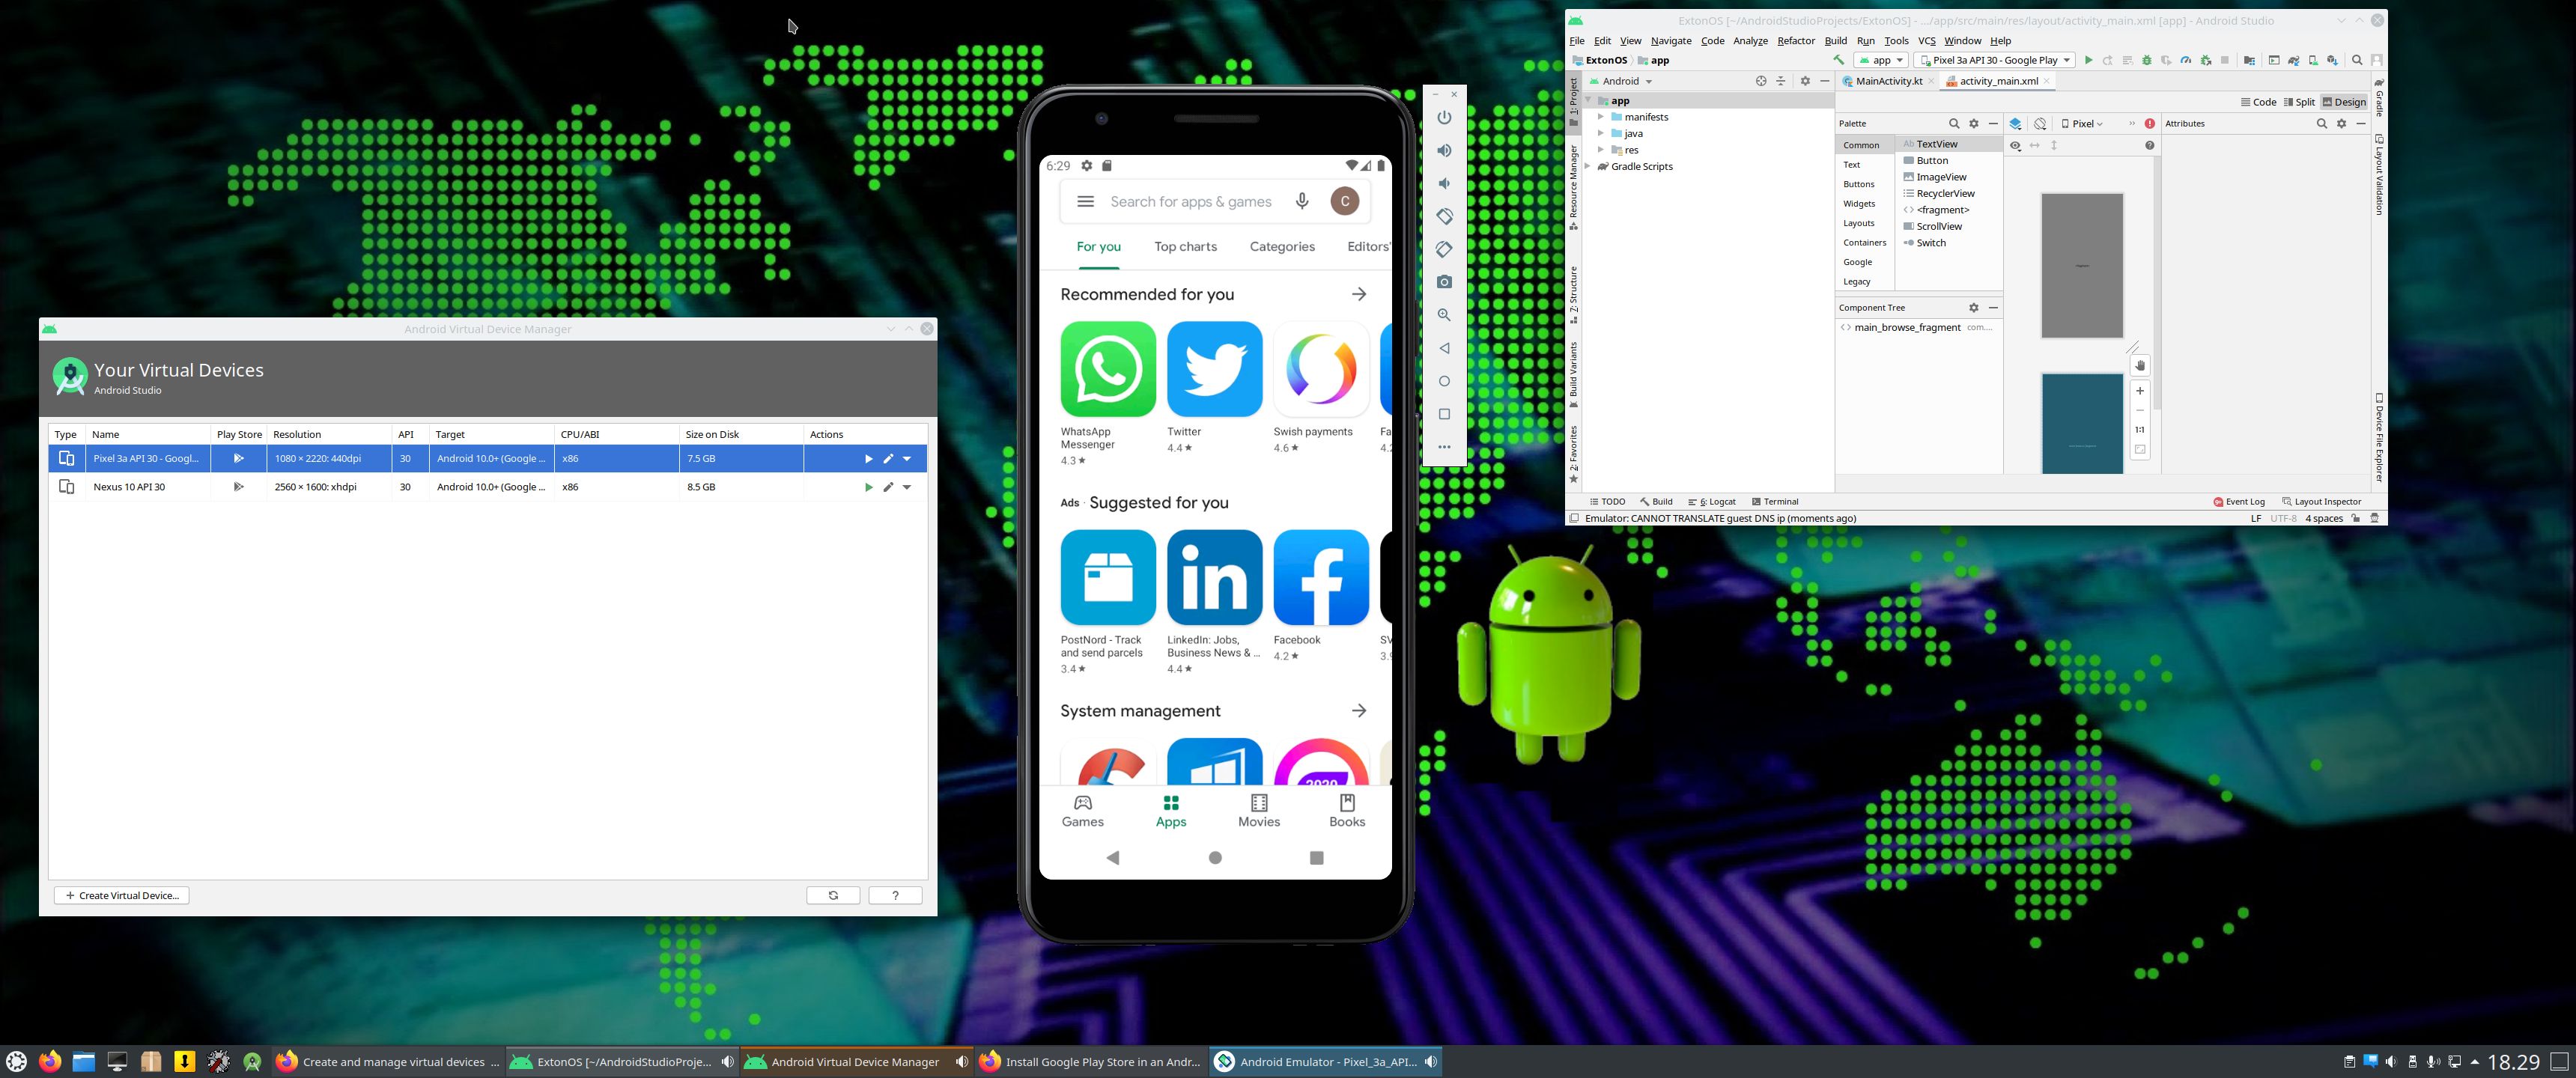
1. Start Android Studio and open AVD (Android Virtual Device) Manager from the menu >> Tools >> AVD Manager – Screenshot
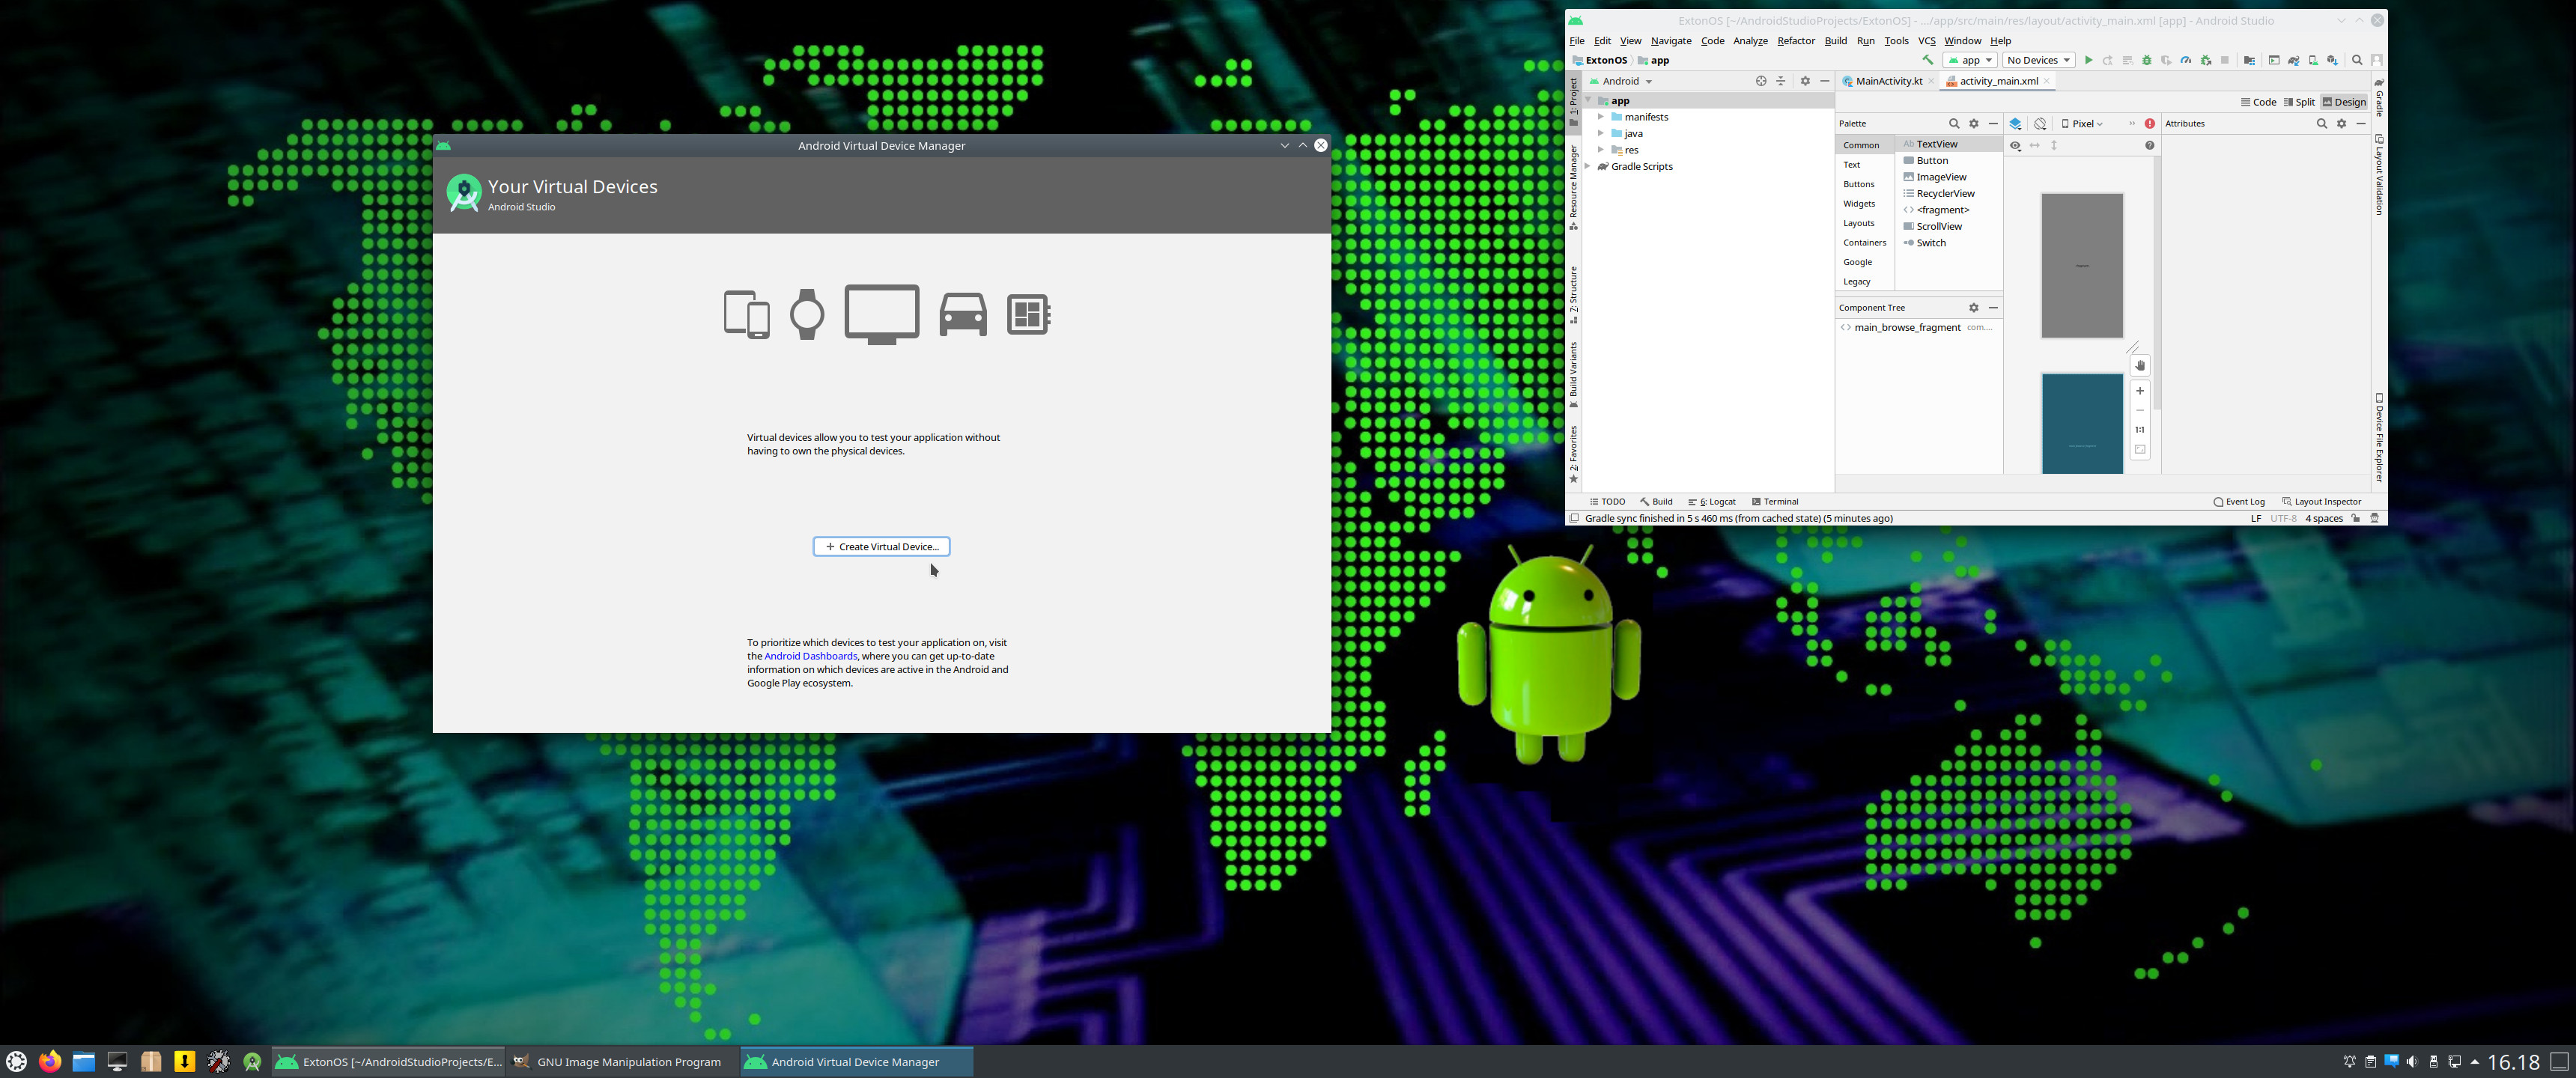
2. Create a Virtual Device – Screenshot
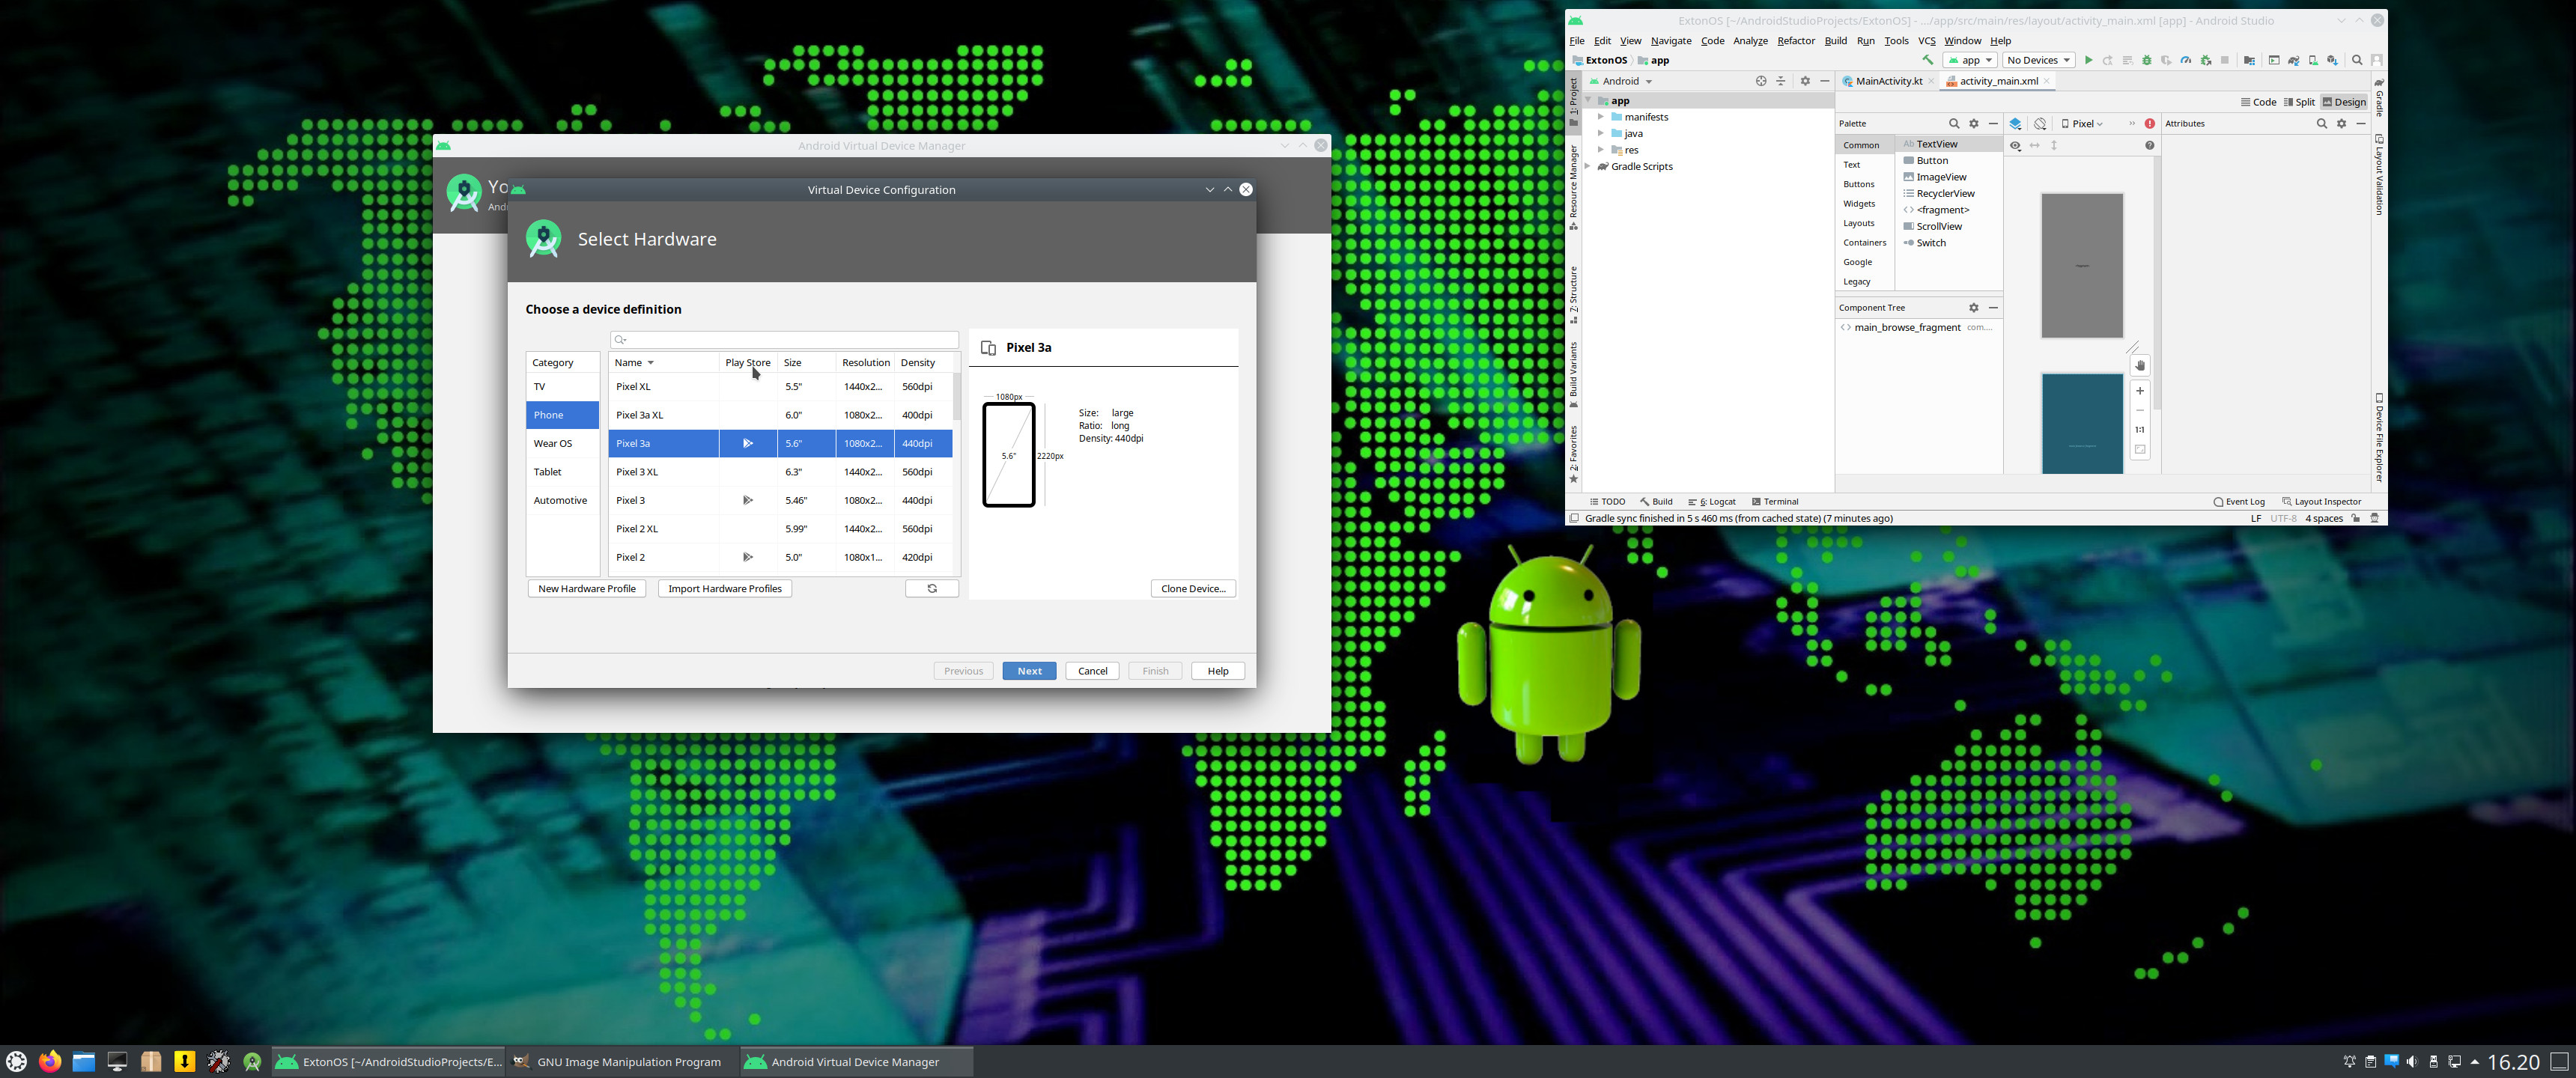
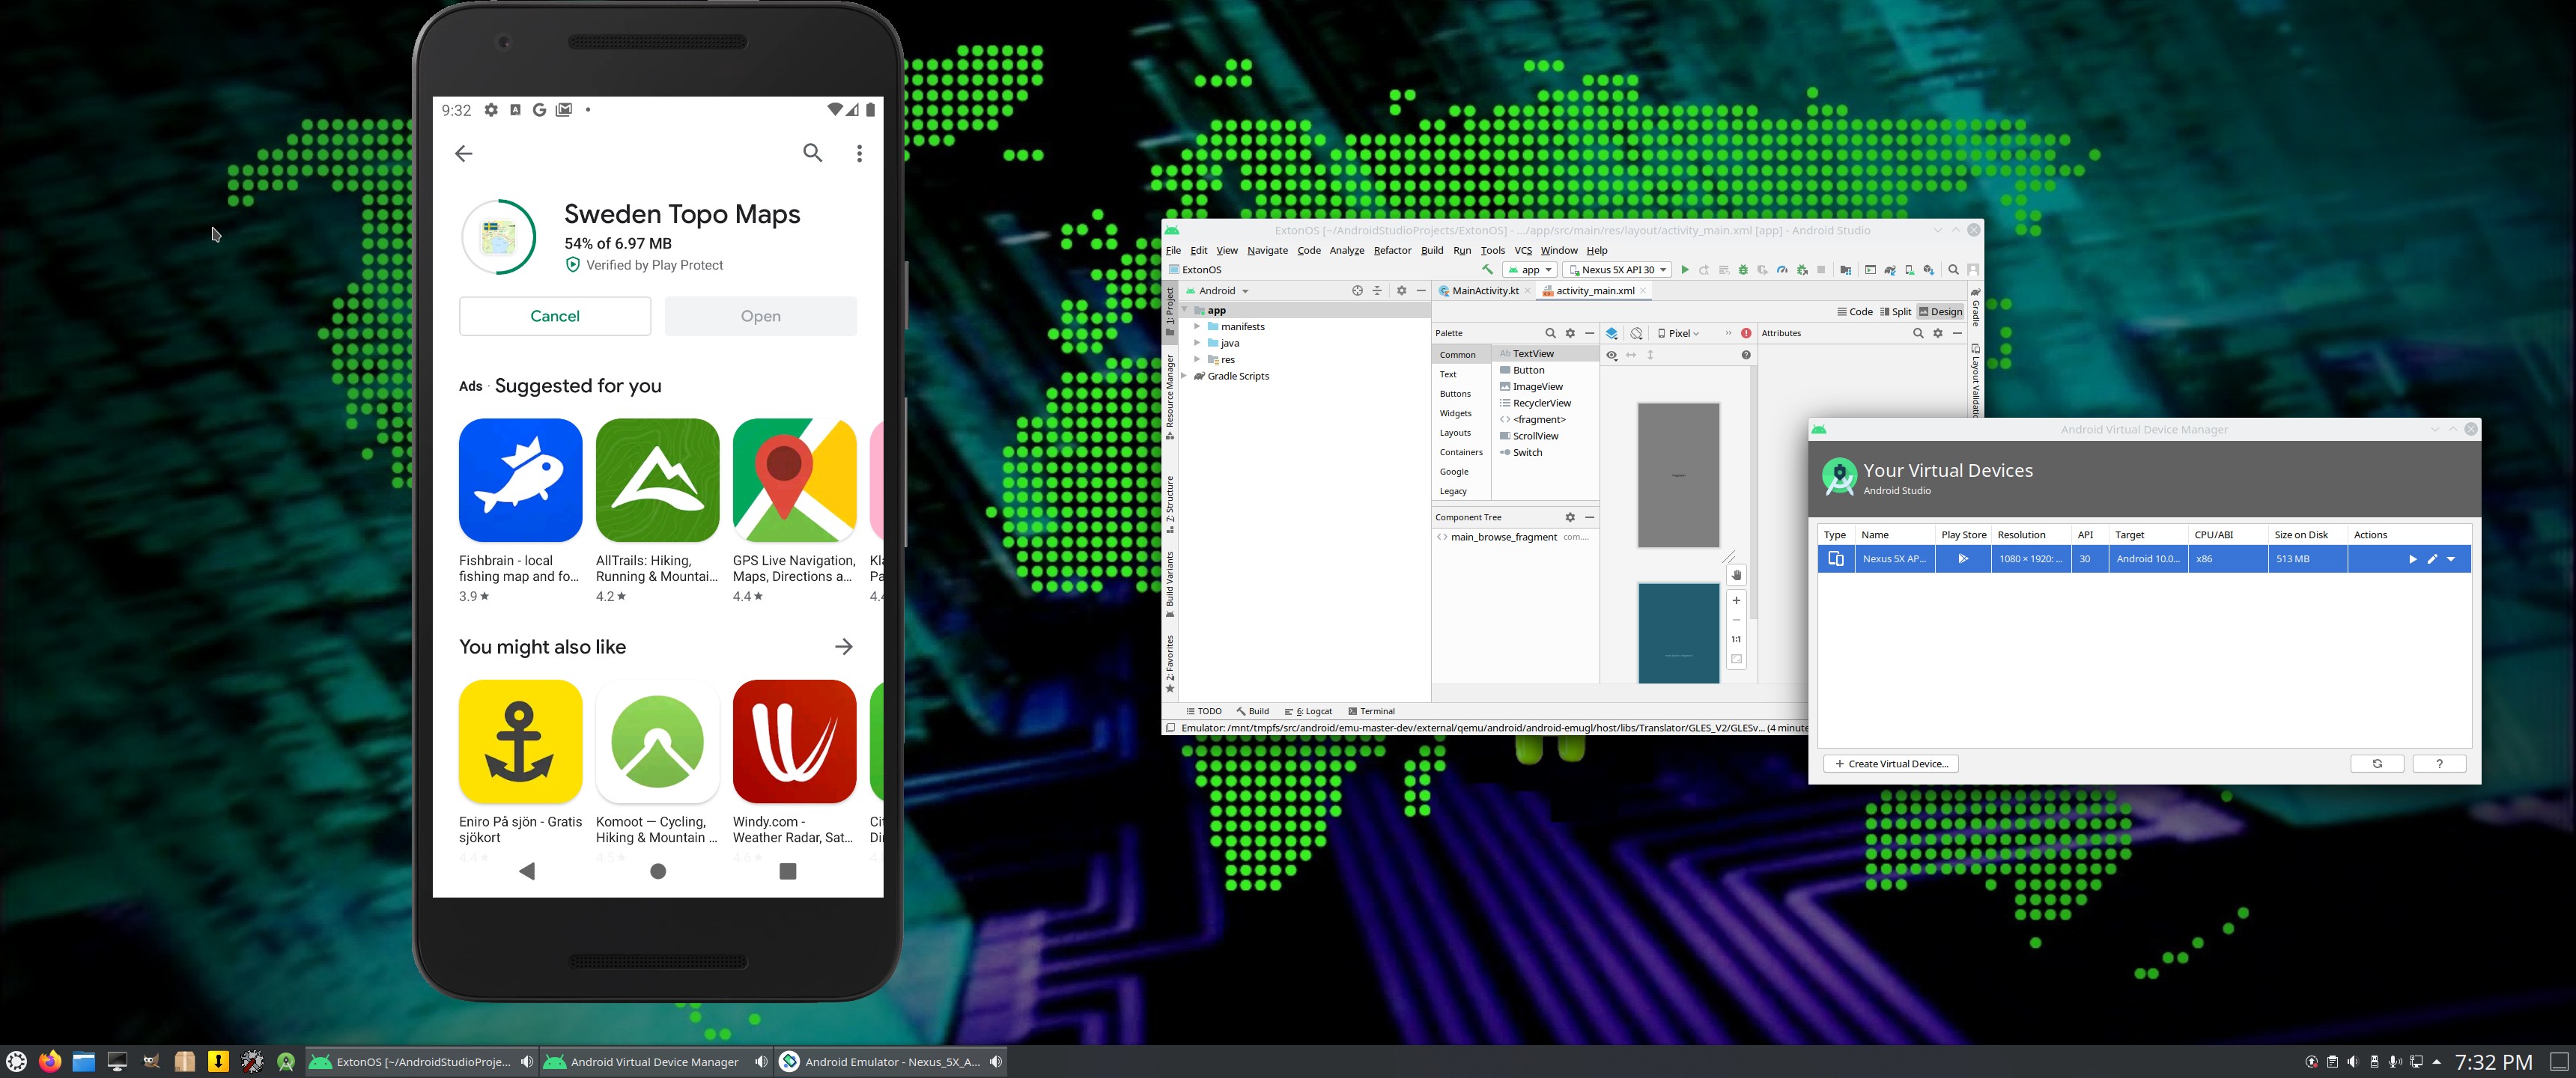
3. Select an Android System to run – Screenshot (some have Google Play Store pre-installed)
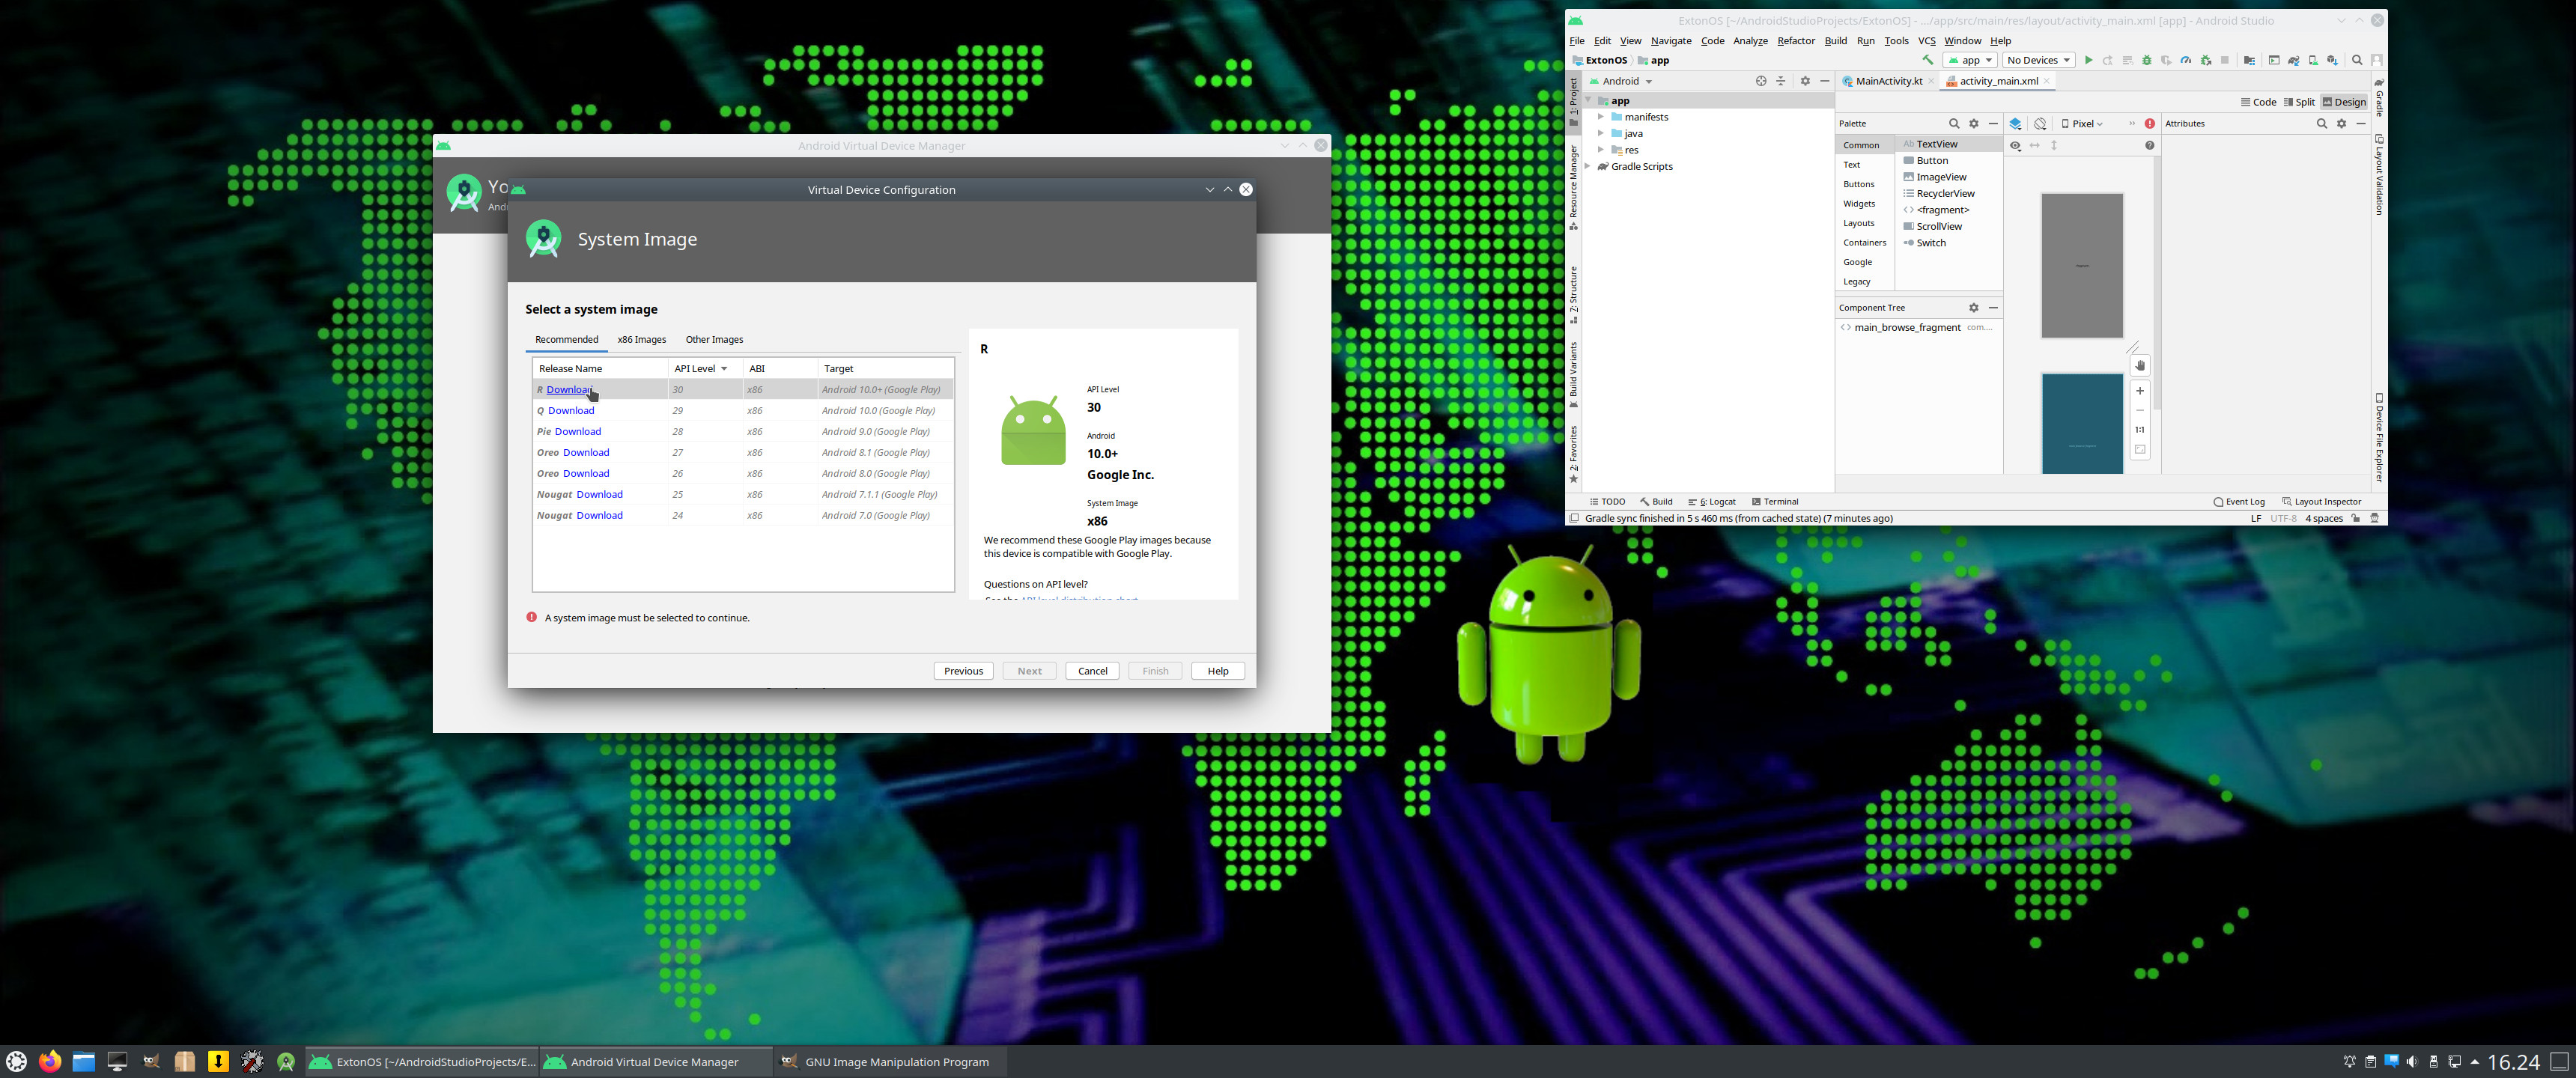
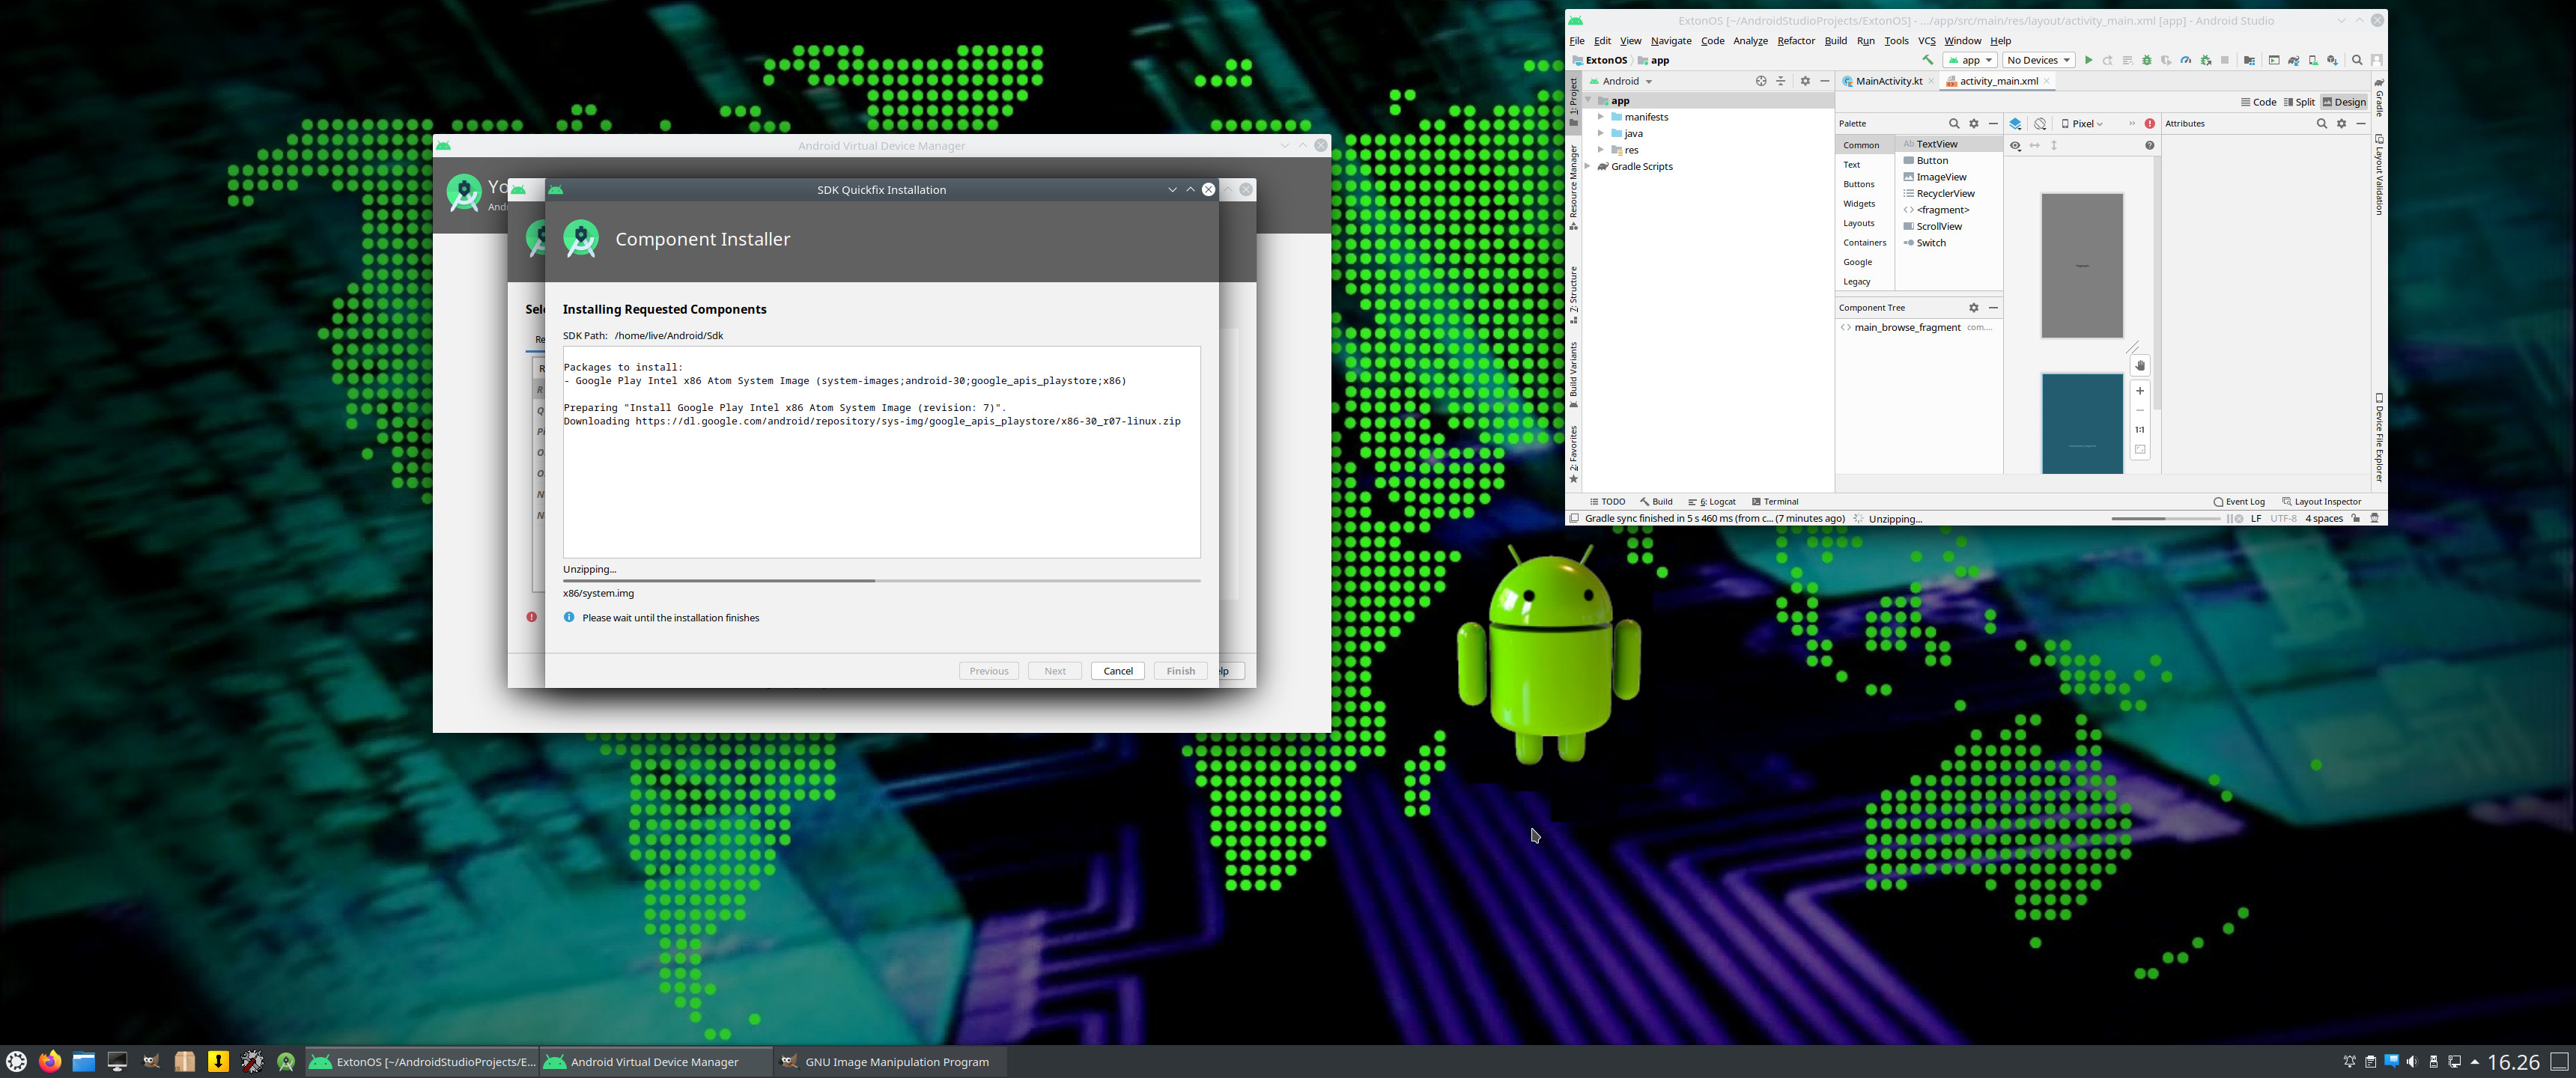
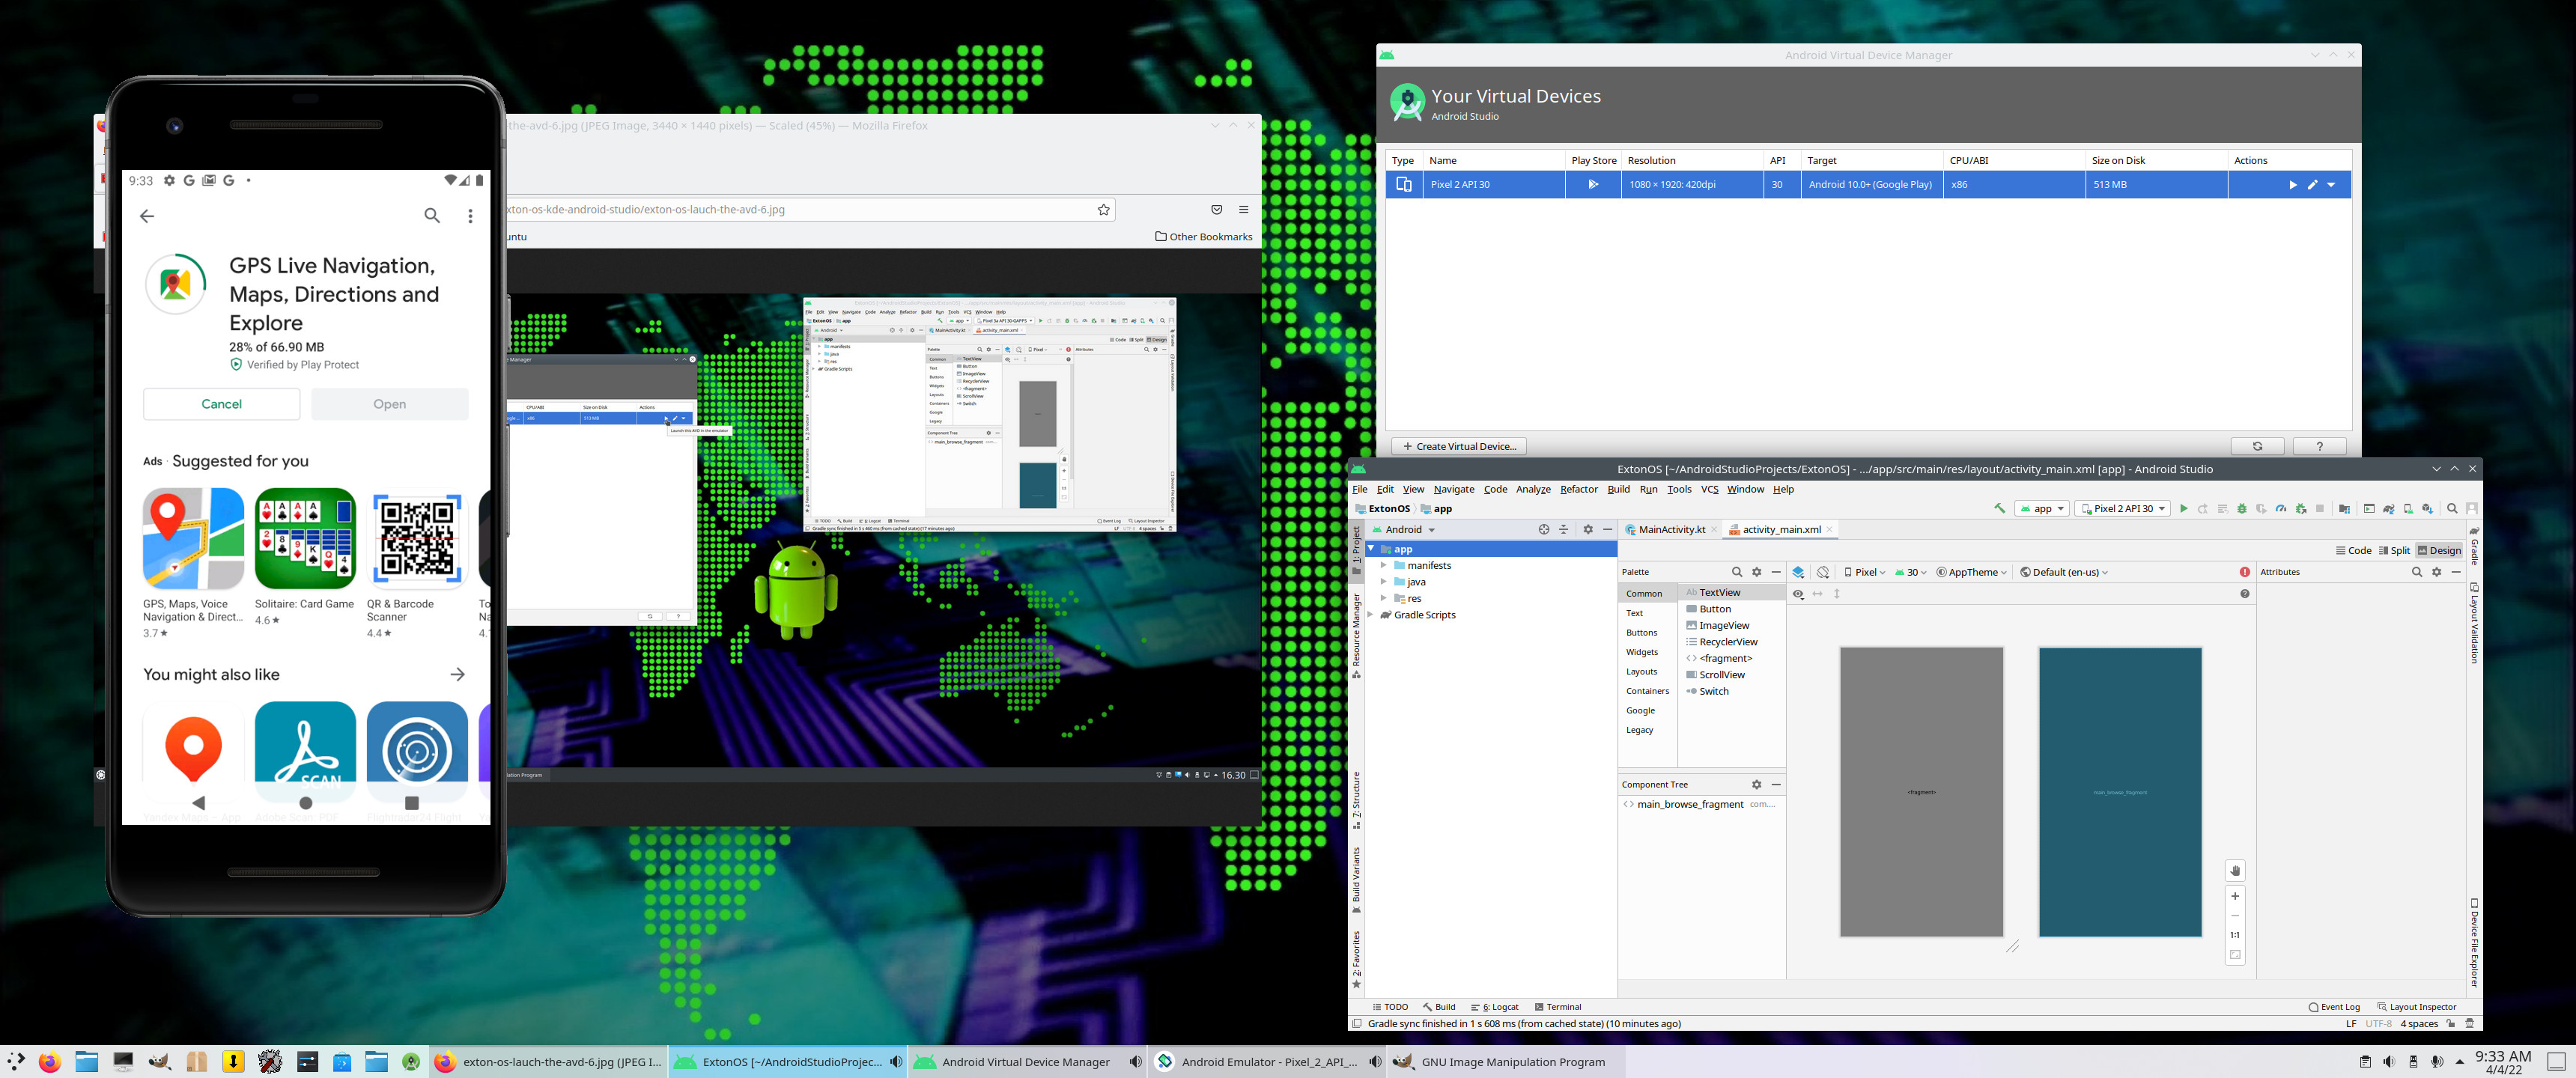
4. Download the selected Android image – Screenshot
5. Installing the selected image – Screenshot
6. Launch your selected AVD in the Emulator – Screenshot
7. One AVD is running in the Emulator – Screenshot. Note that you can download for example f-droid.apk and then throw it into the emulator’s “desktop/window”. The apk will then be installed.
NOTE: The emulator performance in generally very good. I.e. you will enjoy excellent sound and video quality in all apps.
Exton|OS Build 220406 is based on upcoming Ubuntu 22.04 LTS 64 bit and Debian. Exton|OS’s ISO file is a ISO-hybrid, which means that it can very easily be transferred (copied) to a USB pen drive. Read my INSTRUCTION. Ubuntu 22.04 LTS will be supported until April 2027.
Runs from RAM
Another great thing is that Exton|OS can run from RAM. Use Boot alternative 2 (load to RAM). When the system has booted up you can remove the disc (DVD) or USB stick. You’ll need at least 6 GB RAM to run Exton|OS that way. I.e. super fast!
Locale
The system language is English.
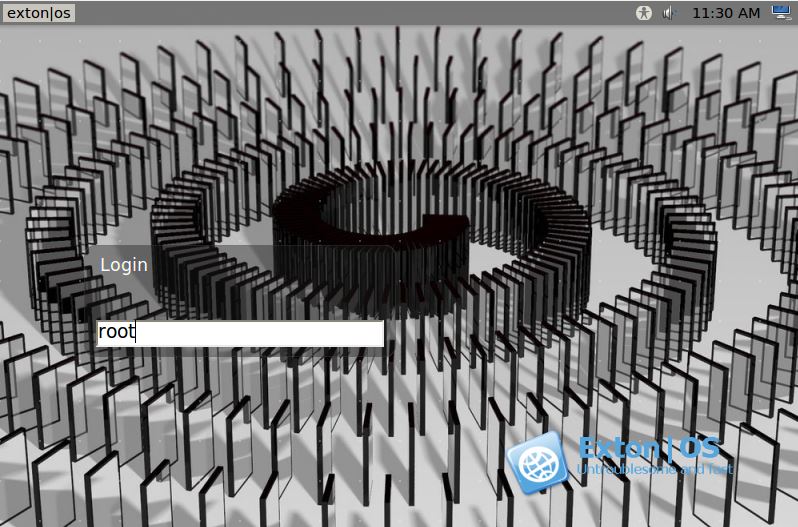
Log in to the KDE Plasma Desktop
When you start up your computer from the DVD or the USB stick you will end up in X at SDDM‘s login screen or automatically logged in to KDE Plasma Desktop as the ordinary user user. The Password for root (superuser) is root. The password for the ordinary user user is live. During a hard drive install (using Refracta Installer) you can create your own ordinary user. You can’t login via SDDM to KDE as root.
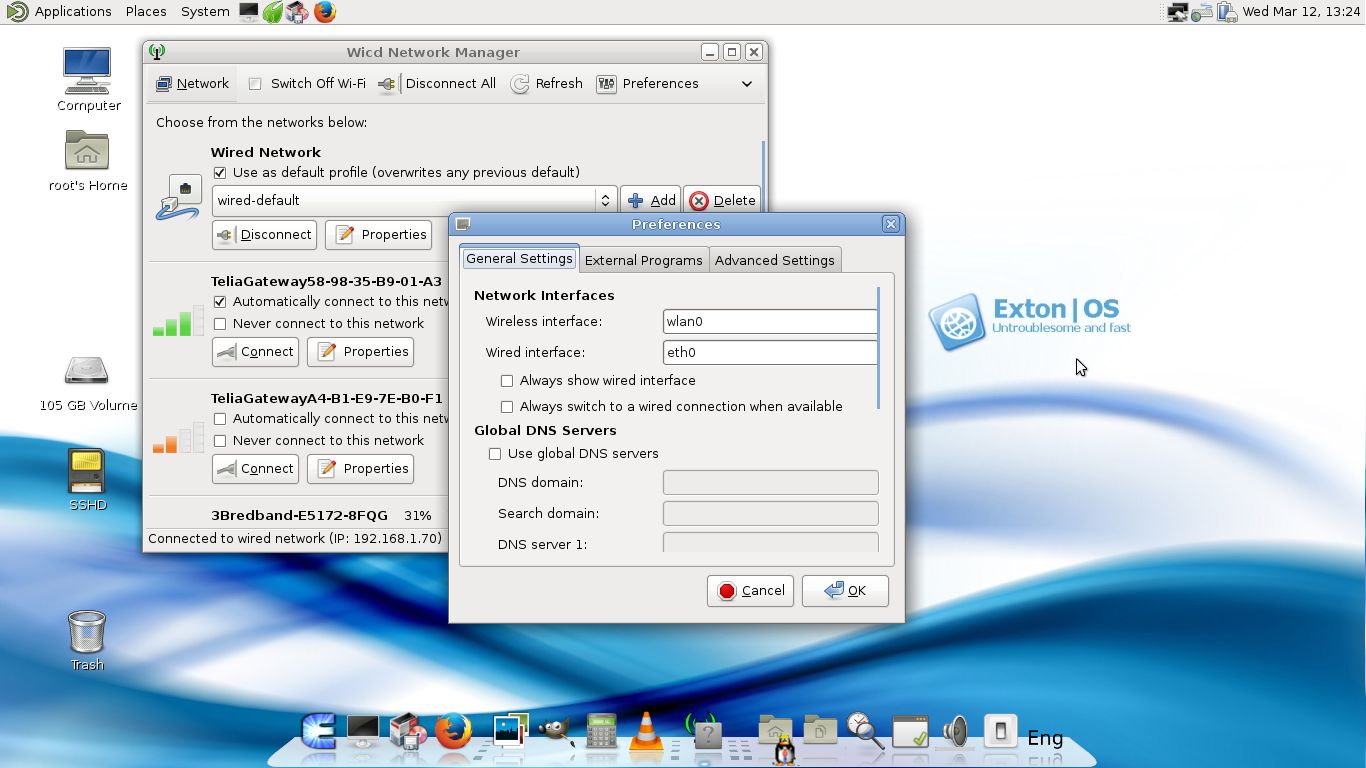
Network connections
Use NetworkManager to configure your network connection. It works extremely well. If you use a wired connection you will be automatically connected to Internet. I you use a wireless connection just click on the Network icon in the menu below in right corner and choose your network.
Configure sound
If you don’t have sound just open up a terminal and run the command alsamixer. Or open PulseAudio (Pavucontrol).
Installation to hard drive
Note that you in advance (just in case) should create a partition of at least 30 GB for Exton|OS (if you want to make your own Ubuntu system) and a SWAP space double the size of your computer’s RAM. I.e. if you have RAM of 1024 MB or less. If you have RAM of 2 GB or more it’s enough with a SWAP space of 2 GB. The installation program Refracta Installer in Exton|OS is otherwise “intuitive”. Choose manual partitioning and select the partition you created in advance for installation. You’ll find the installation program under Applications >> System Tools >> Refracta Installer. The installation to hard drive is now so simple that a 10 year old child can do it. NOTE1: You should format your intended installation partition in advance. You can use GParted for that. If you already have installed Grub on your computer you can use Refracta Installer anyway. Just refrain from re-installing Grub when you install Exton|OS to hard drive. Read my instruction How To dual-boot, triple-boot or multi-boot Linux with Windows in a simple way and be happy. NOTE2: While installing Exton|OS you should set the username to user. If you don’t do that Android Studio won’t work anymore. NOTE3: In the end of the installation process you will probably get a couple of error messages. Just ignore them. Everything is alright.
Changing root’s password
If you install Exton|OS to hard drive you’ll get the chance to change root’s password. The root password is otherwise changed by running the command sudo passwd root.
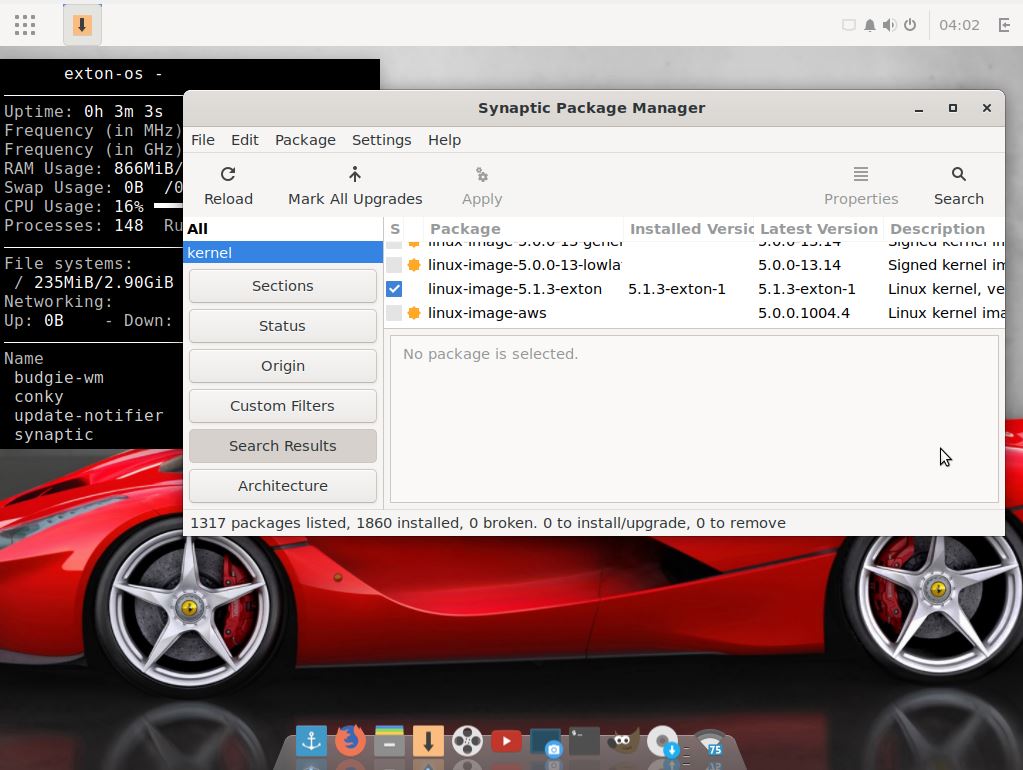
Repositories and software management
Exton|OS is totally compatible with Ubuntu 22.04 and therefore uses Ubuntu’s repositories. After a hard drive install of Exton|OS you can go ahead and install any extra software you like and also upgrade the whole system. After running the command sudo apt update you should use Synaptic Package Manager.
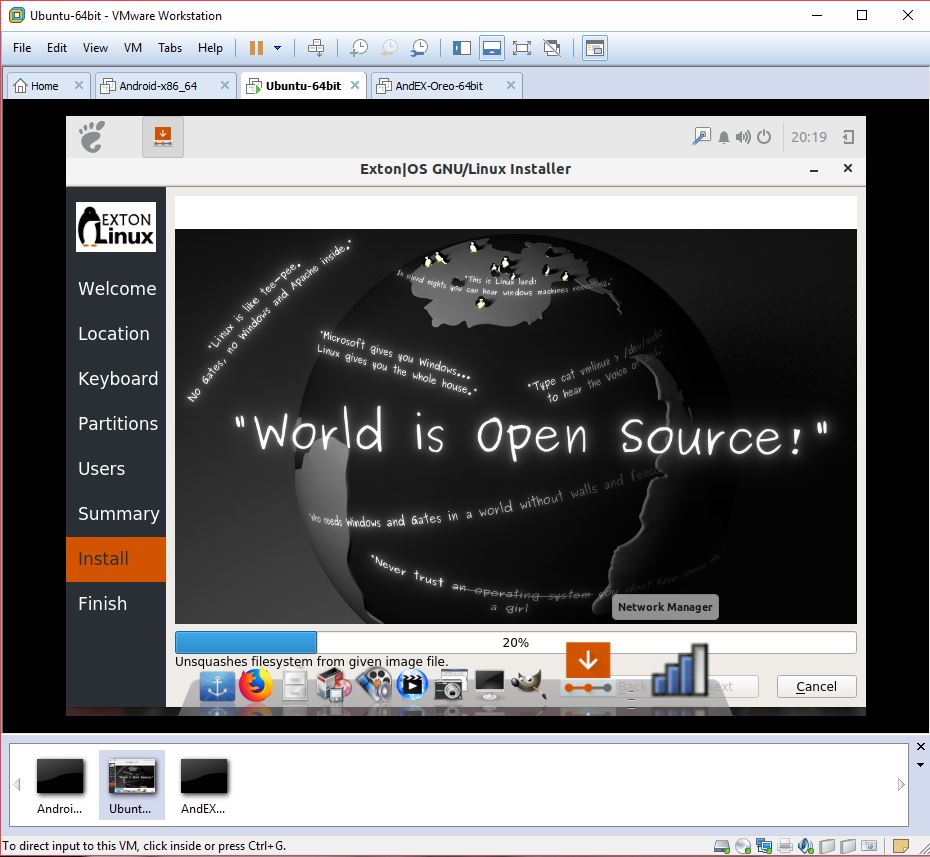
VirtualBox and VMware
Exton|OS runs very well live in VirtualBox and VMware. The very best way to run Exton|OS virtually though is to use Qemu in Linux. Exton|OS KDE/Android Build 220406 is for UEFI computers. You can nevertheless install Exton|OS to a virtual hard drive in VirtualBox and VMware using Refracta Installer. NOTE 1: When running Exton|OS in VirtualBox you may have to use the boot alternative nomodeset (failsafe). NOTE 2: In the end of the installation process you’ll get the chance to install Grub. You’ll have to chroot into your install partition and run the following two commands sudo grub-install /dev/sda and sudo update-grub. The Refracta install program will give you the chroot opportunity.
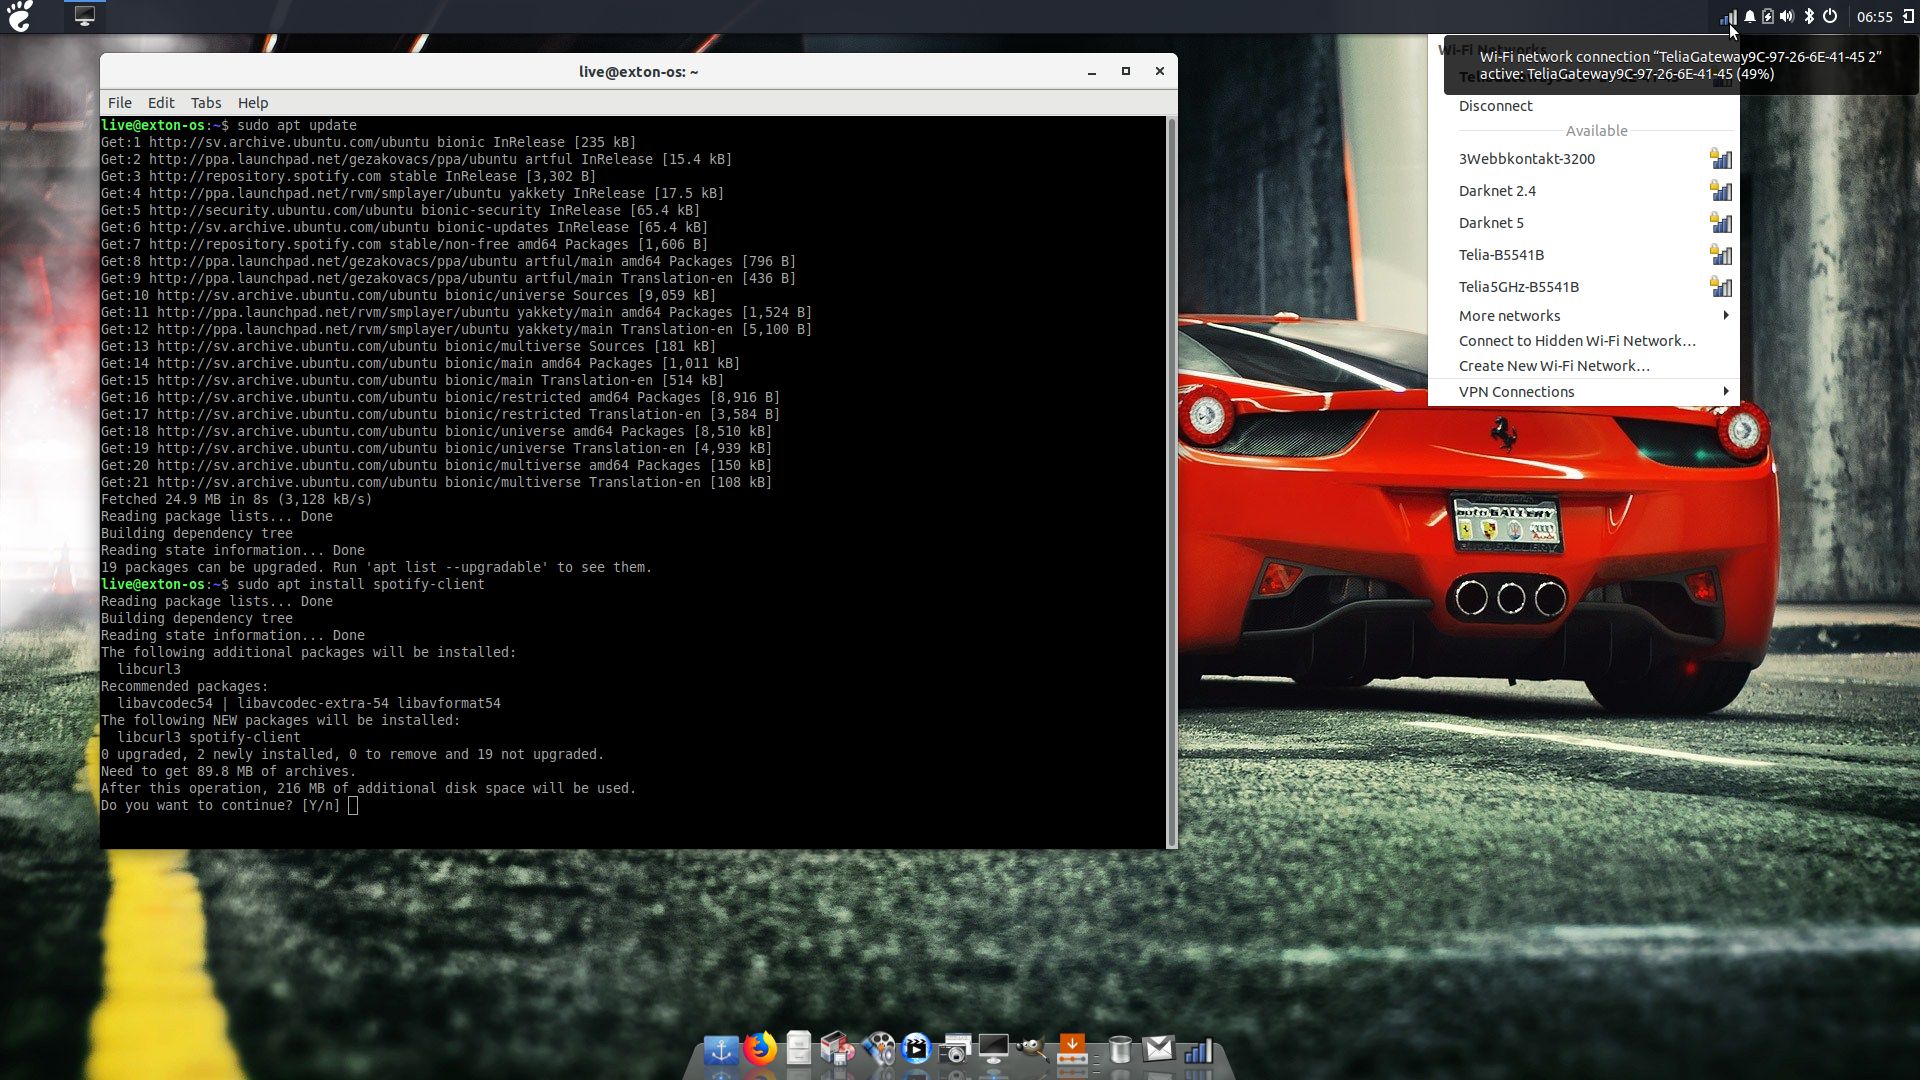
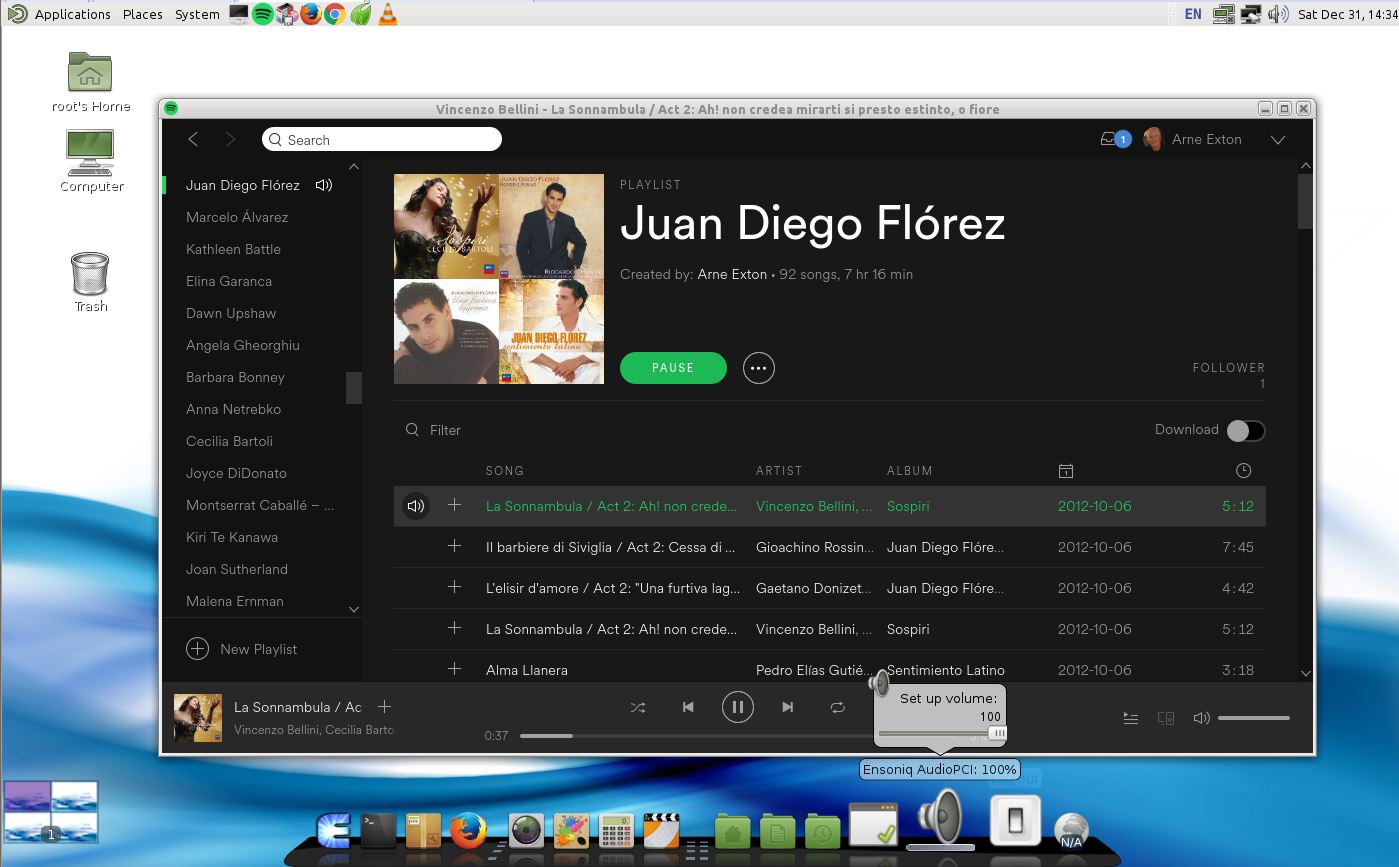
Spotify
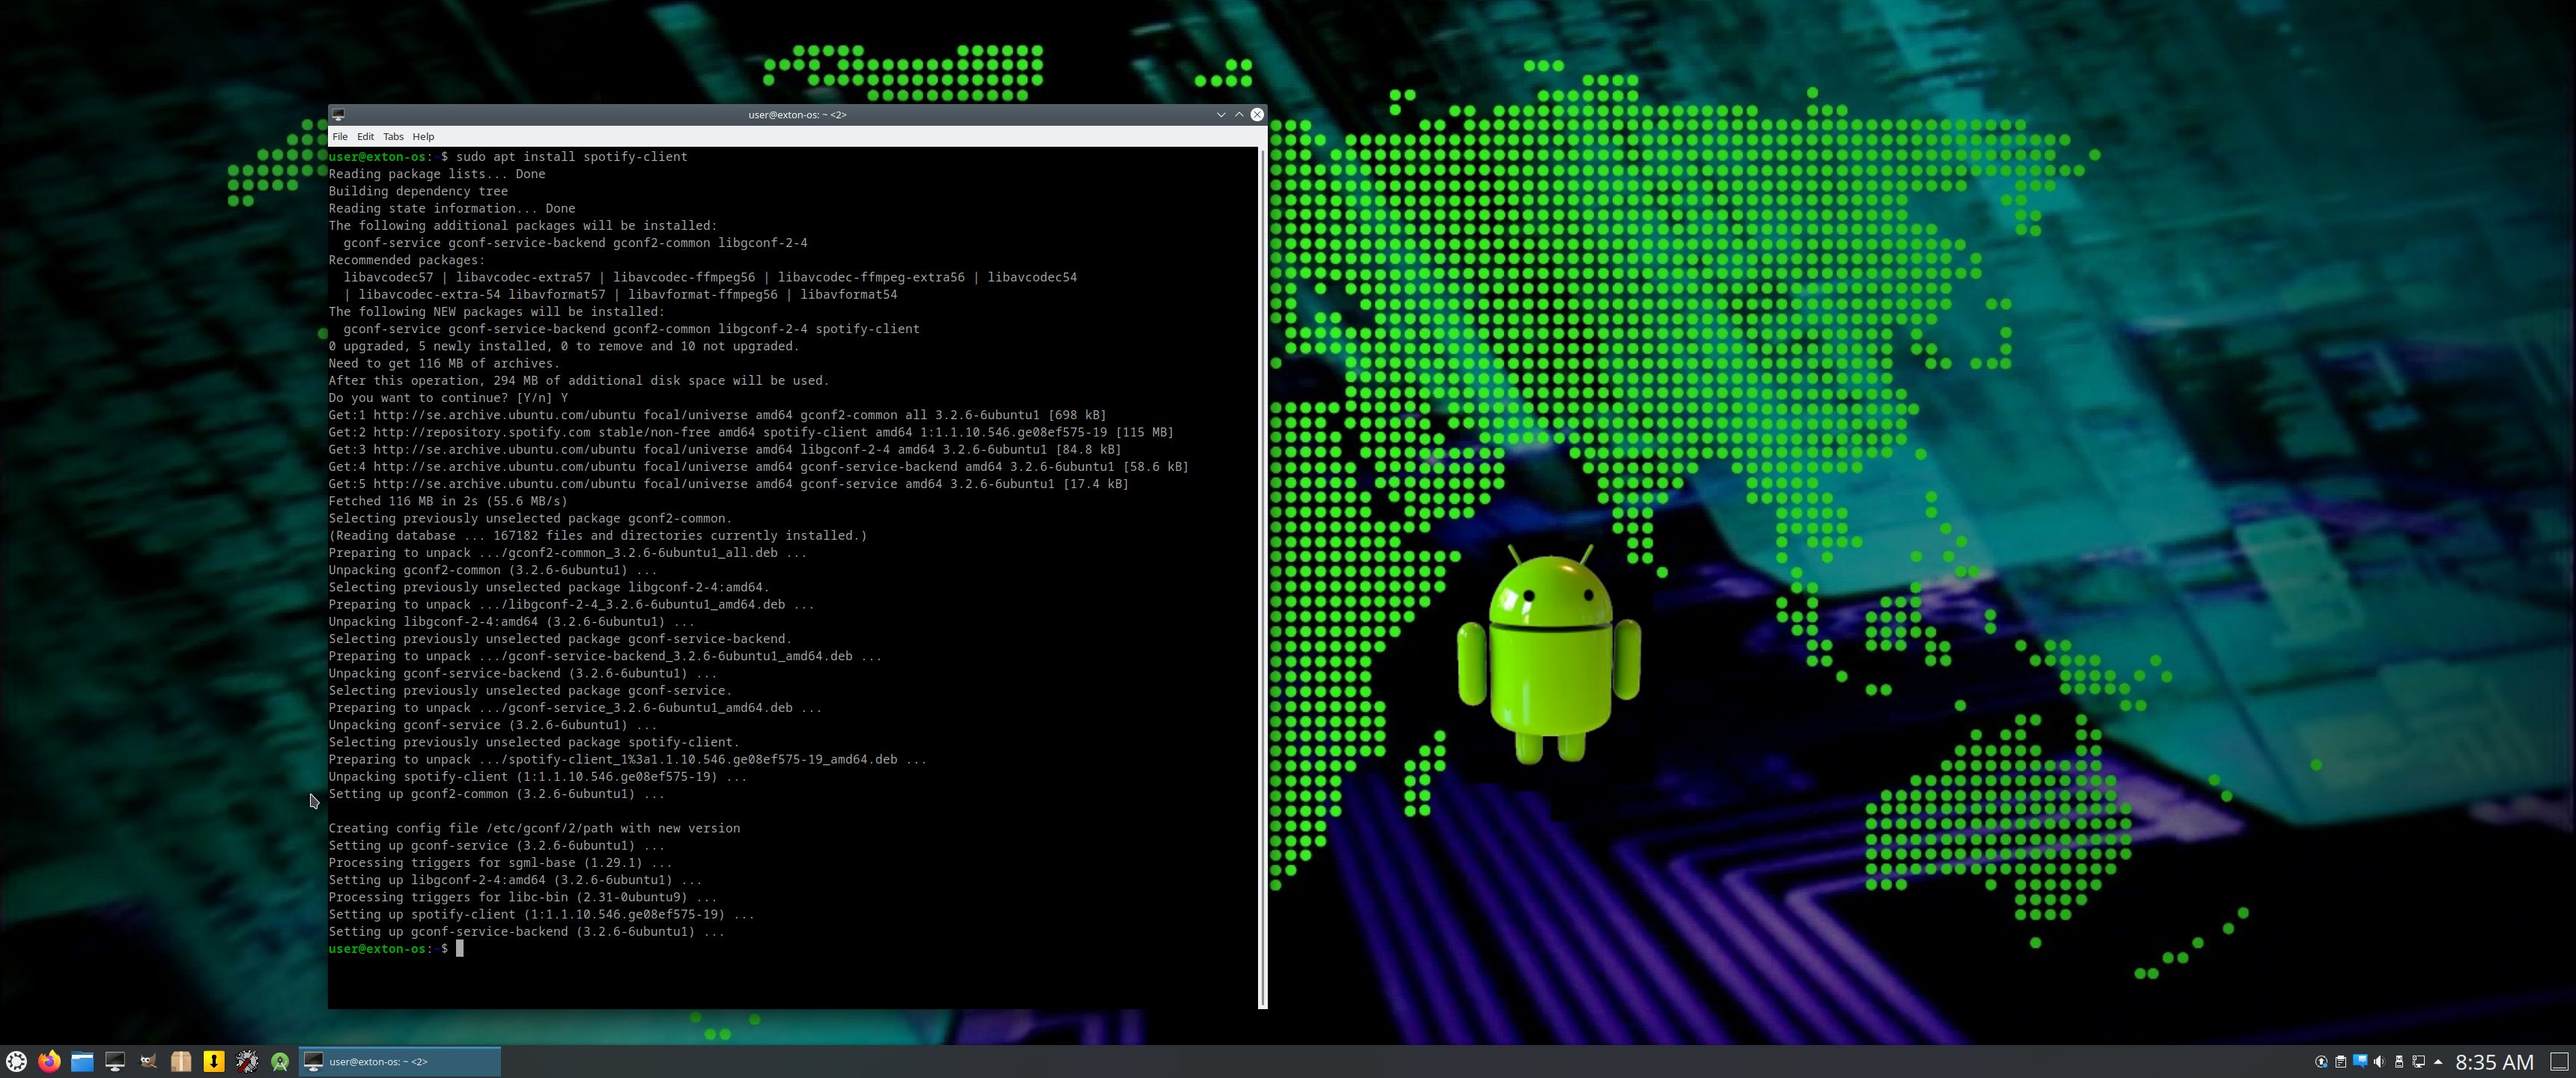
You may want to install Spotify in Exton|OS. Just go ahead. It’s very easy. Follow this instruction for Ubuntu. When running Exton|OS Build 220406 live or from hard drive you can just install Spotify with the command sudo apt update followed by sudo apt install spotify-client. Watch this screenshot. You can (of course) also install Spotify in an AVD. Watch this screenshot.
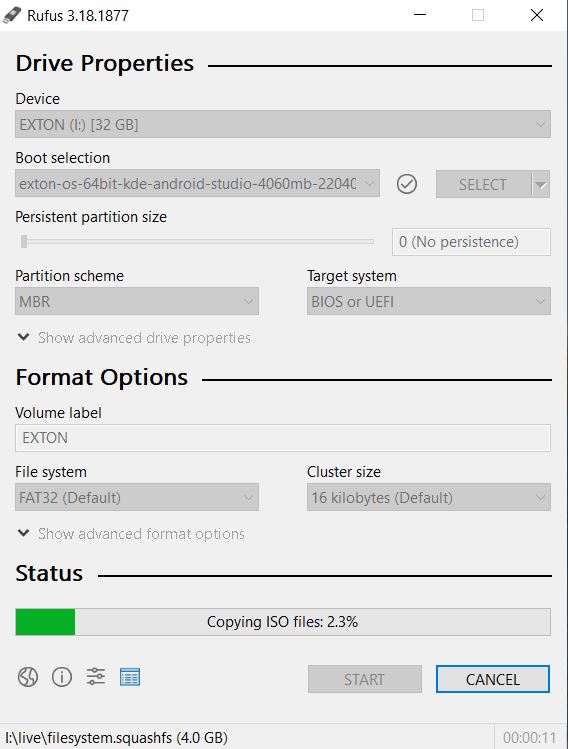
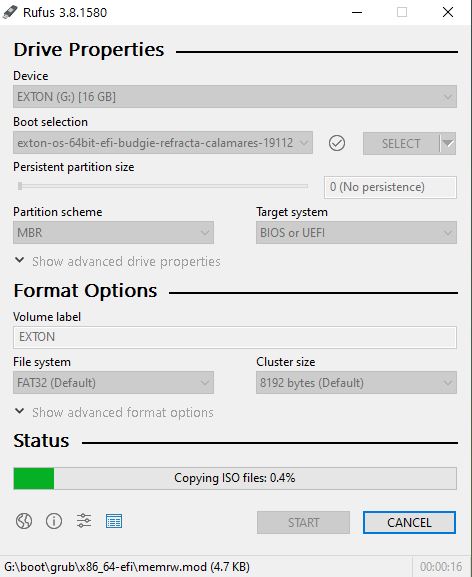
USB installation without persistence
Use Rufus 3.18 in Windows. When running Rufus it will look like this.
USB installation with persistence
To enable persistence you can install Exton|OS to a USB stick in the same way as a hard drive installation. I.e. using Refracta Installer. Read my INSTRUCTION. For persistence read under C).
SCREENSHOTS
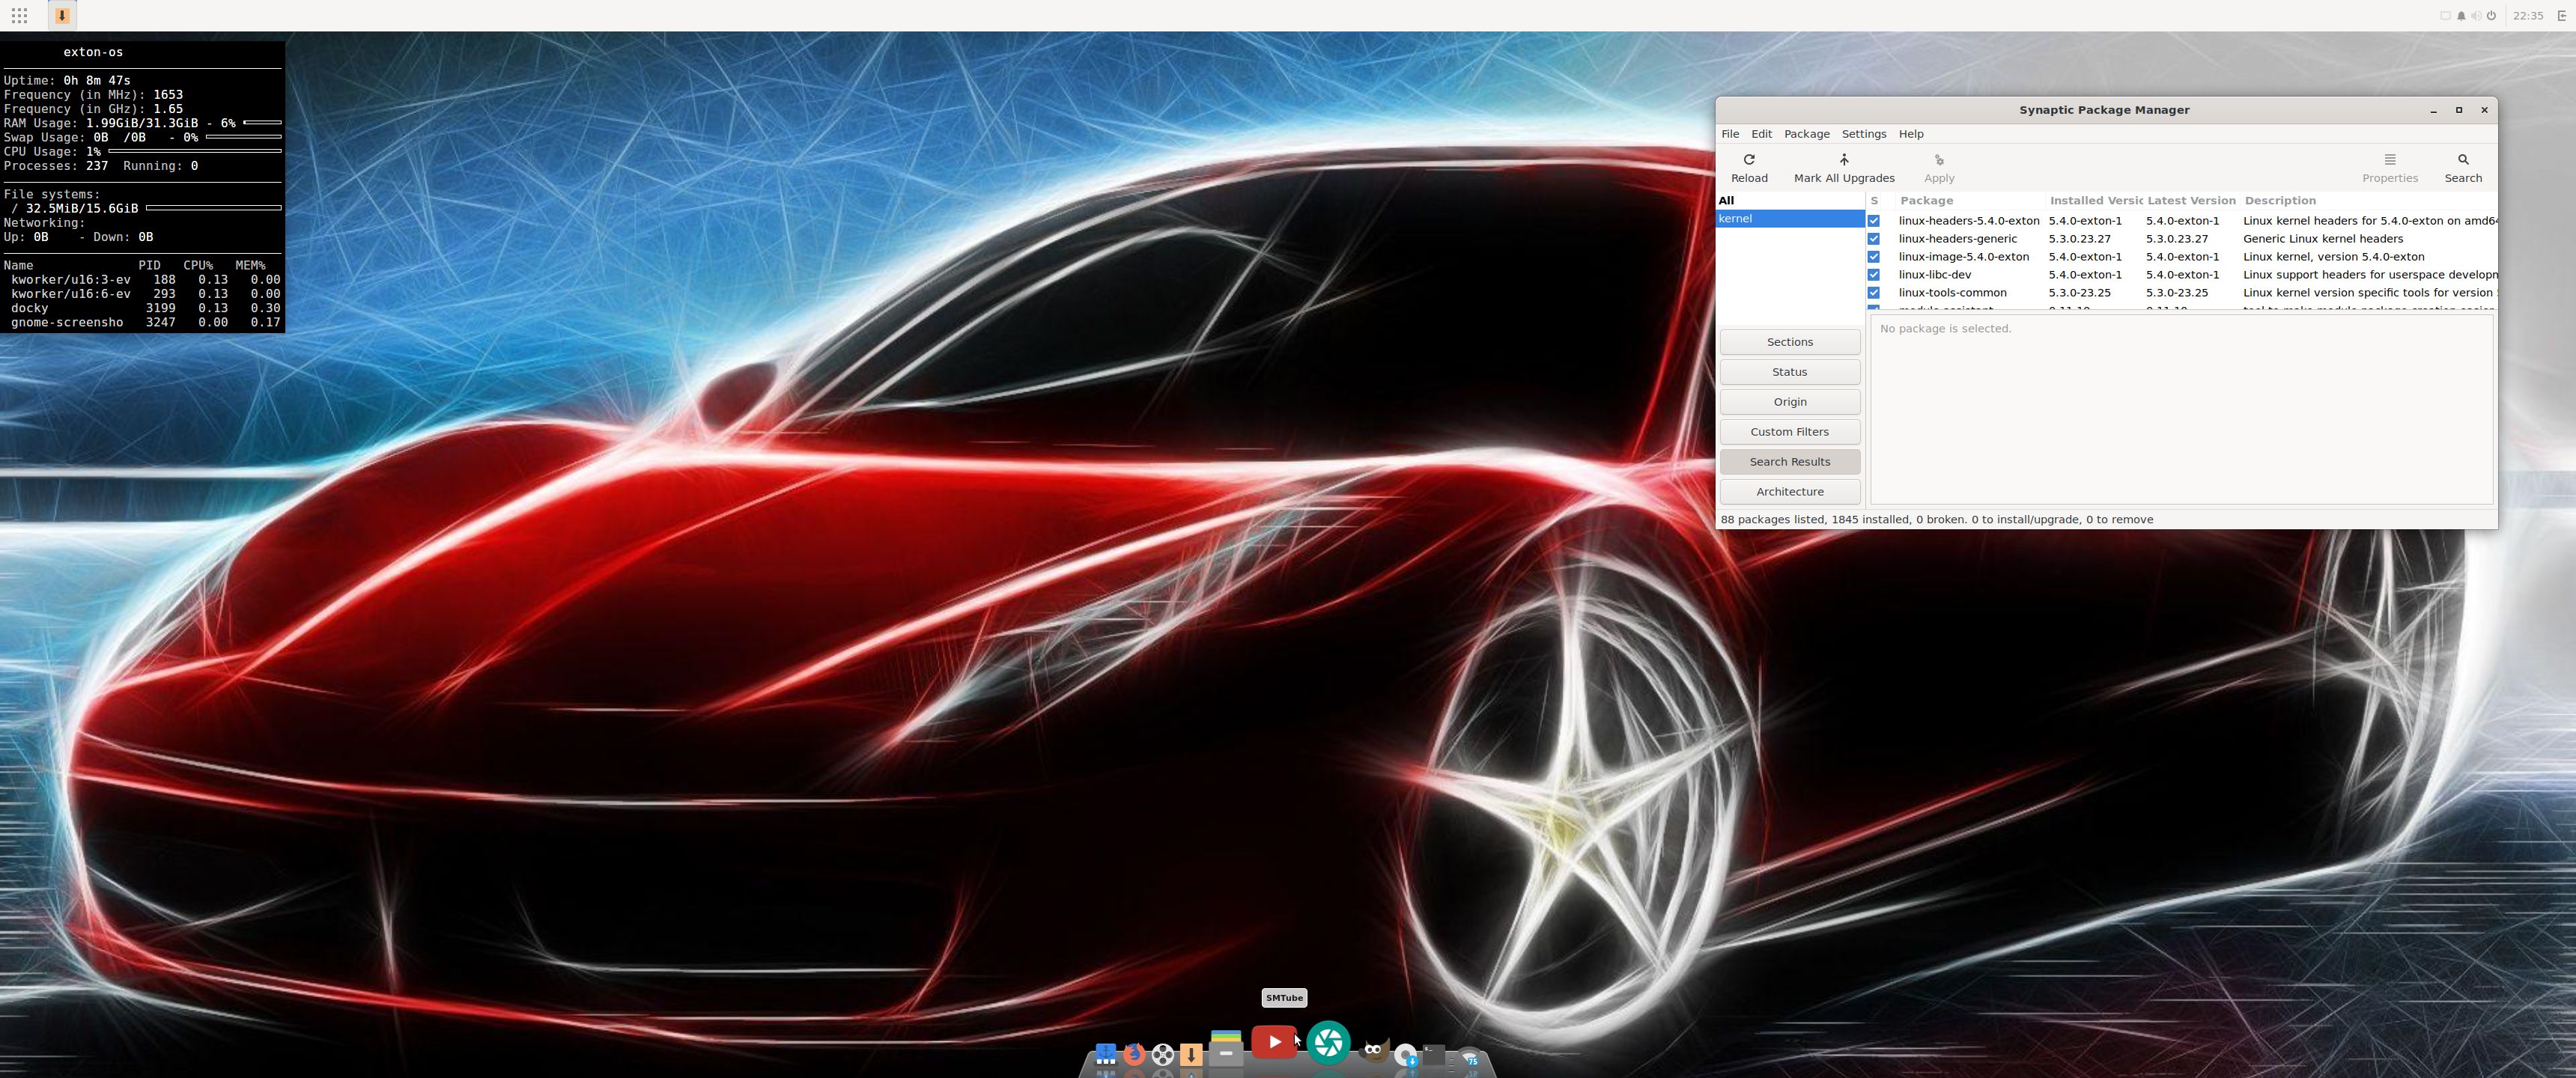
Screenshot 1 – Exton|OS’s KDE Plasma Desktop with Android Studio running
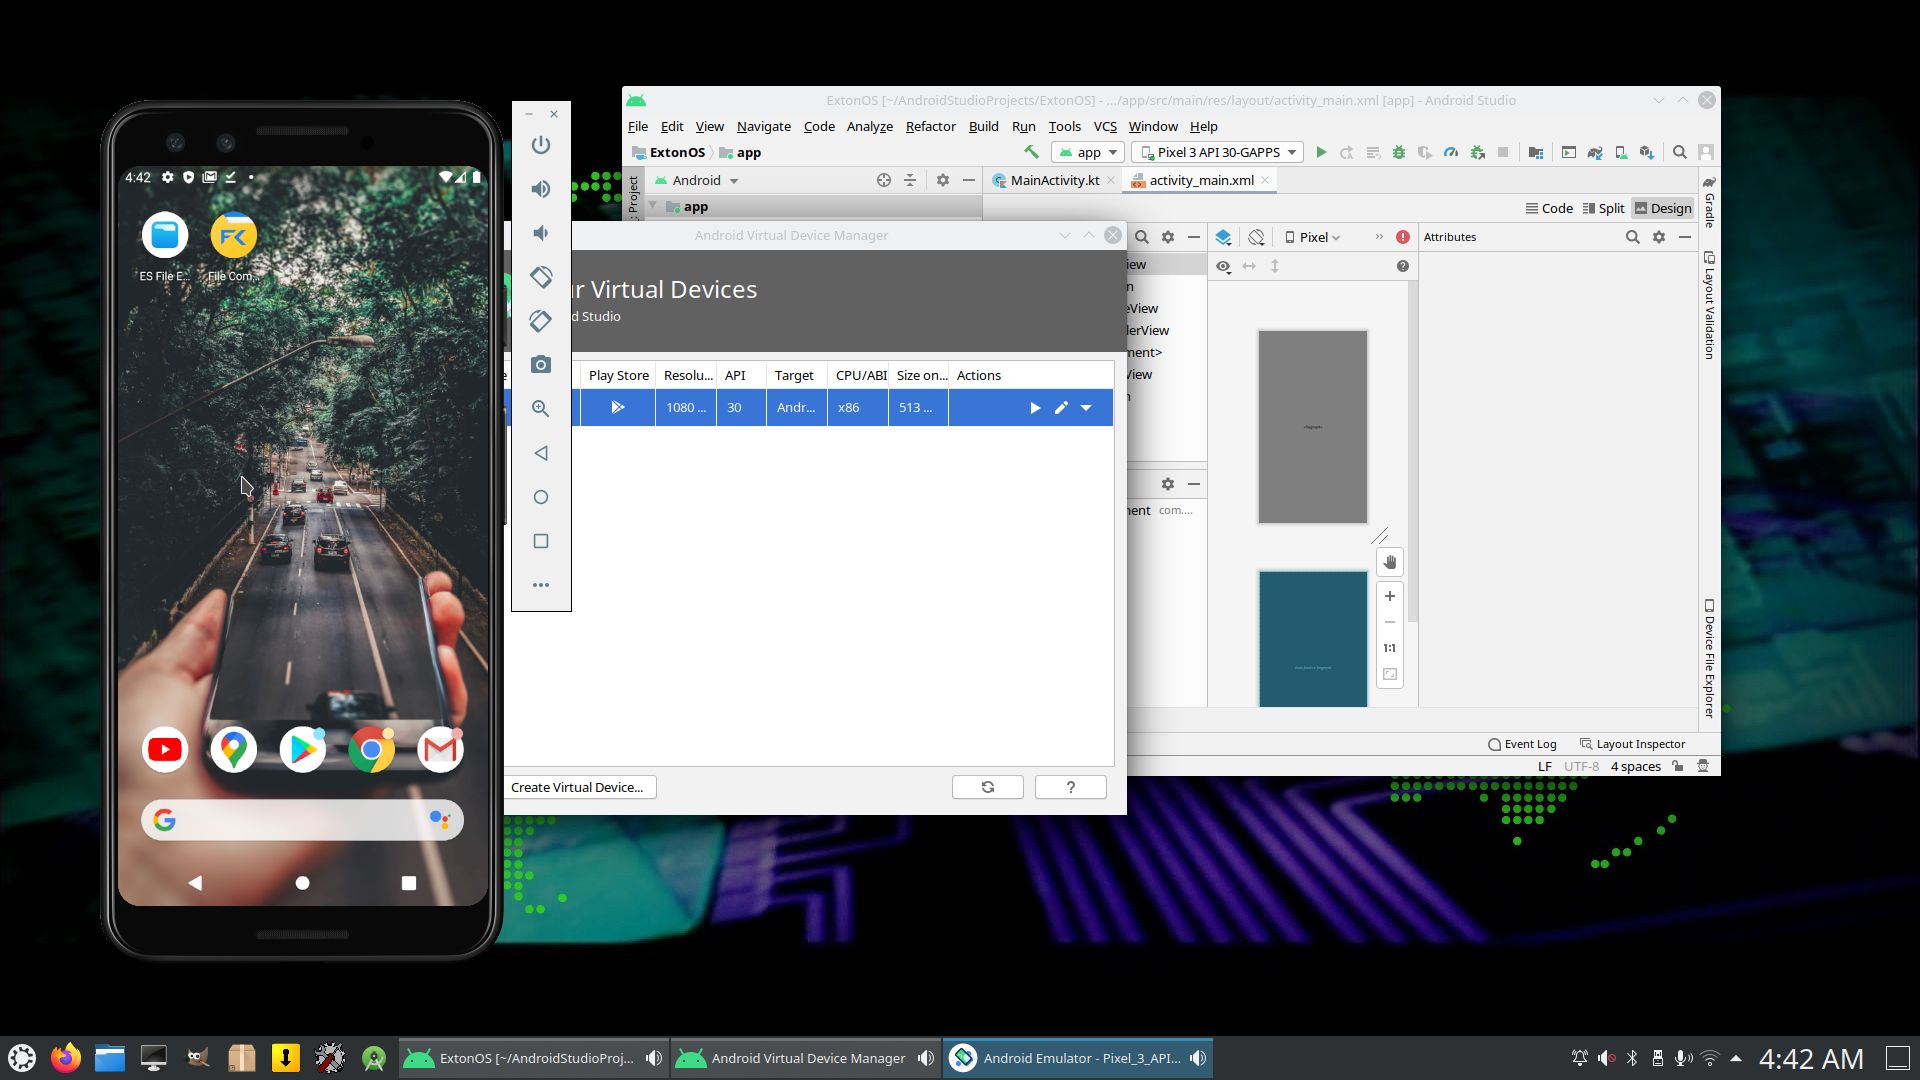
Screenshot 2 – Running an AVD with Google Play Store included
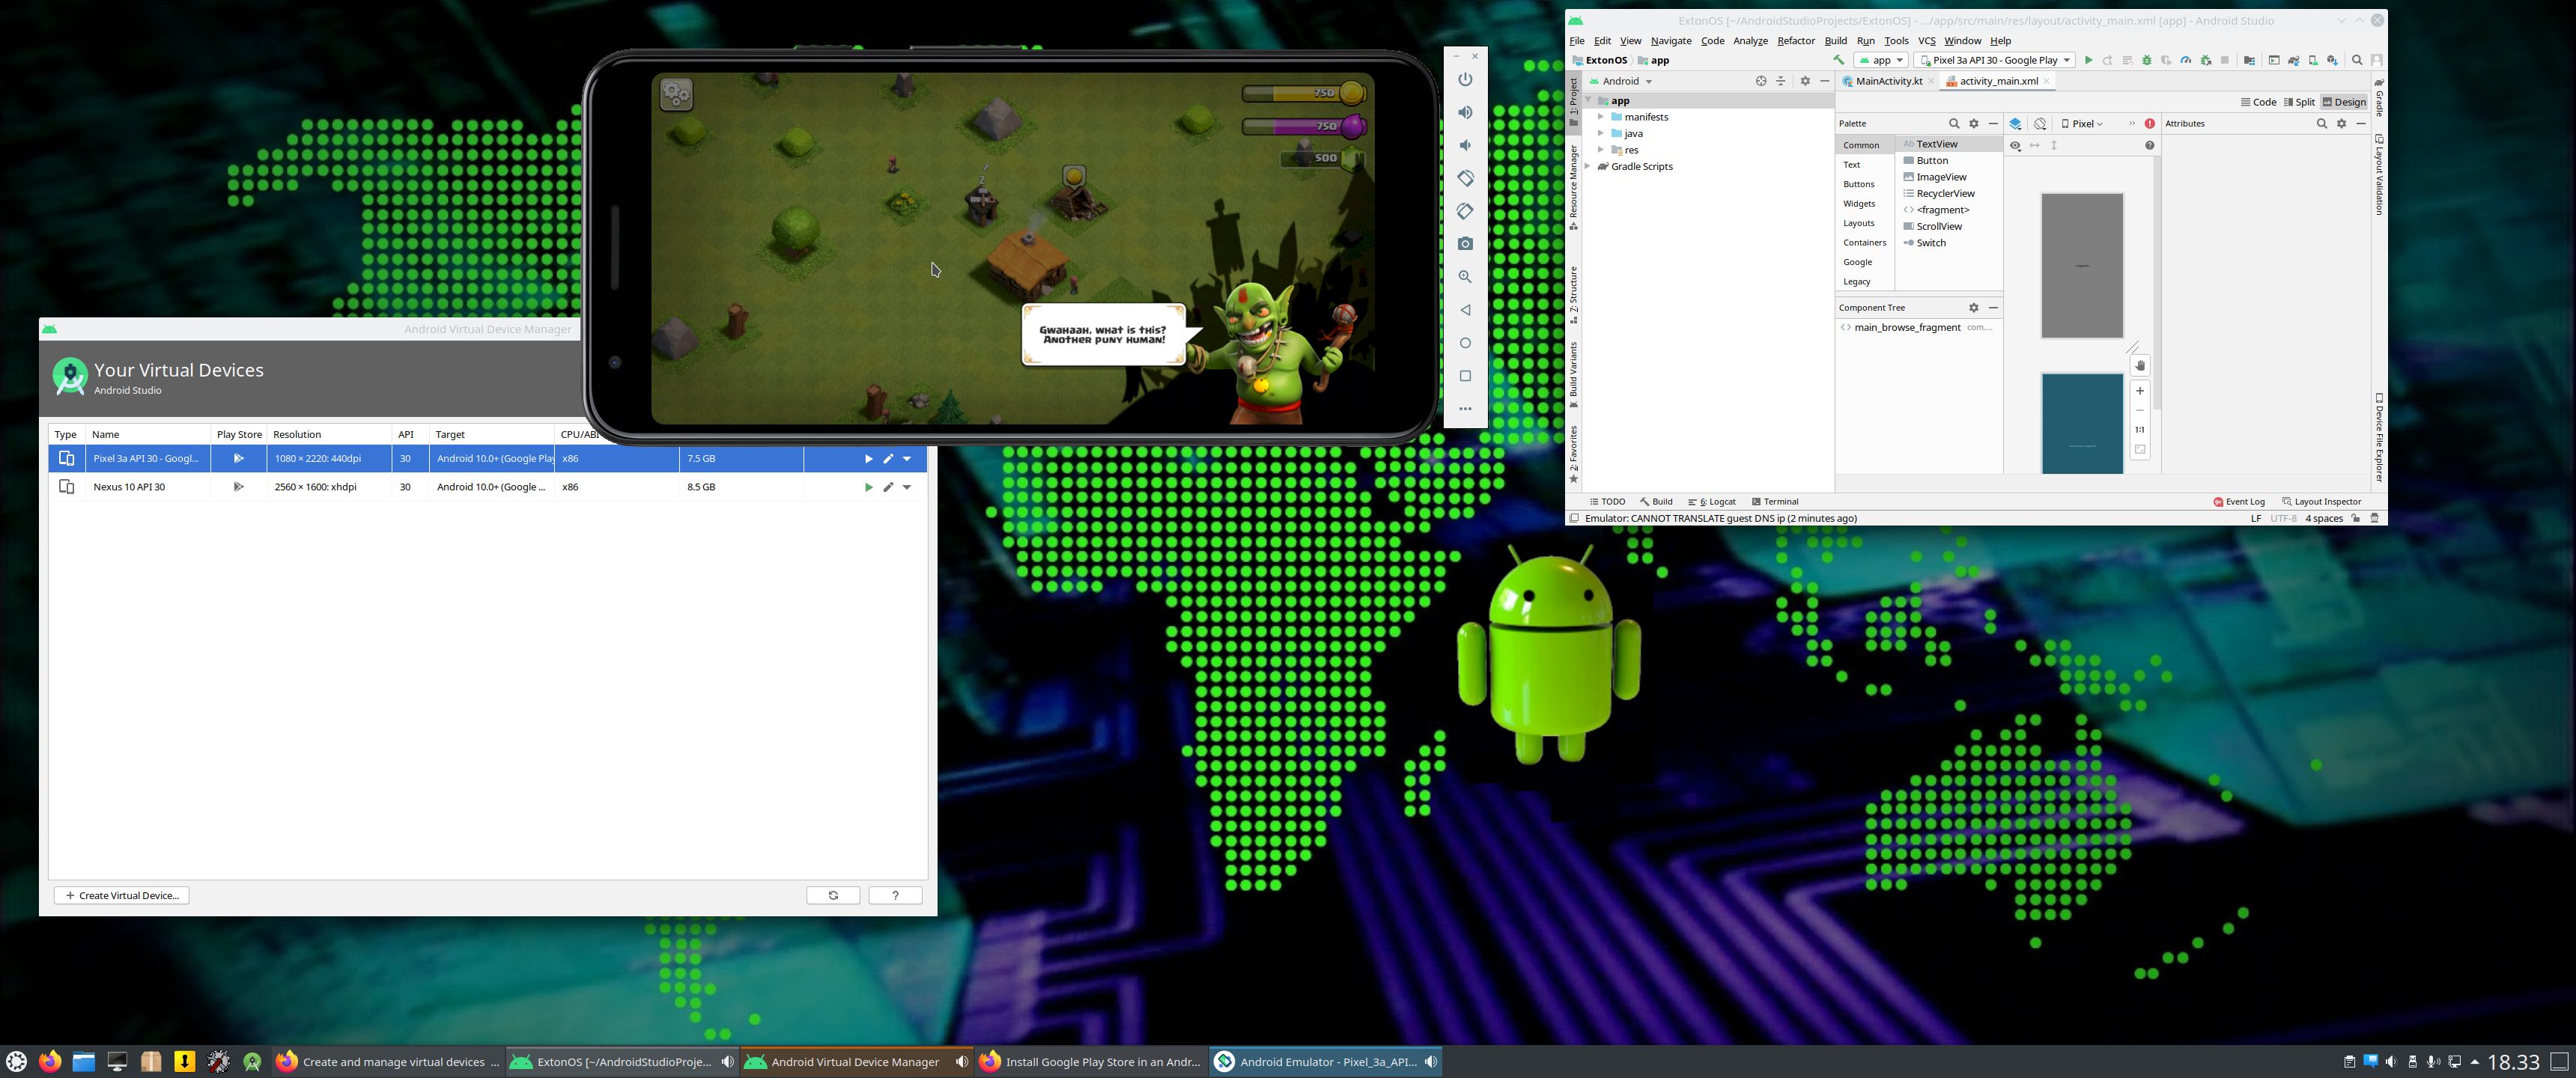
Screenshot 3 – Running Clash of Clans in the Emulator
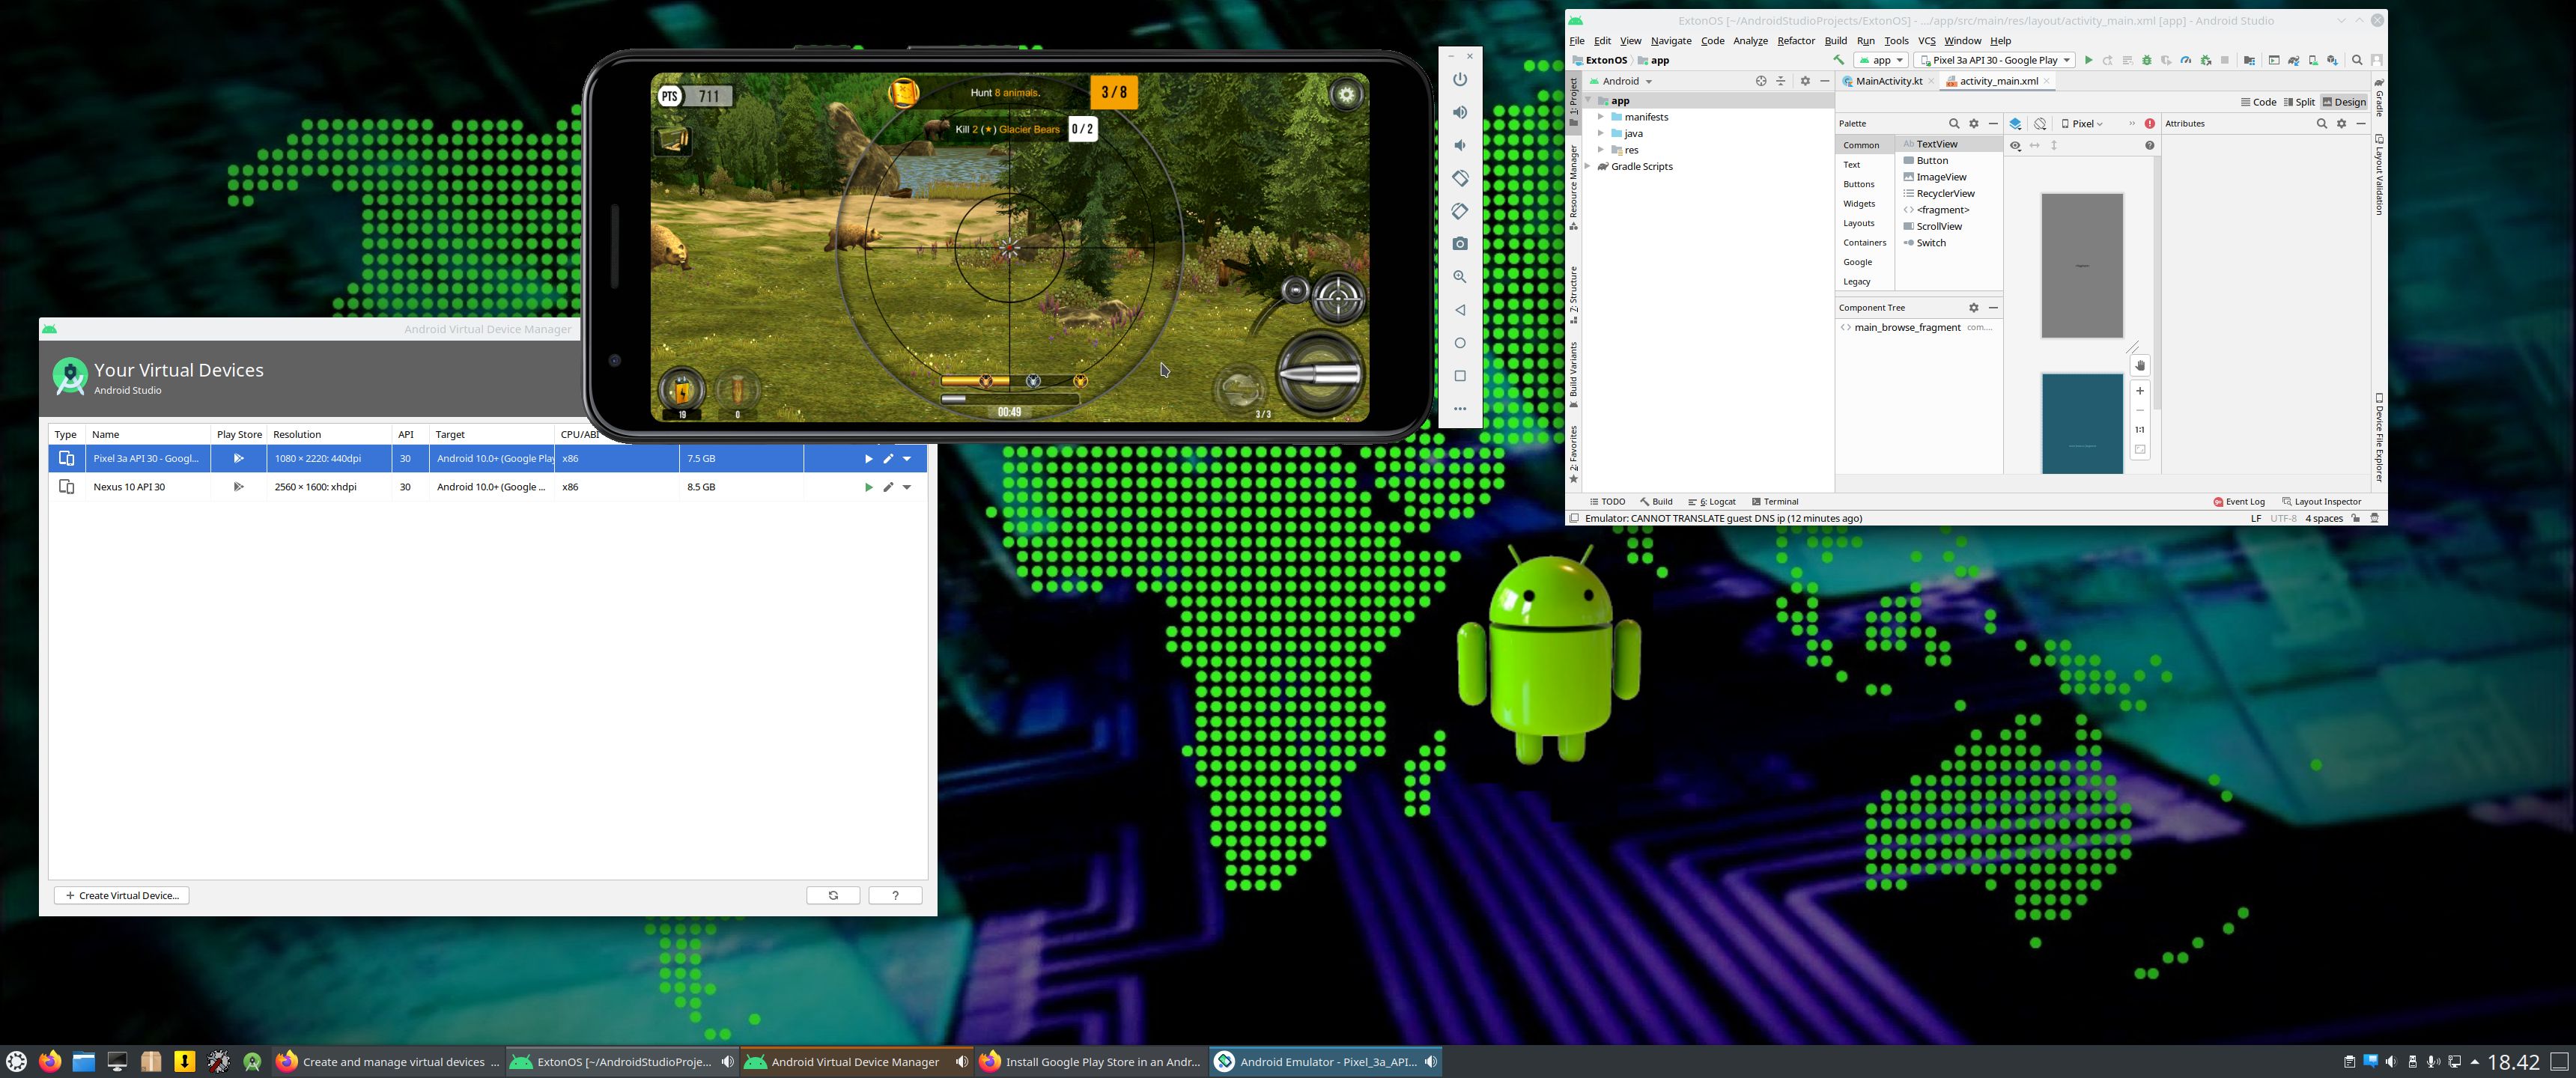
Screenshot 4 – Running a big Hunt game installed via Google Play Store
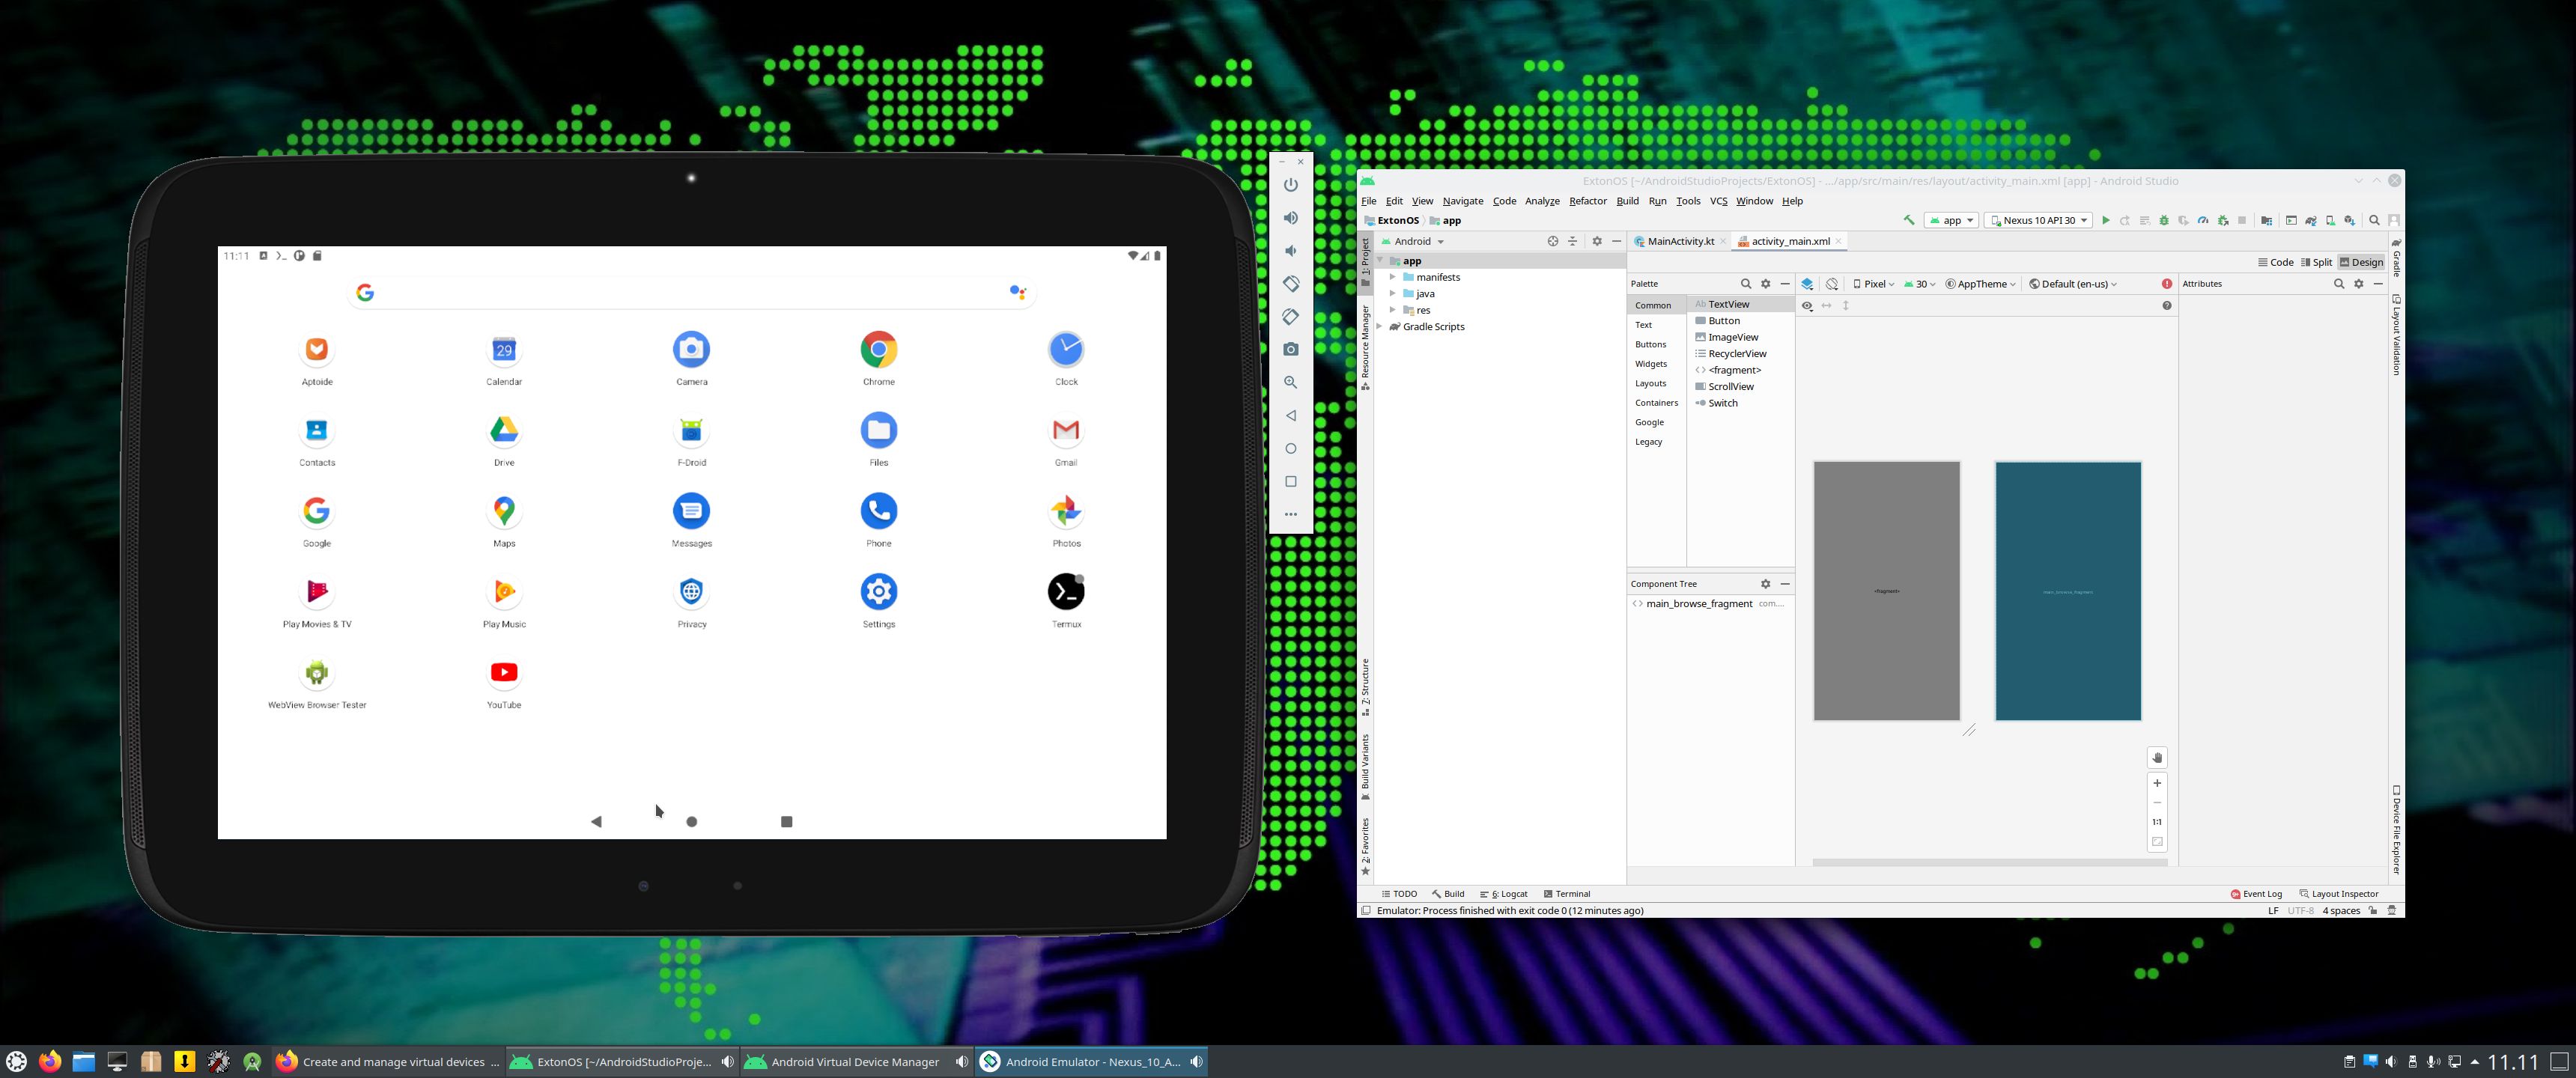
Screenshot 5 – Running F-Droid in an AVD
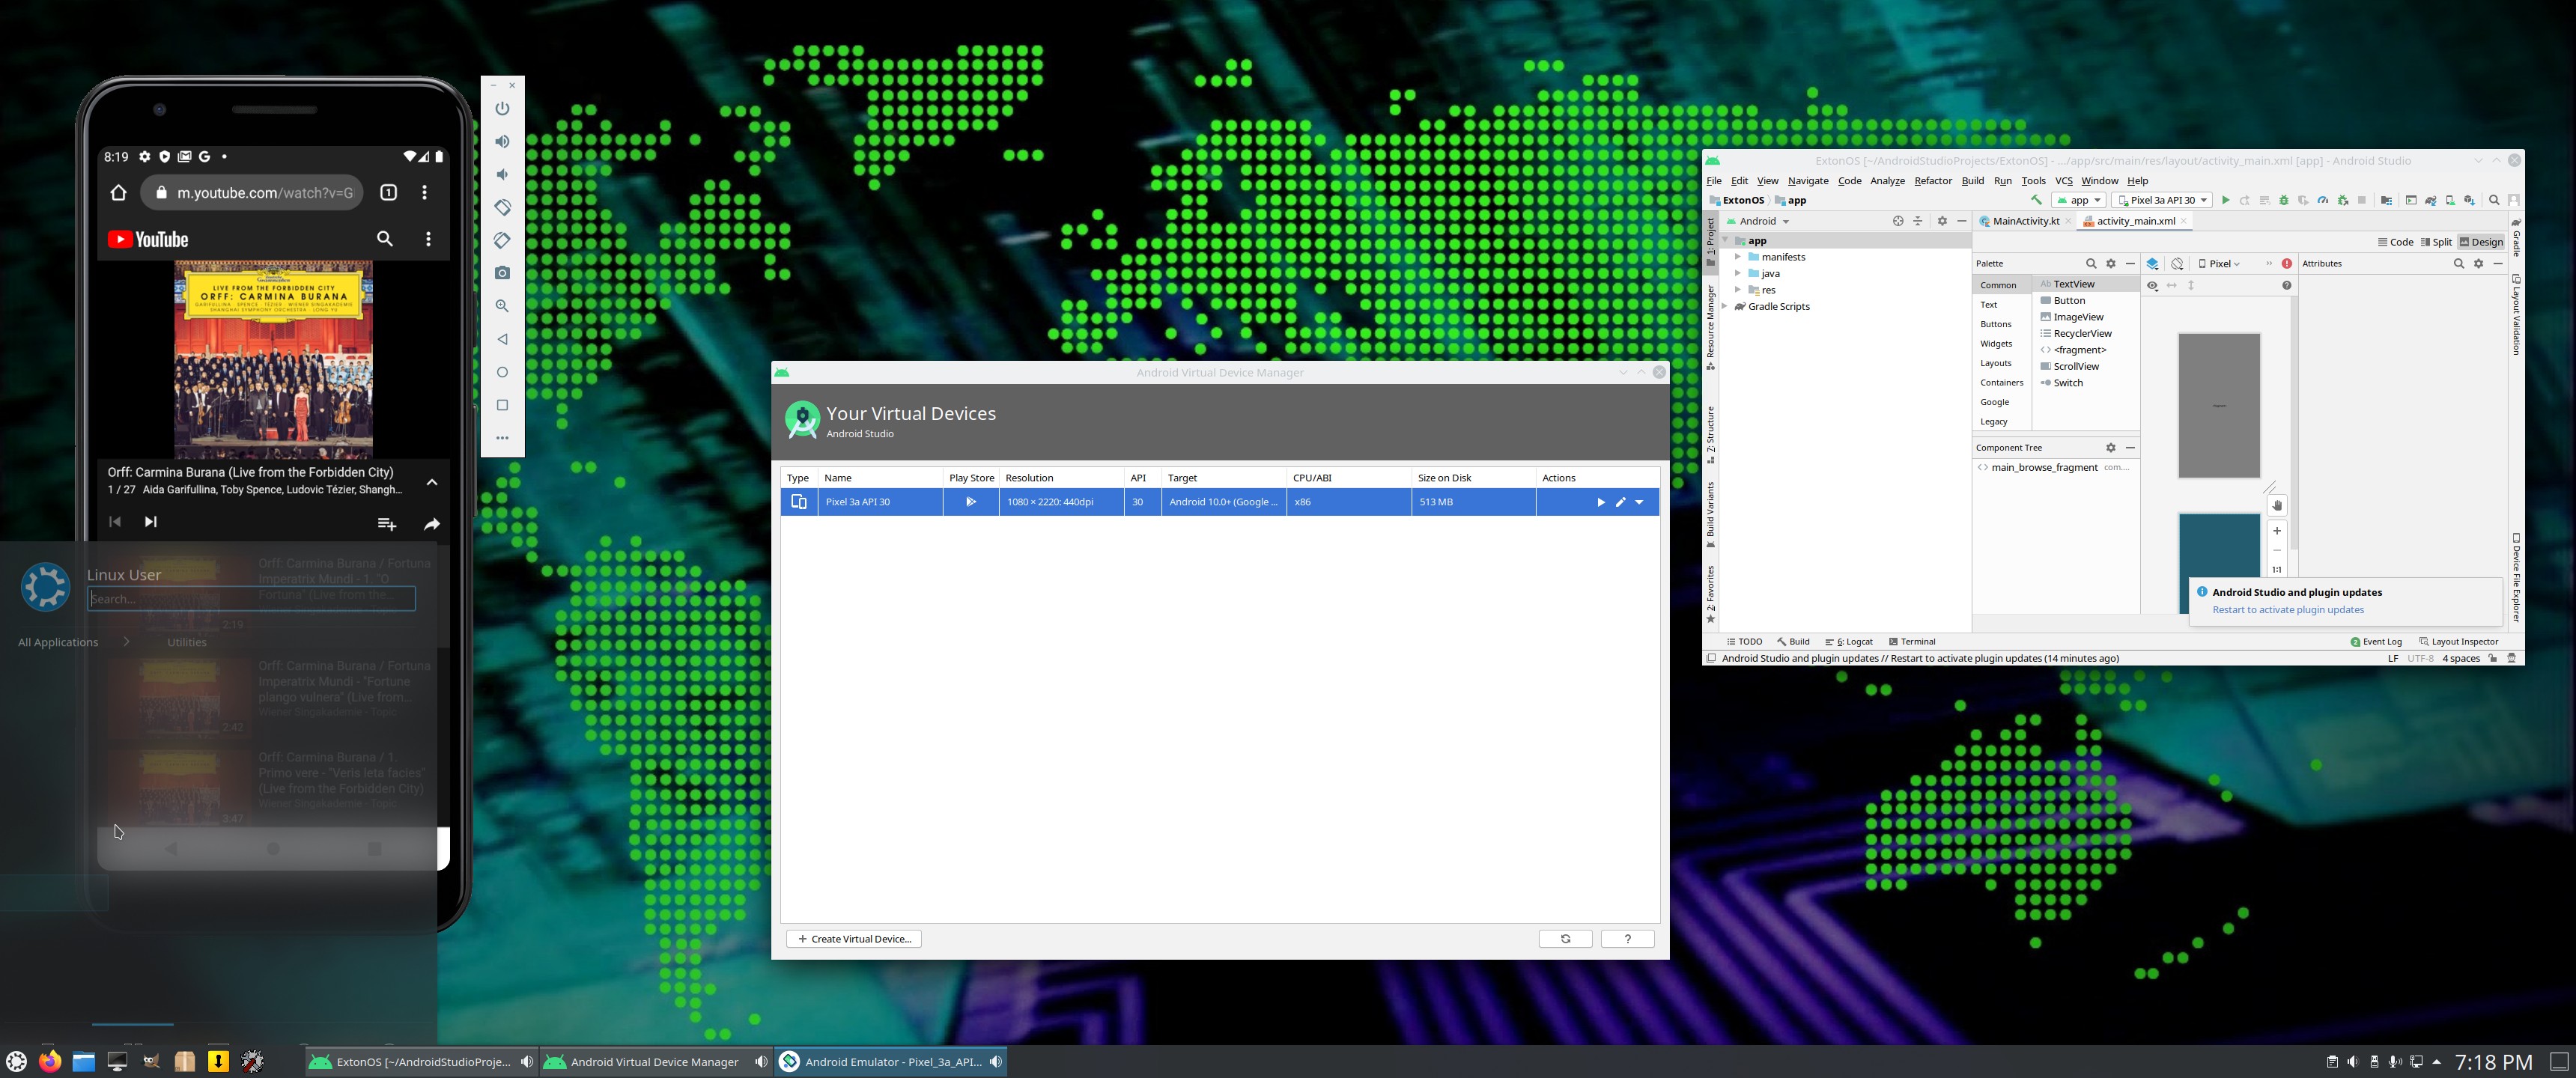
Screenshot 6 – Running YouTube in an AVD
Screenshot 7 – Google Play Store running in an AVD
Screenshot 8 – All installed apps in an AVD (some installed by me)
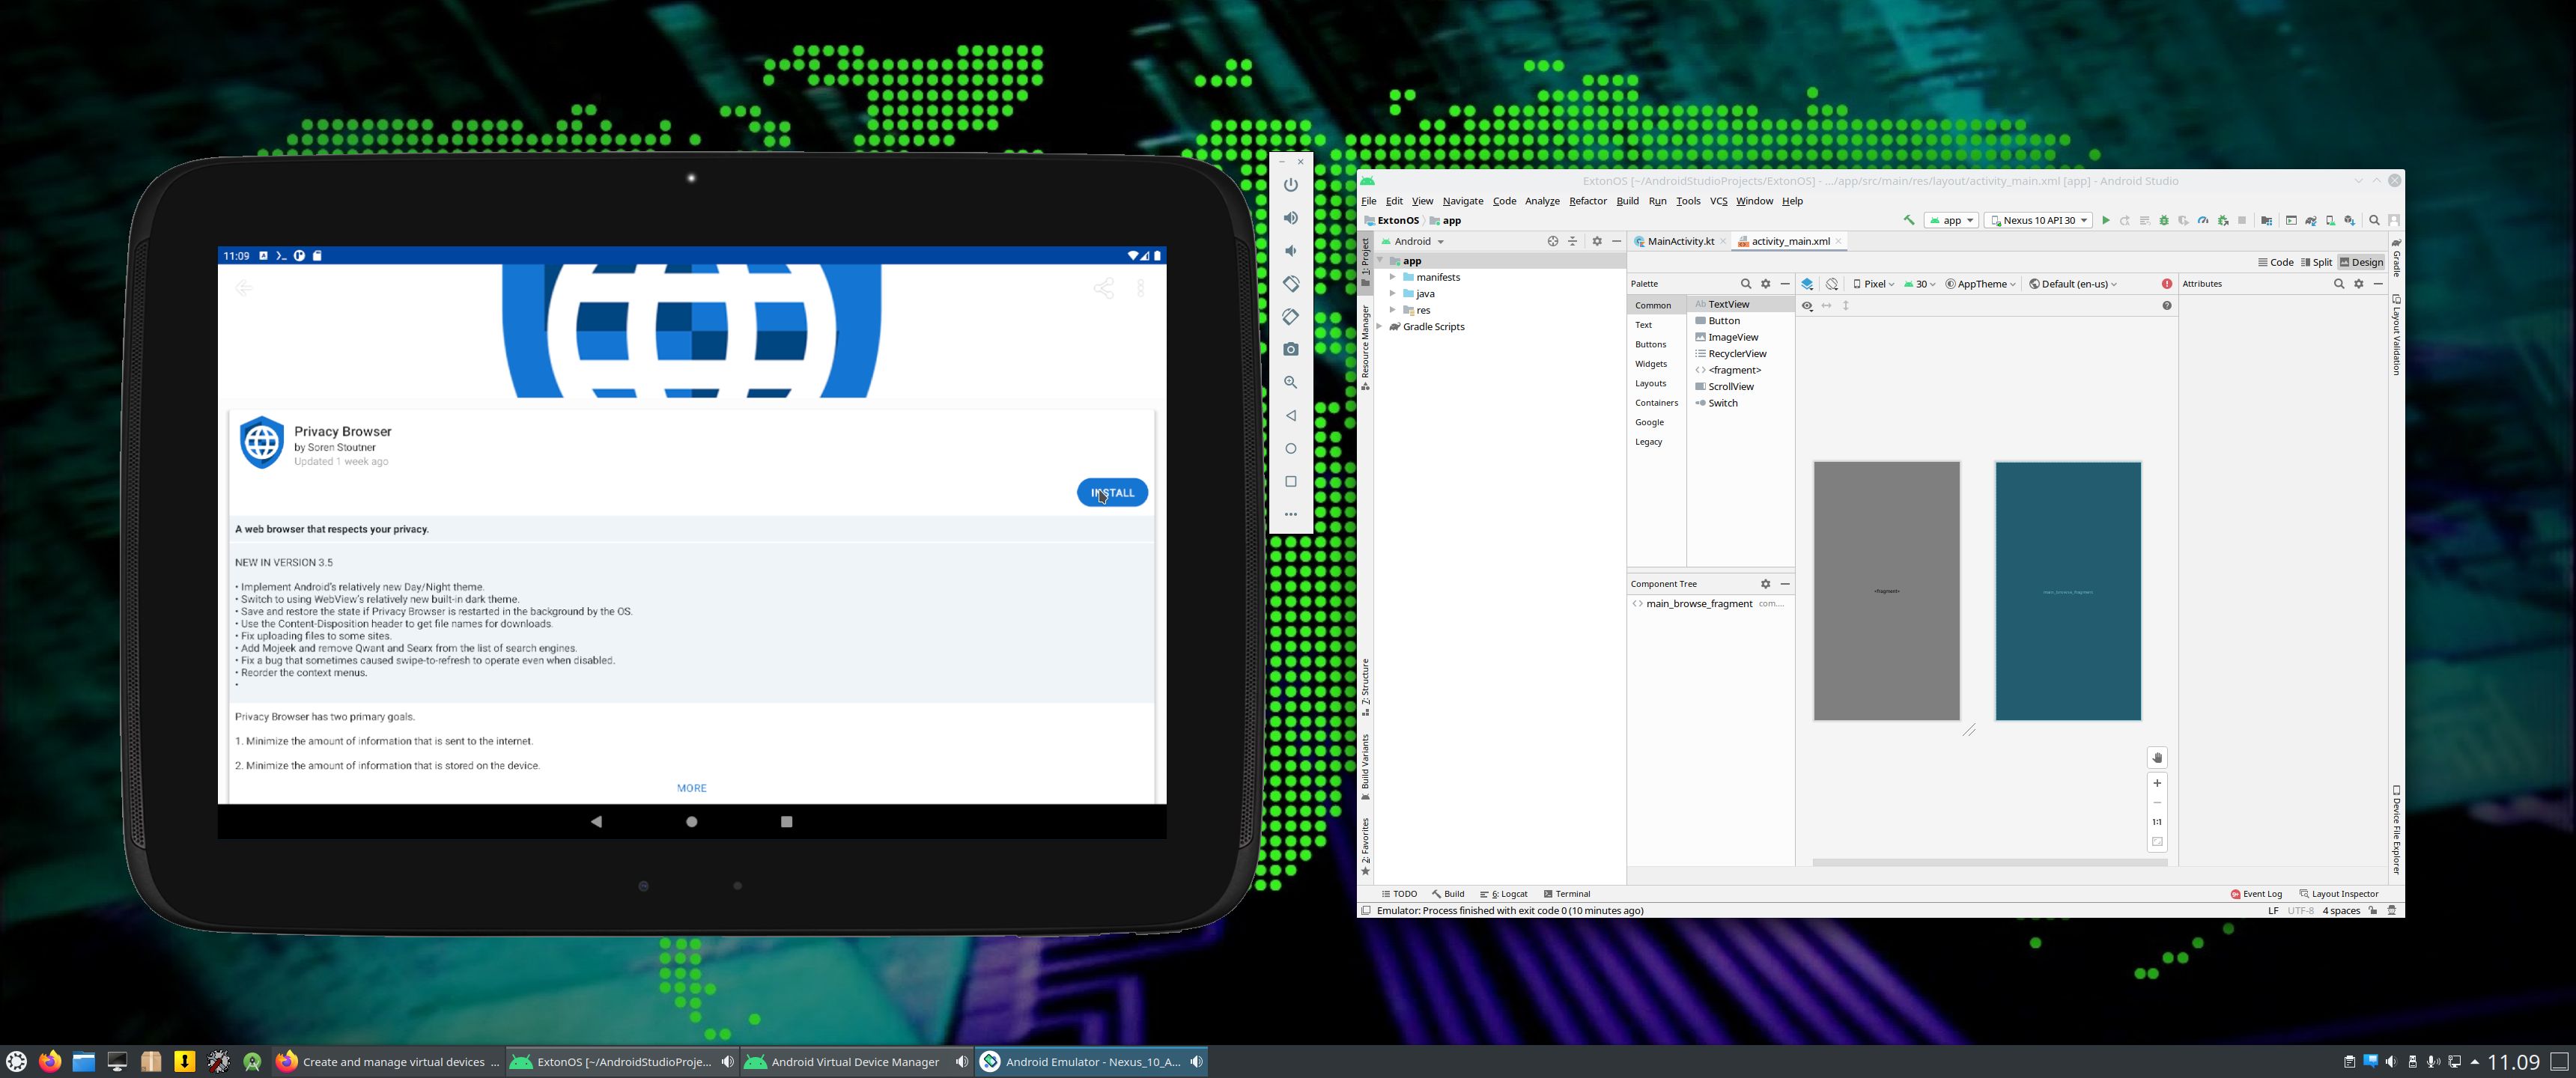
Screenshot 9 – An AVD running nicely in KDE (with Google Play Store)
Screenshot 10 – Exton|OS KDE running in VirtualBox in full screen
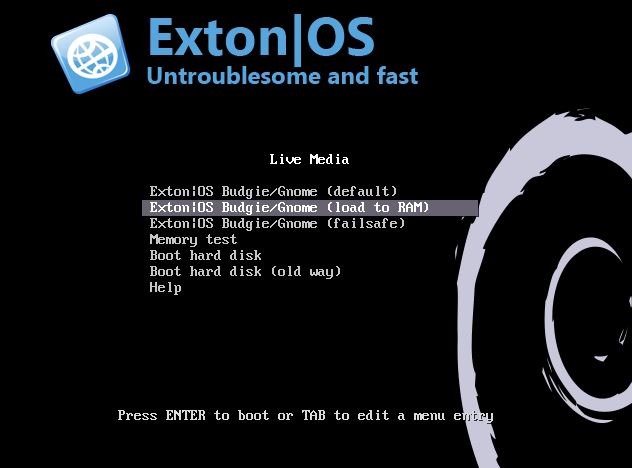
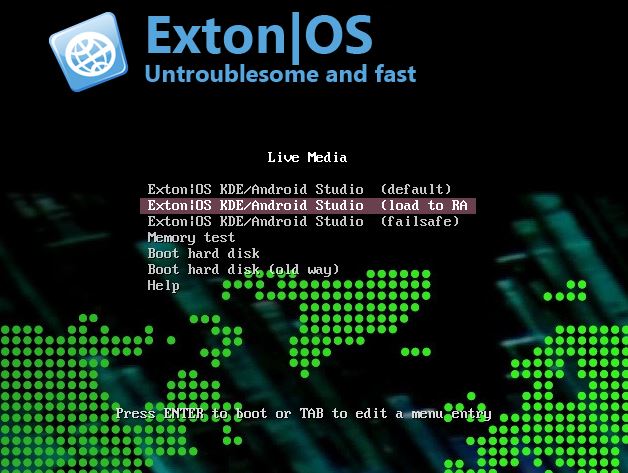
Screenshot 11 – The live boot screen
DOWNLOAD
This version of Exton|OS has been replaced by version 231223…
![]()
andex.exton.net – latest is AndEX 11 (with GAPPS), AndEX 10 (with GAPPS) and AndEX Pie 9.0 (also with GAPPS)!
and
about my Android 13, 12, 11, 10, Pie, Oreo, Nougat, Marshmallow and Lollipop versions for Raspberry Pi 4 and 3/2 at
raspex.exton.se – latest is RaspAnd 13 and 12 (without GAPPS), RaspAnd 11 (with GAPPS) and RaspAnd Oreo 8.1 (also with GAPPS)!