 NEWS 200319 ABOUT Exton|OS with Budgie Desktop 10.5, Gnome 3.36 and Refracta Snapshot
The Desktop Environment in this Exton|OS build is Budgie 10.5. Budgie is focused on simplicity an elegance. Designed with the modern user in mind. Gnome 3.36 is also installed. It was released 200311. Program content in build 200319: Refracta Snapshot, Calamares 3.2.20, Firefox, Gimp, SMPlayer, SMTube, and GParted. Also all necessary additions in order to install programs from source. Calamares is an installer framework. By design it is very customizable, in order to satisfy a wide variety of needs and use cases. Kernel 5.6.0-rc6-exton (corresponding Kernel.org‘s latest kernel 5.6-rc6) is used. Kernel 5.6-rc6 was released 200315. All packages have been updated to the latest available version as at March 19, 2020 Study the NEW PACKAGE list. Google Chrome has been removed since it’s now possible to use Netflix in Firefox. Using Refracta Snapshot you can change everything to your liking and create your own live installable Ubuntu system. I mean create your own installable Ubuntu 20.04 LTS Live DVD once you have installed Exton|OS to hard drive. Ubuntu 20.04 will be supported until April 25, 2025.
MOST IMPORTANT CHANGES IN BUILD 200319
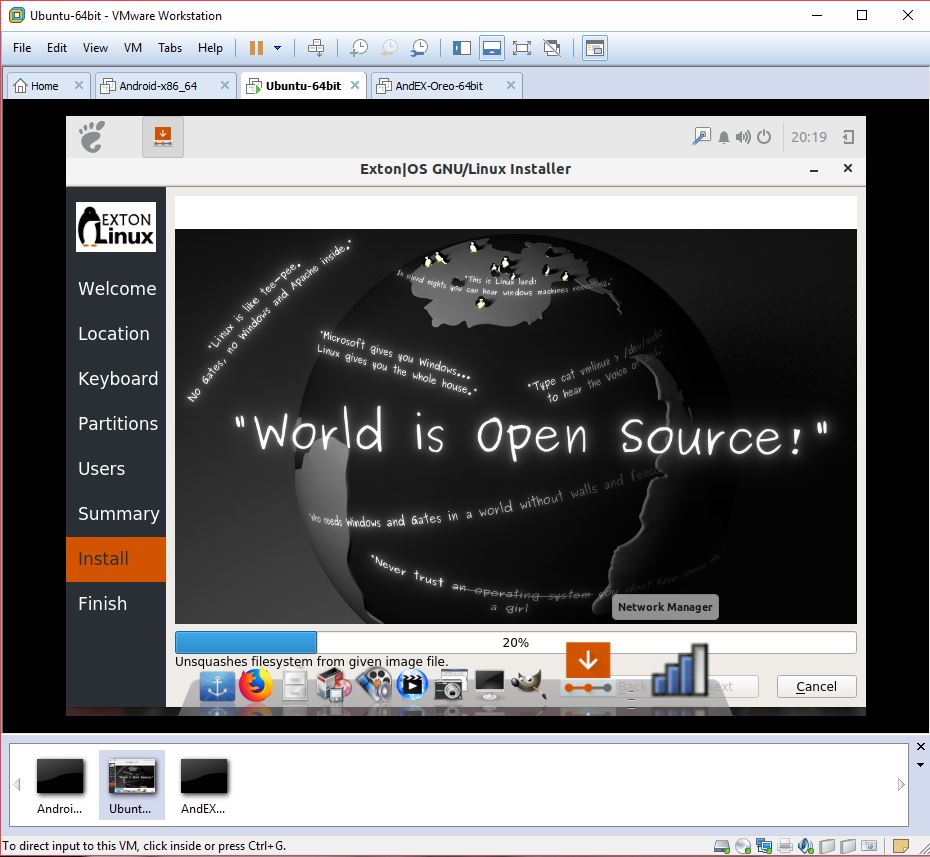
1. This Exton|OS version is for efi computers. You can nevertheless use the Calamares Installer in VirtualBox/VMware and thus install Exton|OS in any language. You can even use Calamares for installation to a USB stick and that way get persistence. Please read my instruction before you perform such an installation. Calamares Installer replaces Ubiquity (Ubuntu’s installer). Calamares Installer is also very simple to use. No “expert knowledge” is needed.
2. A brand new kernel – 5.6-rc6 – is used. With Windows exFAT file system support.
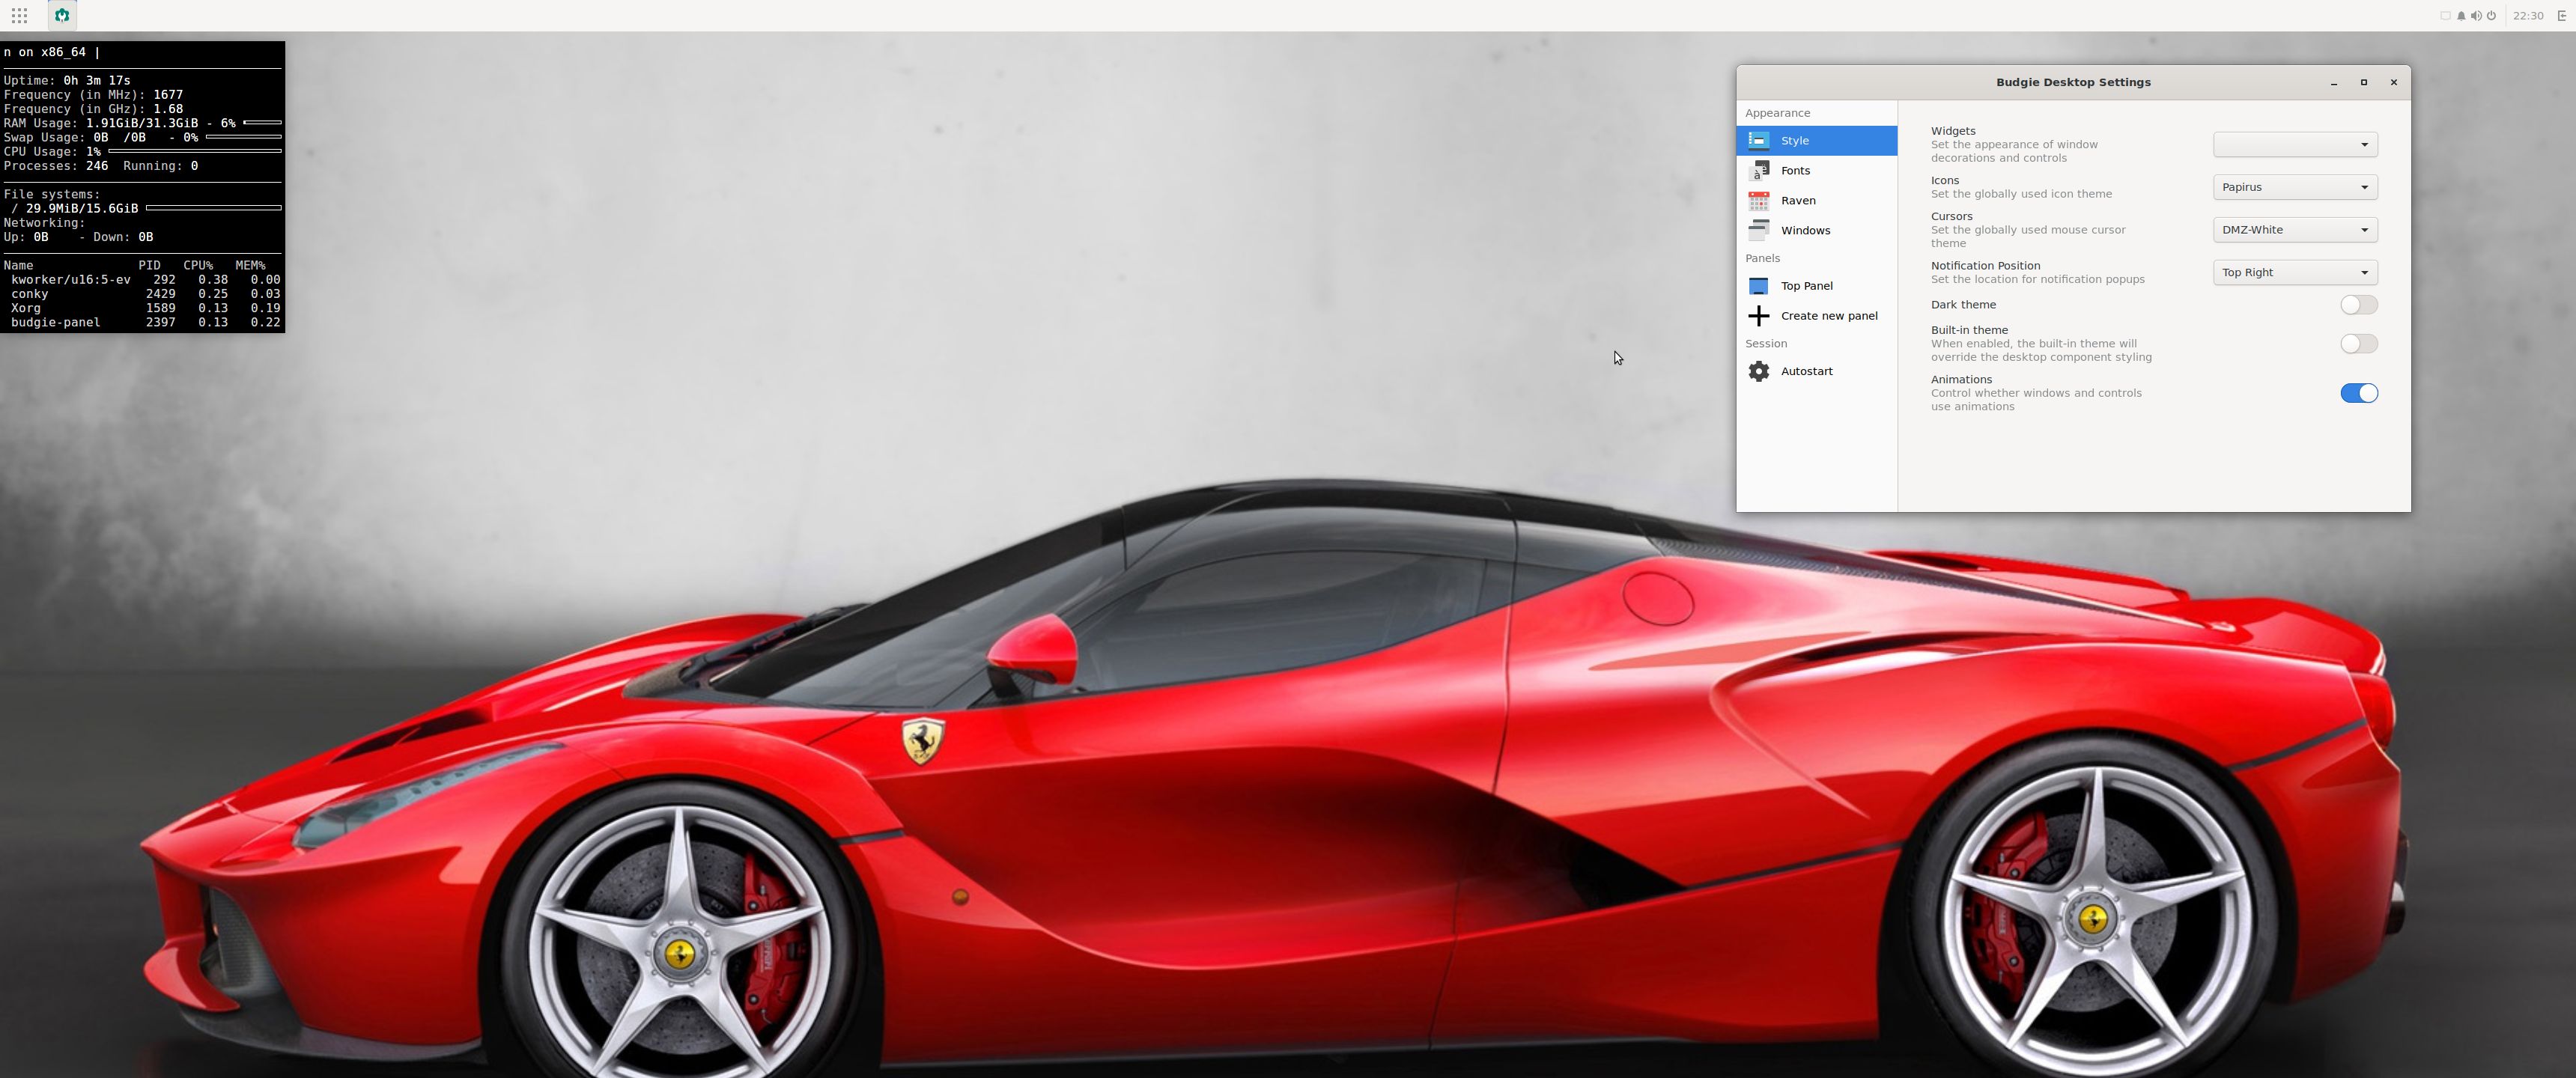
3. The very nice icon theme Papirus is installed and used.
I haven’t changed the wallpapers since it’s hard to find nicer ones.
What’s new in kernel 5.6? – The most exciting kernel in years!
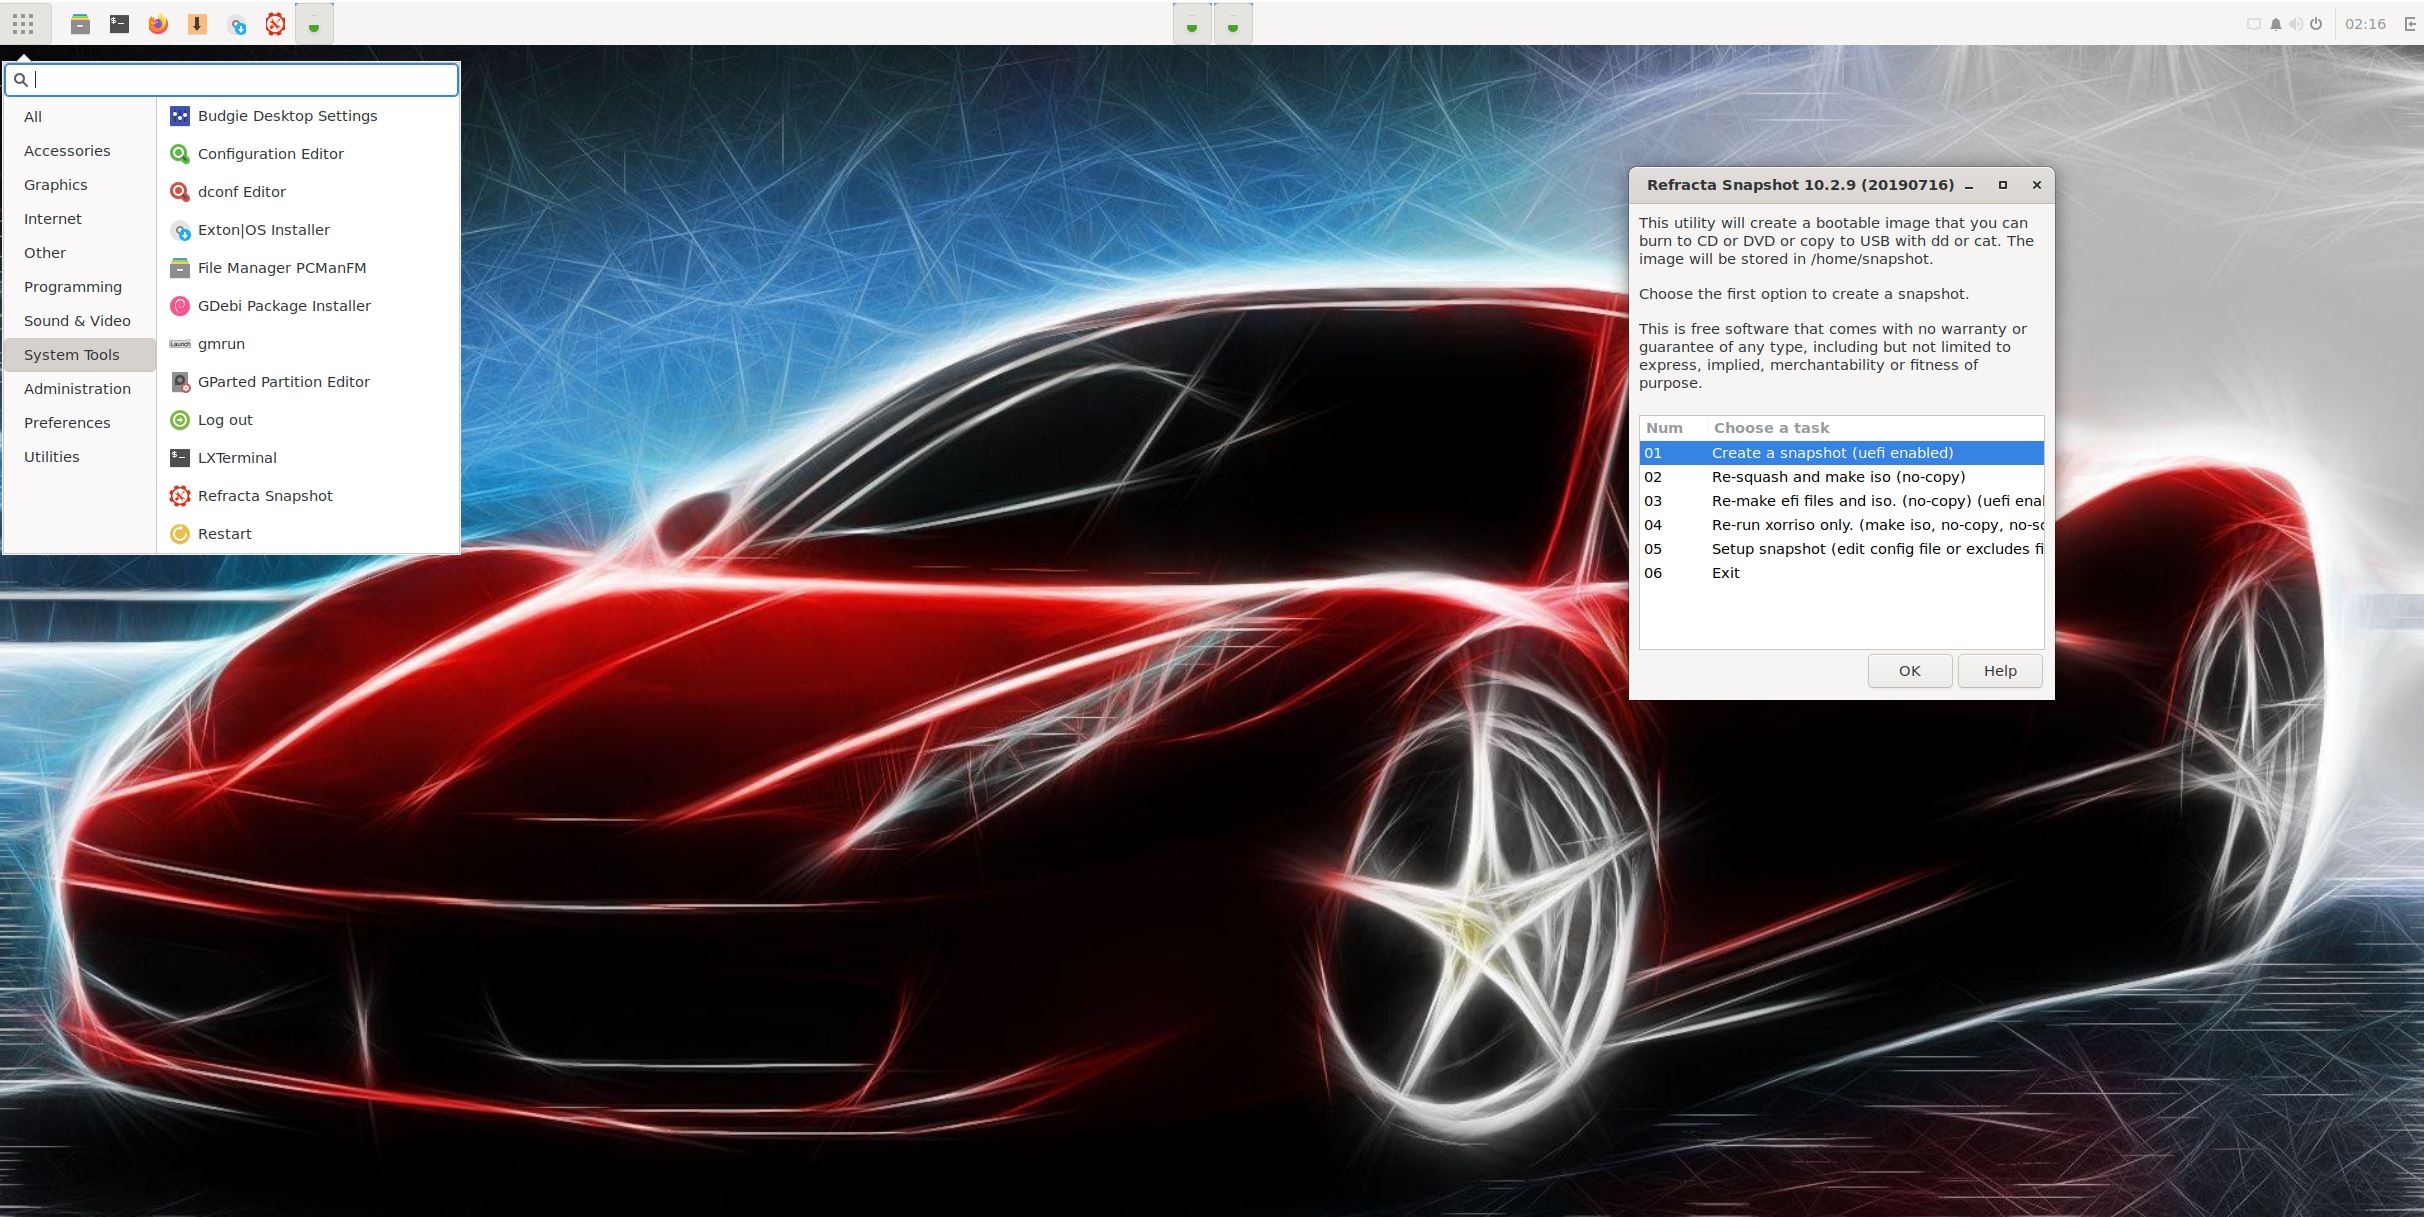
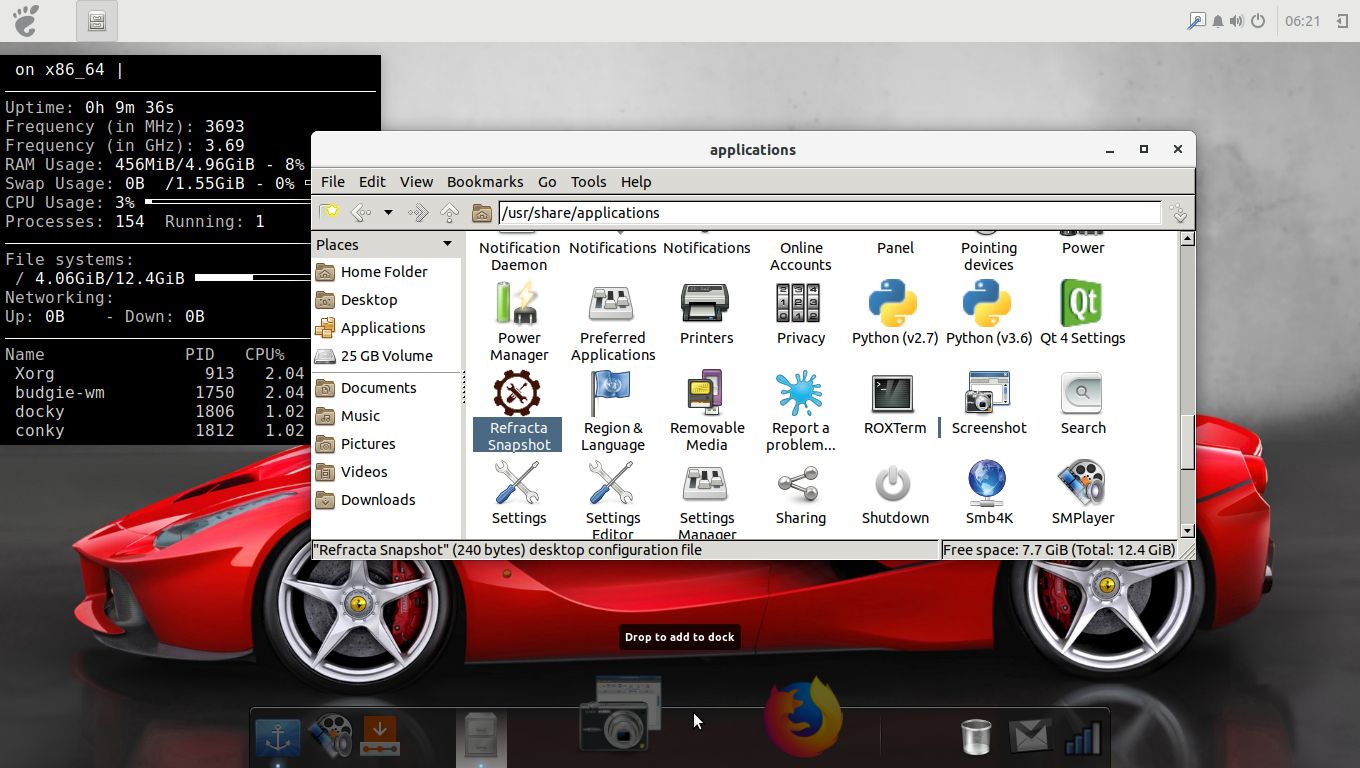
IMPORTANT ABOUT REFRACTA Snapshot
Refracta Snapshot is pre-installed in Exton|OS Build 200319. Use it to create your own live installable Ubuntu system. I mean create your own installable Ubuntu 20.04 LTS Live DVD once you have installed Exton|OS to hard drive. I mean change everything and then create a whole new Ubuntu live system. Start Refracta from Applications >> System Tools >> Refracta Snapshot. You don’t even have to install Exton|OS to hard drive before you can use Refracta Snapshot. If you have plenty of RAM you can create a new (your own!) Ubuntu system while running Exton|OS from DVD or a USB stick. Please note that the whole Refracta process (creating your new ISO) will only take 15 – 40 min! You’ll find the ISO in /home/snapshots. (Or change that in /etc/refractasnapshot.conf). The whole thing is very simple.
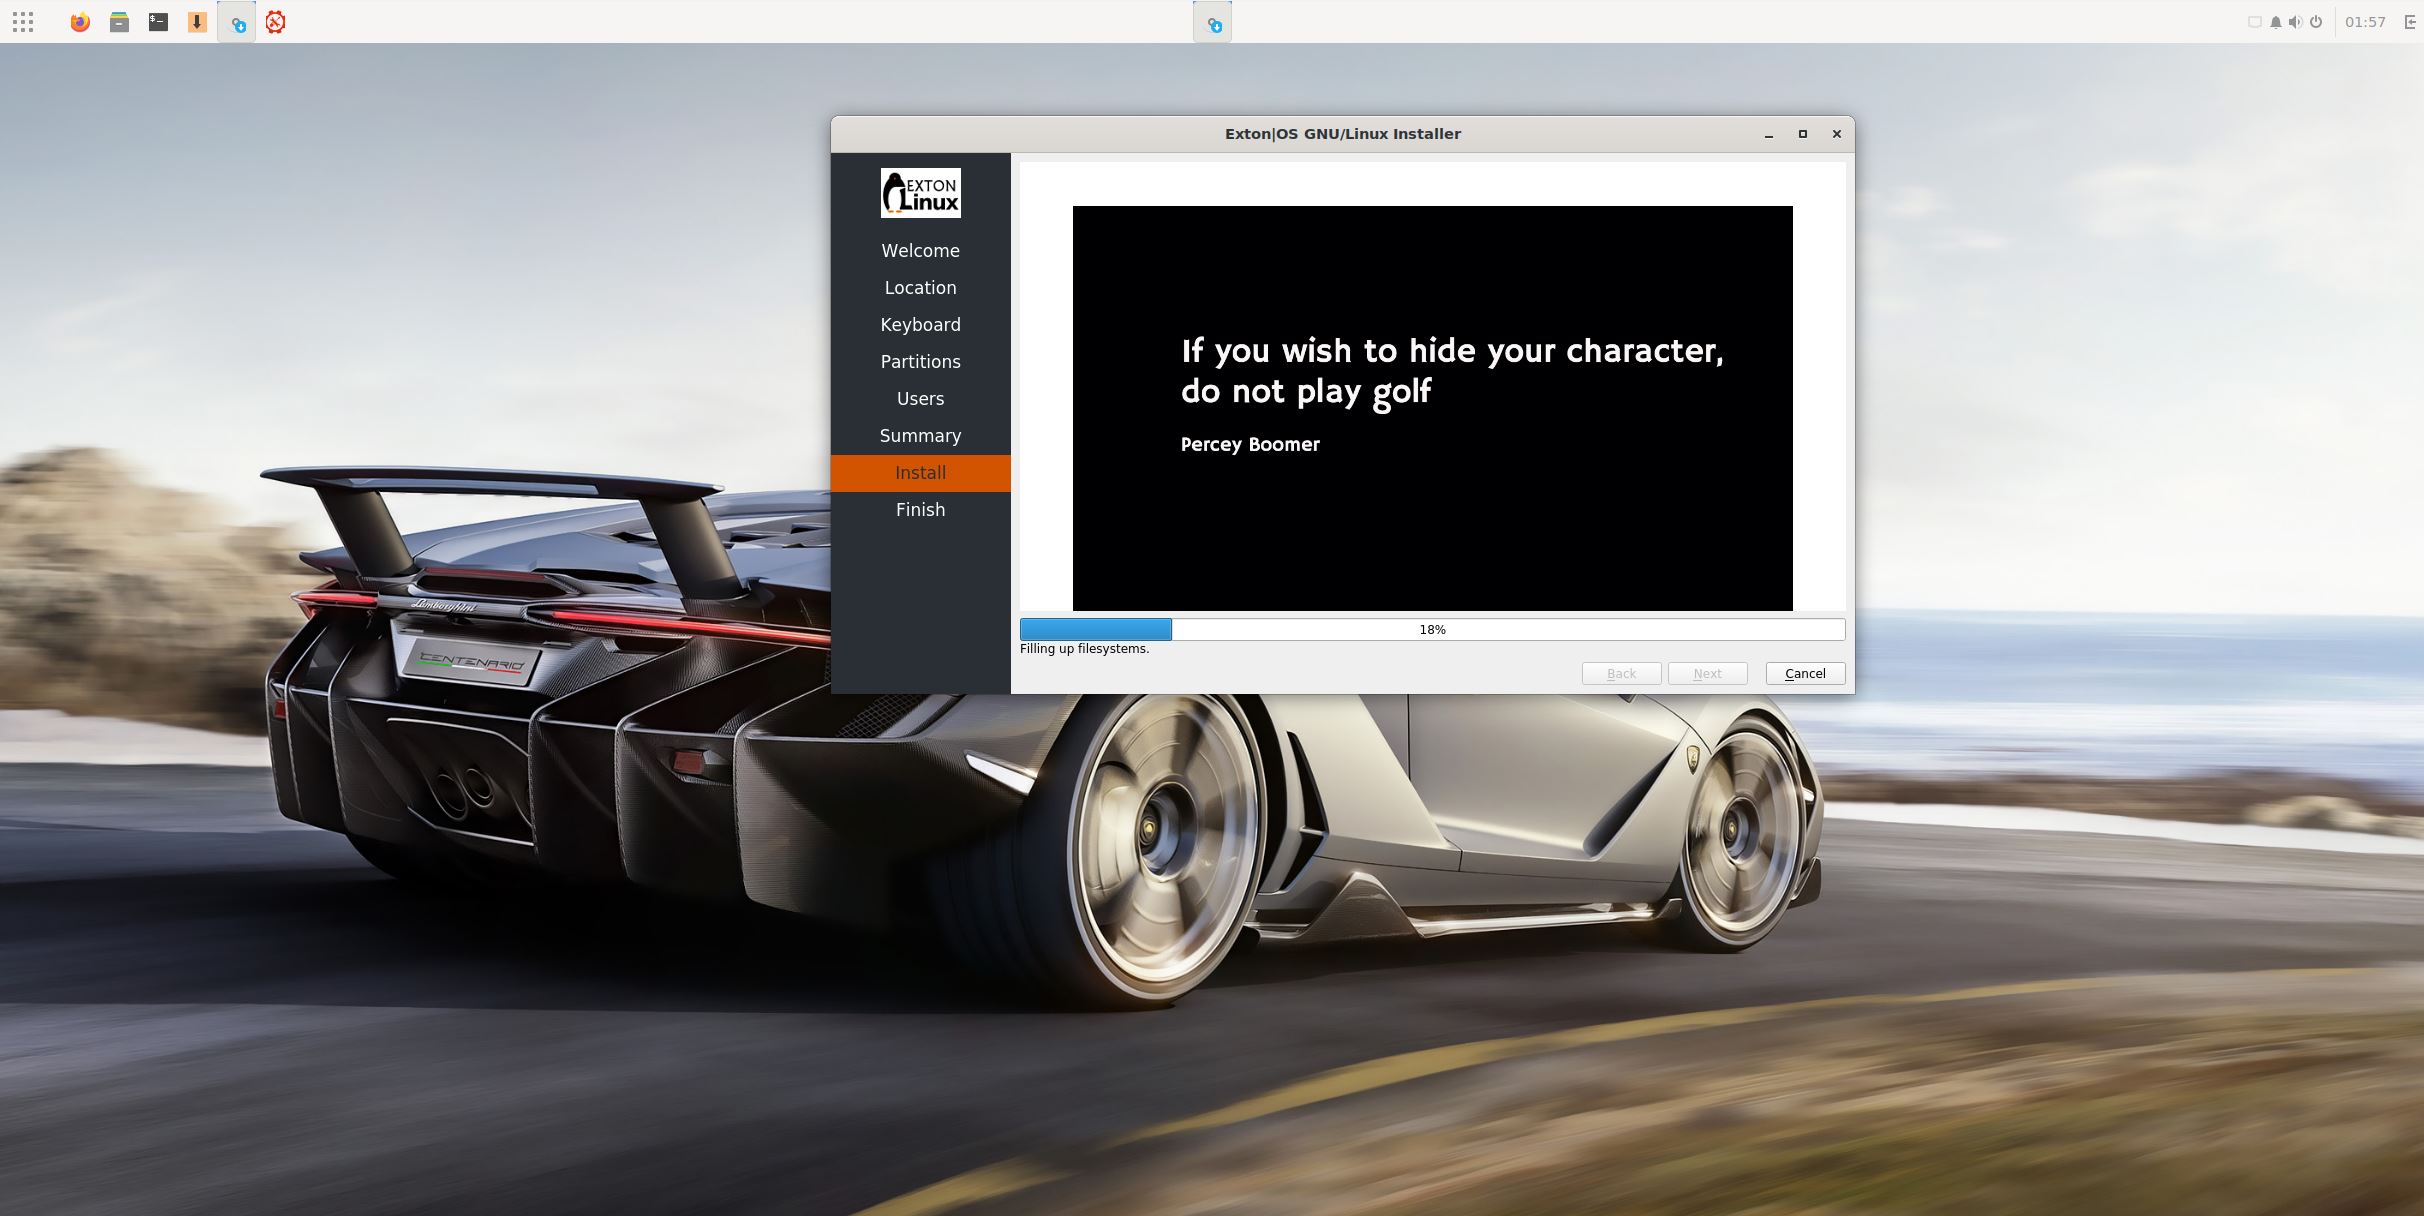
About Calamares Installer
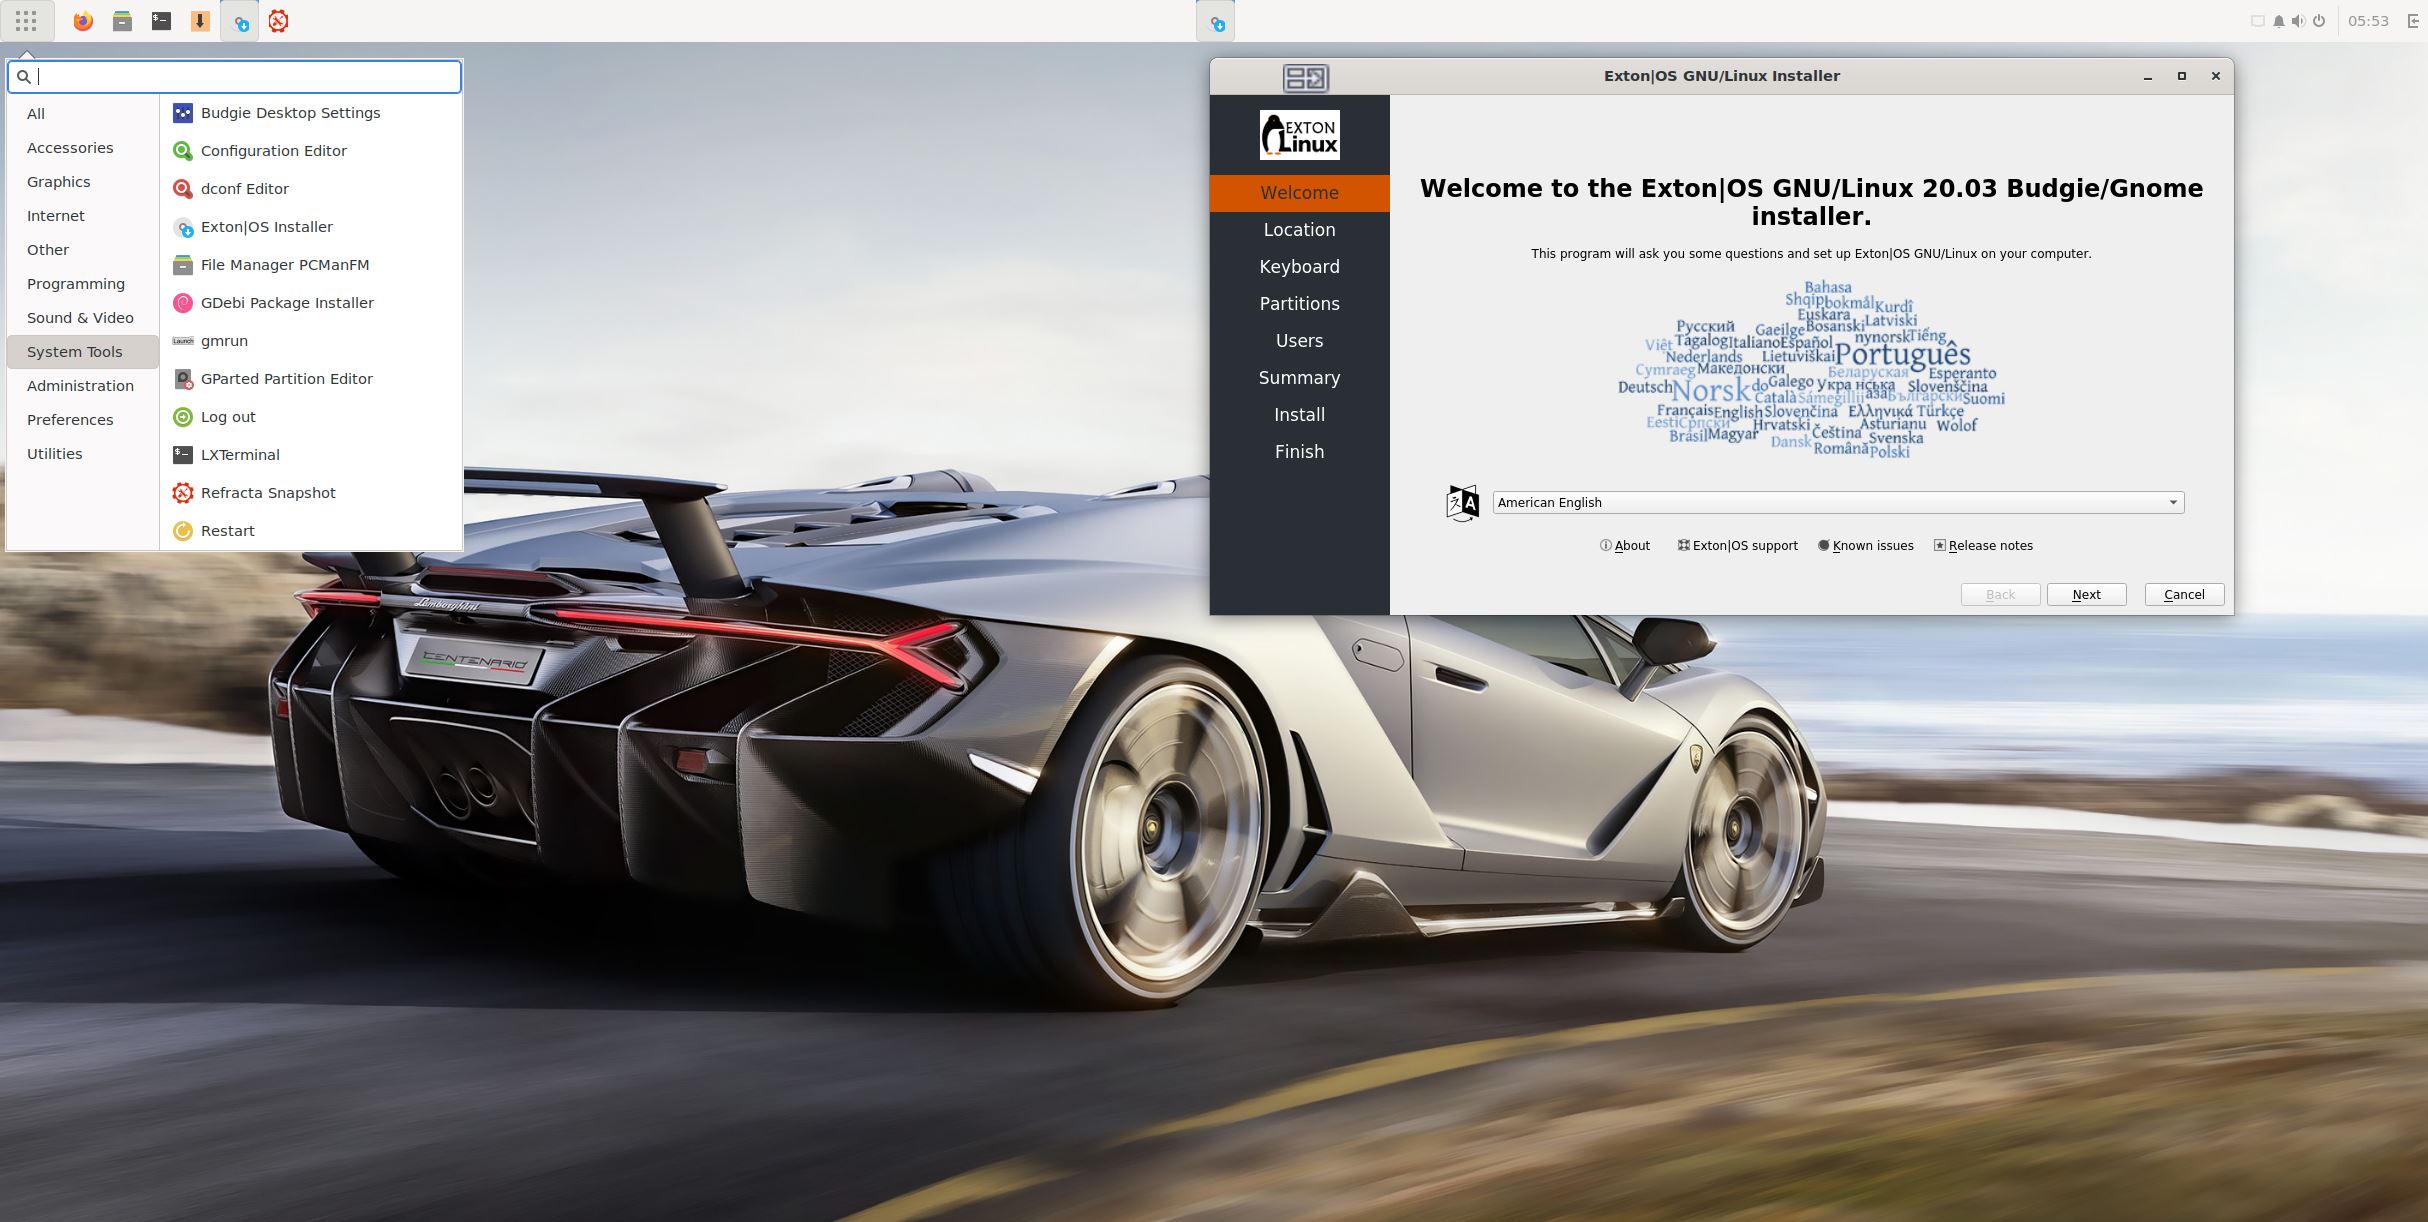
Calamares is an installer framework. By design it is very customizable, in order to satisfy a wide variety of needs and use cases. Calamares aims to be easy, usable, beautiful, pragmatic, inclusive and distribution-agnostic. Calamares includes an advanced partitioning feature, with support for both manual and automated partitioning operations. It is the first installer with an automated “Replace Partition” option, which makes it easy to reuse a partition over and over for distribution testing. See a slideshow below showing the whole Calamares install process in Exton|OS.
Using Calamares you can choose language when the installation starts. When it’s ready everything will be in your chosen language!
Exton|OS Build 200319 is based on (upcoming) Ubuntu 20.04 LTS 64 bit and Debian. Exton|OS’s ISO file is a ISO-hybrid, which means that it can very easily be transferred (copied) to a USB pen drive. Read my INSTRUCTION. Ubuntu 20.04 will be supported until April 2025.
Runs from RAM
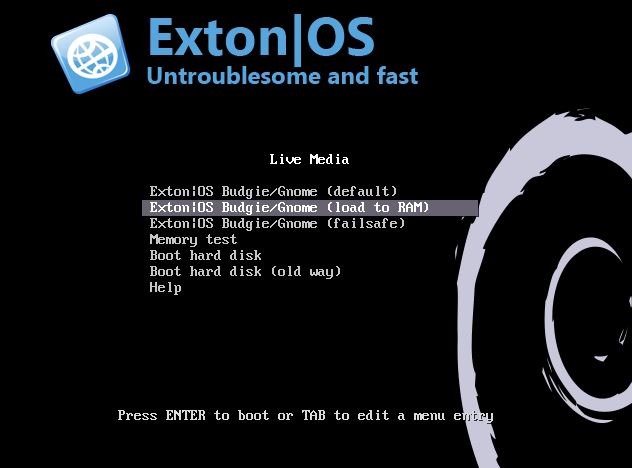
Another great thing is that Exton|OS can run from RAM. Use Boot alternative 2 (load to RAM). When the system has booted up you can remove the disc (DVD) or USB stick. You’ll need at least 2 GB RAM to run Exton|OS that way. I.e. super fast!
Locale
The system language is English.
Log in to Budgie Desktop or Gnome
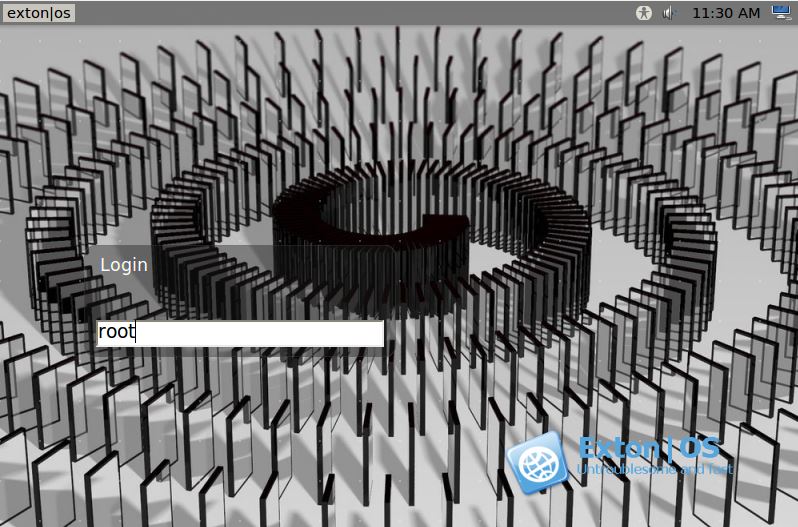
When you start up your computer from the DVD or the USB stick you will end up in X at LightDM‘s login screen or automatically logged in to Budgie Desktop as the ordinary user live. Log in as root (superuser) with password root or as the ordinary user live with password live. During a hard drive install (using Calamares Installer) you can create your own ordinary user. As an alternative to Budgie you can choose to log in to Gnome 3.36. Read about the 10 best features in Gnome 3.36 (which was released 200311).
Network connections
Use NetworkManager to configure your network connection. It works extremely well. If you use a wired connection you will be automatically connected to Internet. I you use a wireless connection just click on the Network icon in the upper right corner and choose your network.
Configure sound
If you don’t have sound just open up a terminal and run the command alsamixer.
Installation to hard drive
Note that you in advance (just in case) should create a partition of at least 20 GB for Exton|OS (if you want to make your own Ubuntu system) and a SWAP space double the size of your computer’s RAM. I.e. if you have RAM of 1024 MB or less. If you have RAM of 2 GB or more it’s enough with a SWAP space of 2 GB. The installation program Calamares Installer in Exton|OS is otherwise “intuitive”. Choose manual partitioning and select the partition you created in advance for installation. You’ll find the installation program under Applications >> System Tools >>Calamares. The installation to hard drive is now so simple that a 10 year old child can do it. NOTE: You should format your intended installation partition in advance. You can use GParted for that. If you already have installed Grub on your computer you can use Calamares anyway. Just refrain from re-installing Grub when you install Exton|OS to hard drive. Read my instruction How To dual boot, triple boot or multiboot Linux with Windows in a simple way and be happy.
Changing root’s password
If you install Exton|OS to hard drive the password for root (root) you’ll get the chance to change root’s password. The root password is otherwise changed by running the command sudo passwd root. You can log in to Budgie and/or Gnome as root if you want to.
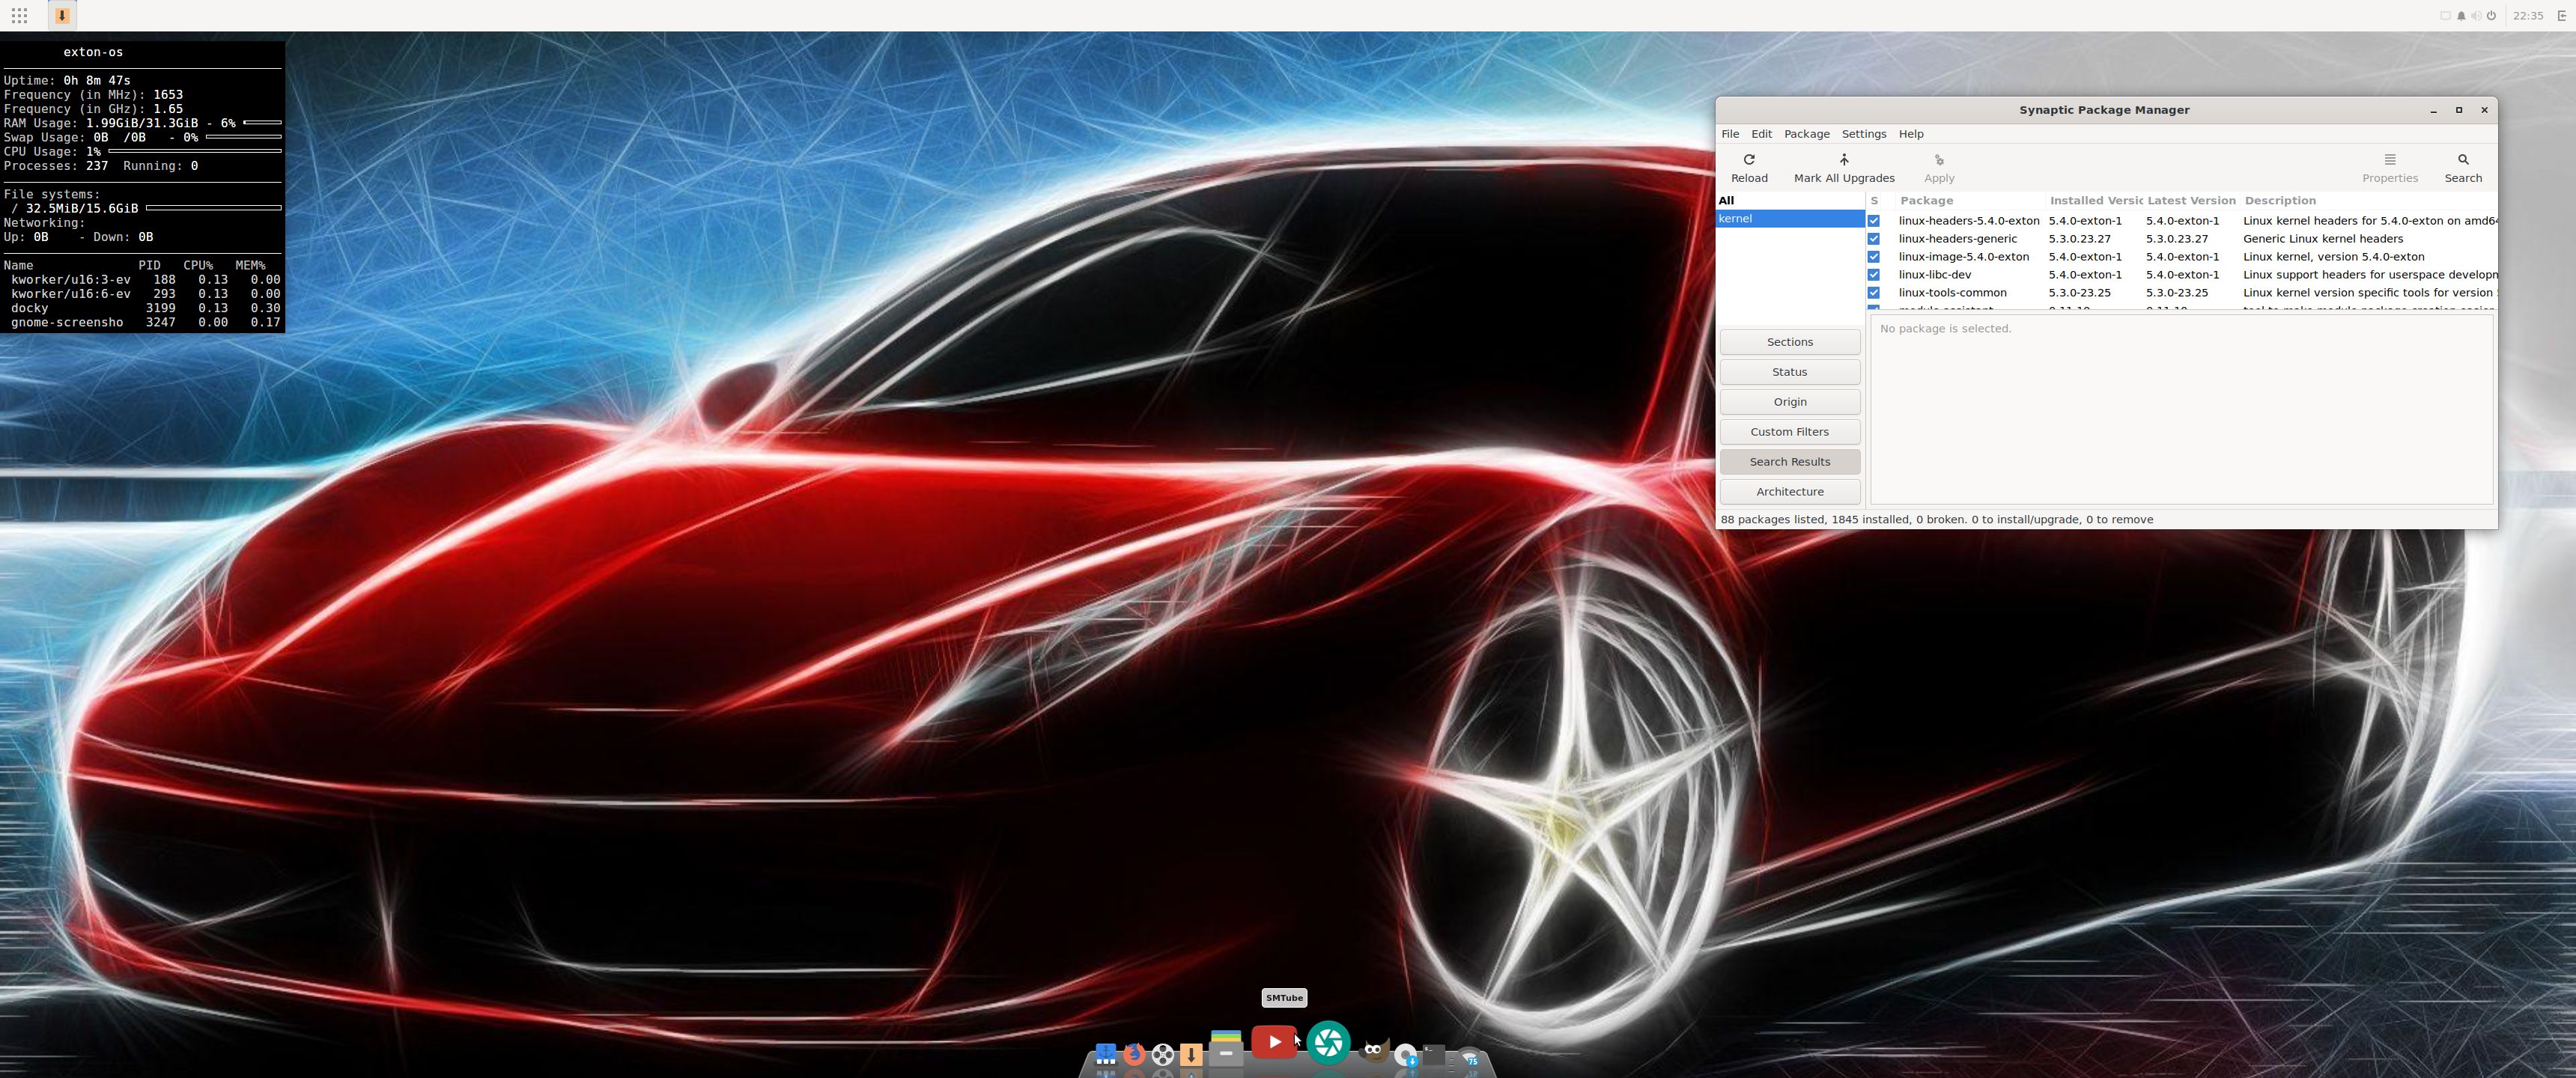
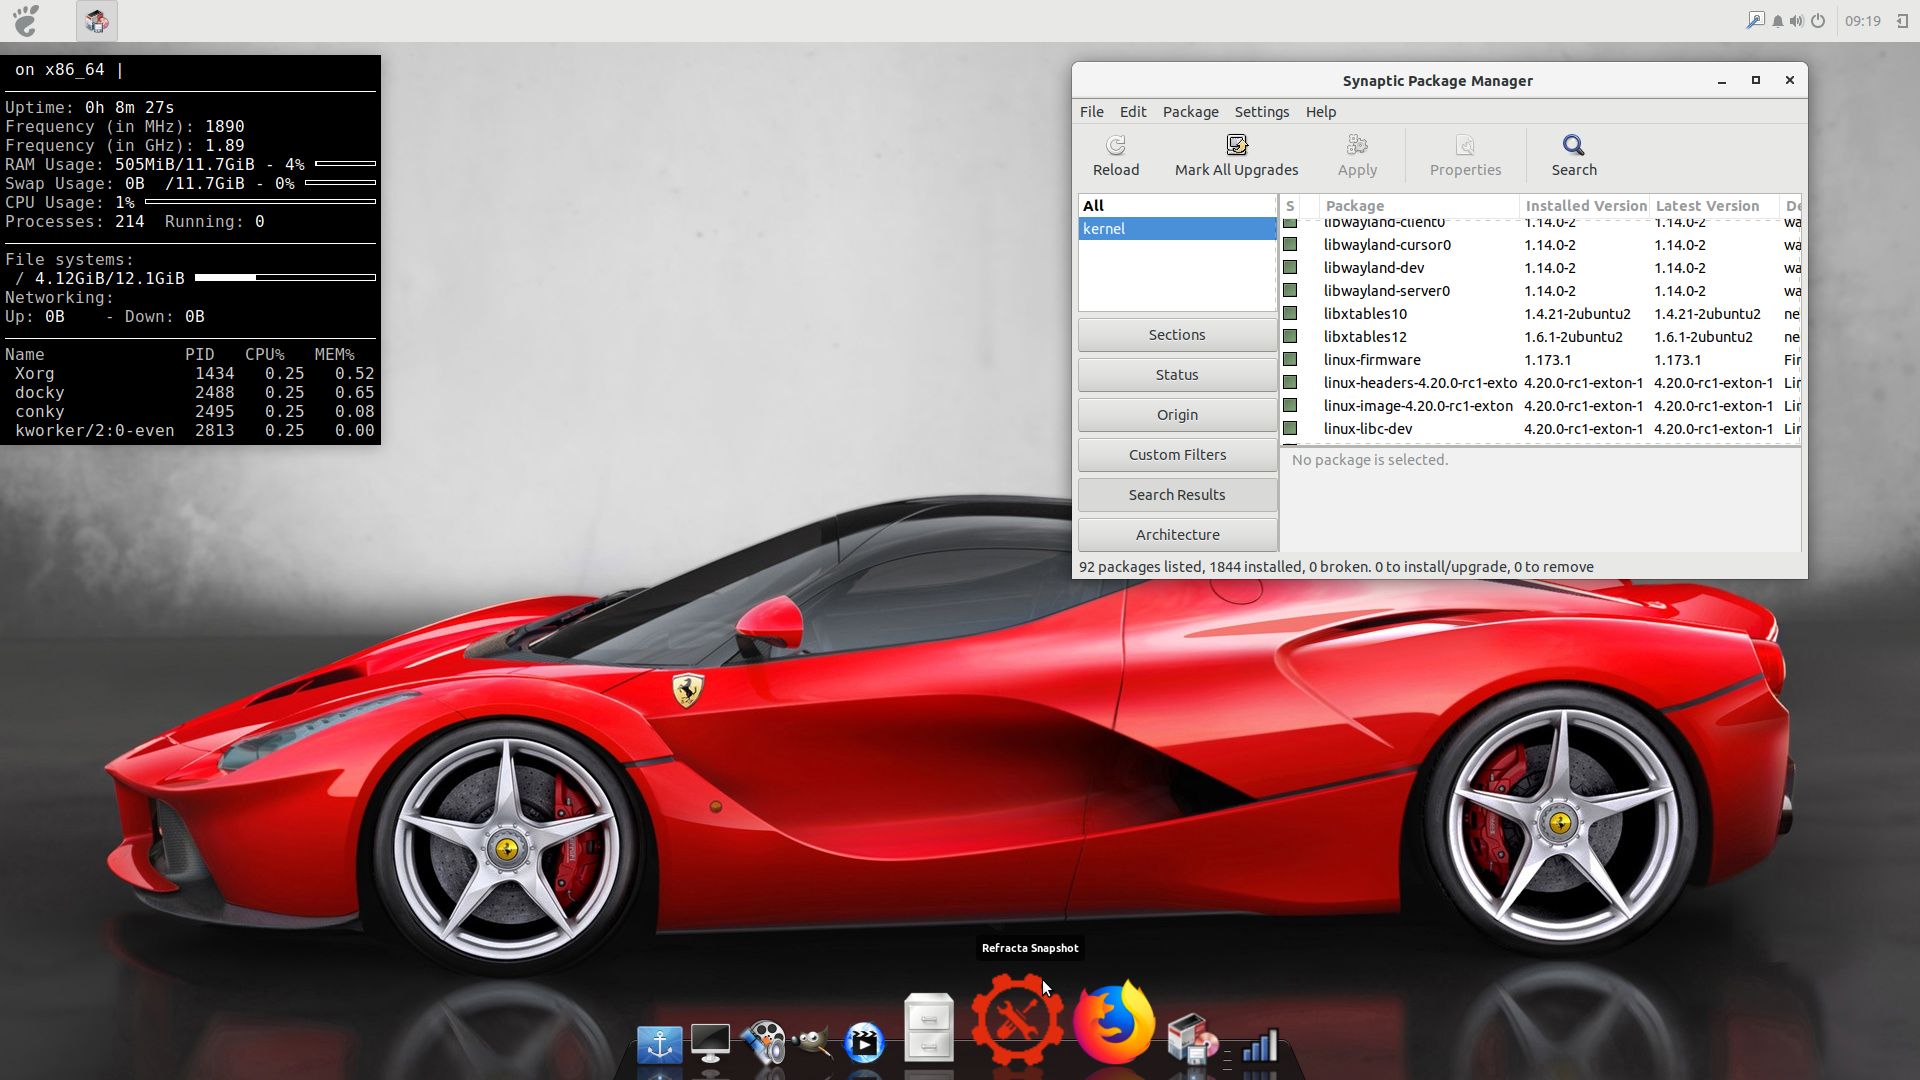
Repositories and software management
Exton|OS is totally compatible with Ubuntu 20.04 and therefore uses Ubuntu’s repositories. After a hard drive install of Exton|OS you can go ahead and install any extra software you like and also upgrade the whole system. After running the command sudo apt-get update you should use Synaptic Package Manager.
VirtualBox and VMware
Exton|OS runs very well live in VirtualBox and VMware. Exton|OS Budgie/Gnome Build 200319 is for UEFI computers. You can nevertheless install Exton|OS to a virtual hard drive in VirtualBox and VMware using Calamares. NOTE: When running Exton|OS in VirtualBox you may have to use the boot alternative nomodeset (failsafe).
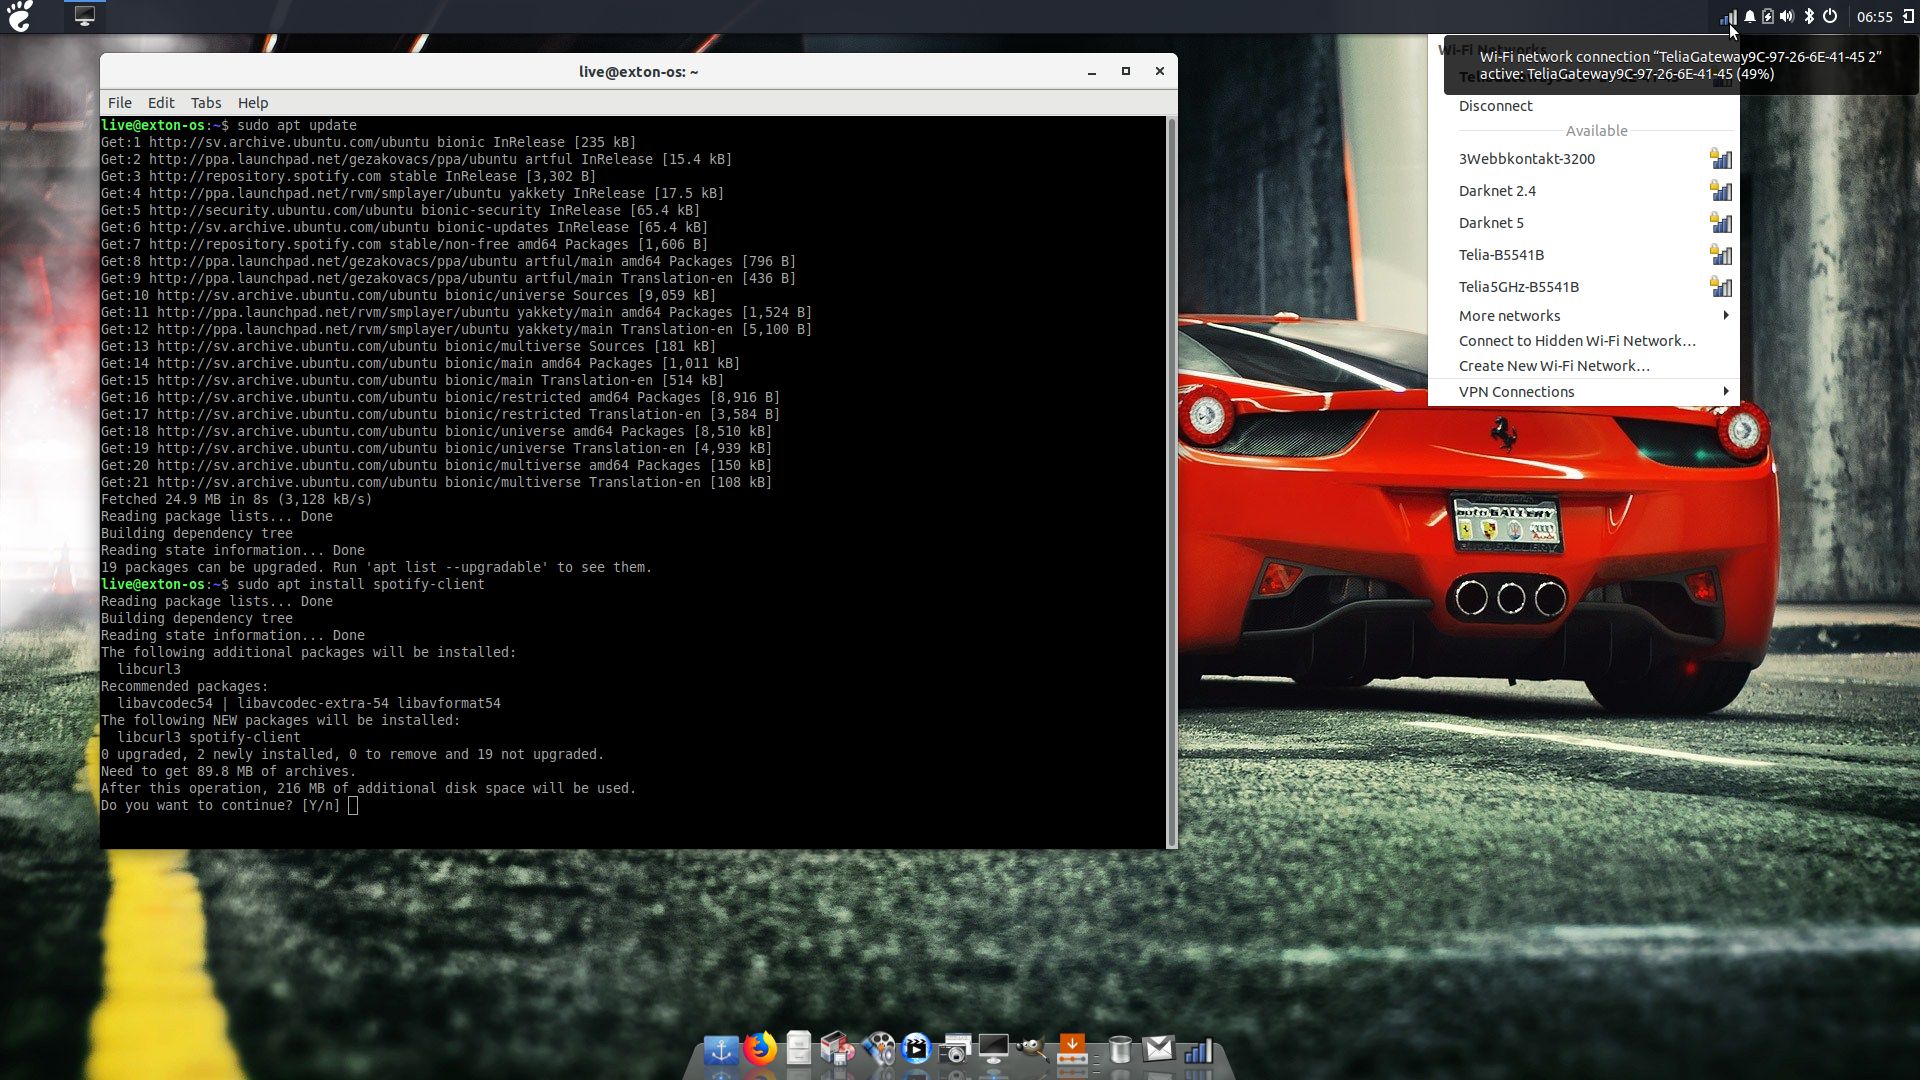
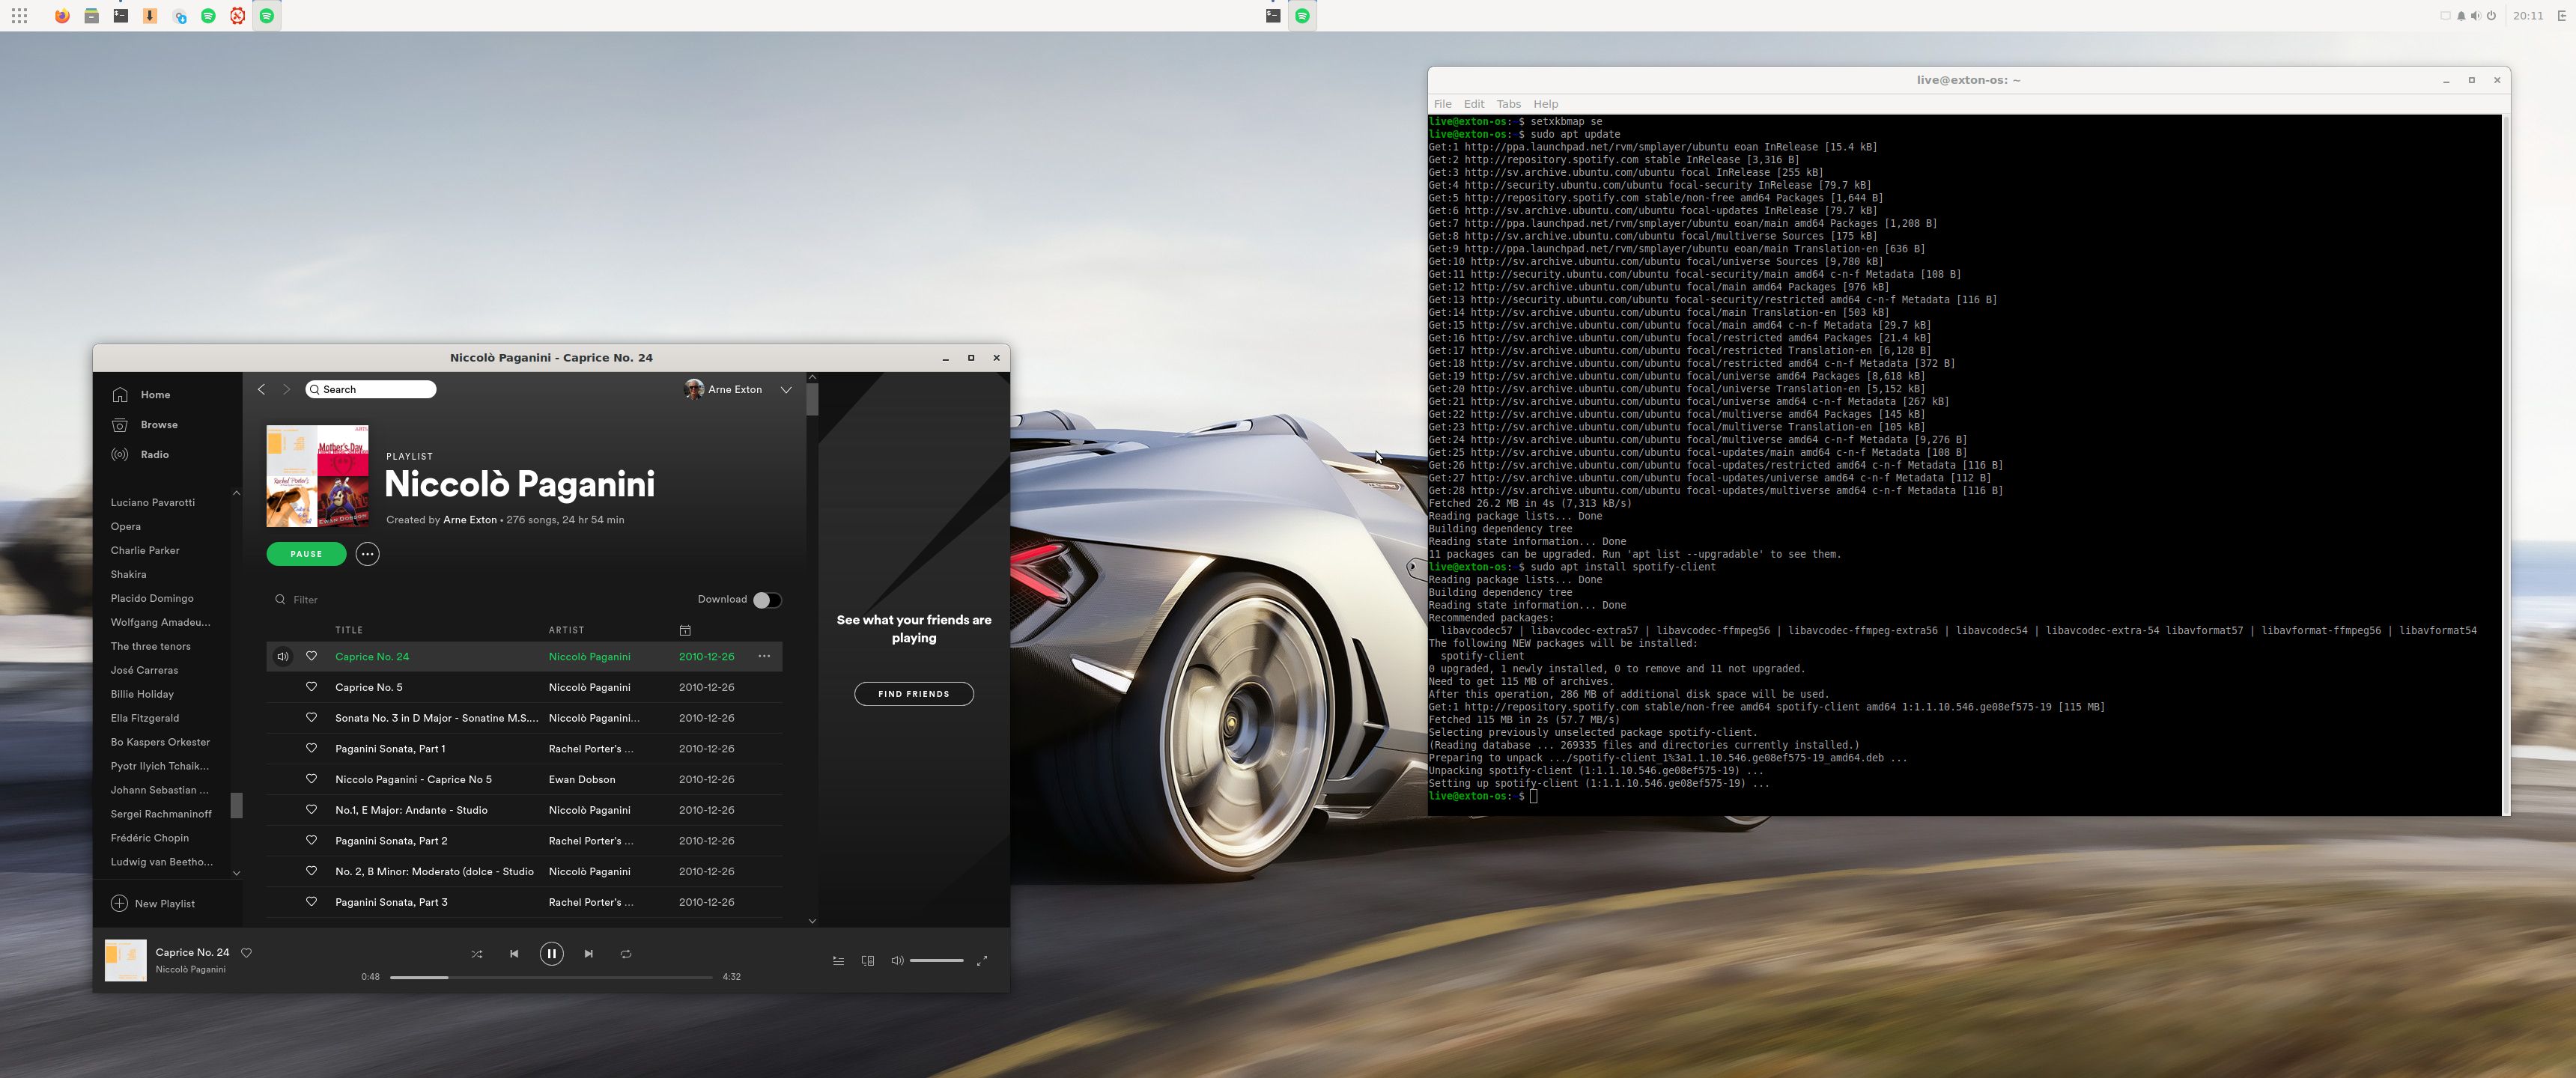
Spotify
You may want to install Spotify in Exton|OS. Just go ahead. It’s very easy. Follow this instruction for Ubuntu. When running Exton|OS Build 200319 live or from hard drive you can just install Spotify with the command sudo apt update followed by sudo apt install spotify-client. Watch this screenshot.
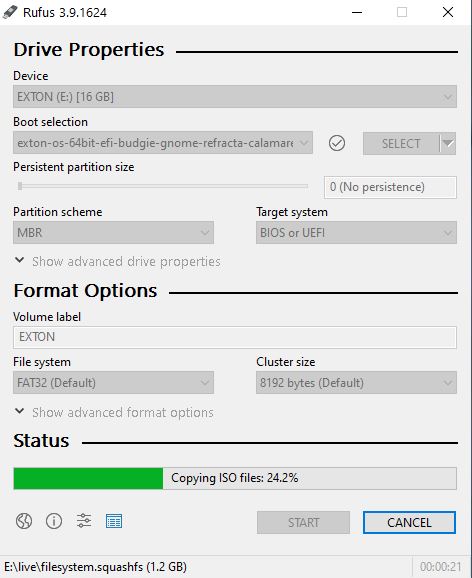
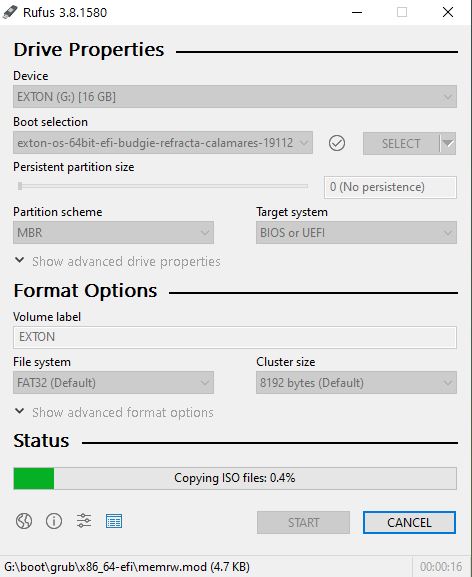
USB installation without persistence
Use Rufus 3.9. Watch the screenshot below.
USB installation with persistence
To enable persistence you can install Exton|OS to a USB stick in the same way as a hard drive installation. I.e. using Calamares Installer. Read my INSTRUCTION. For persistence read under C).
SCREENSHOTS
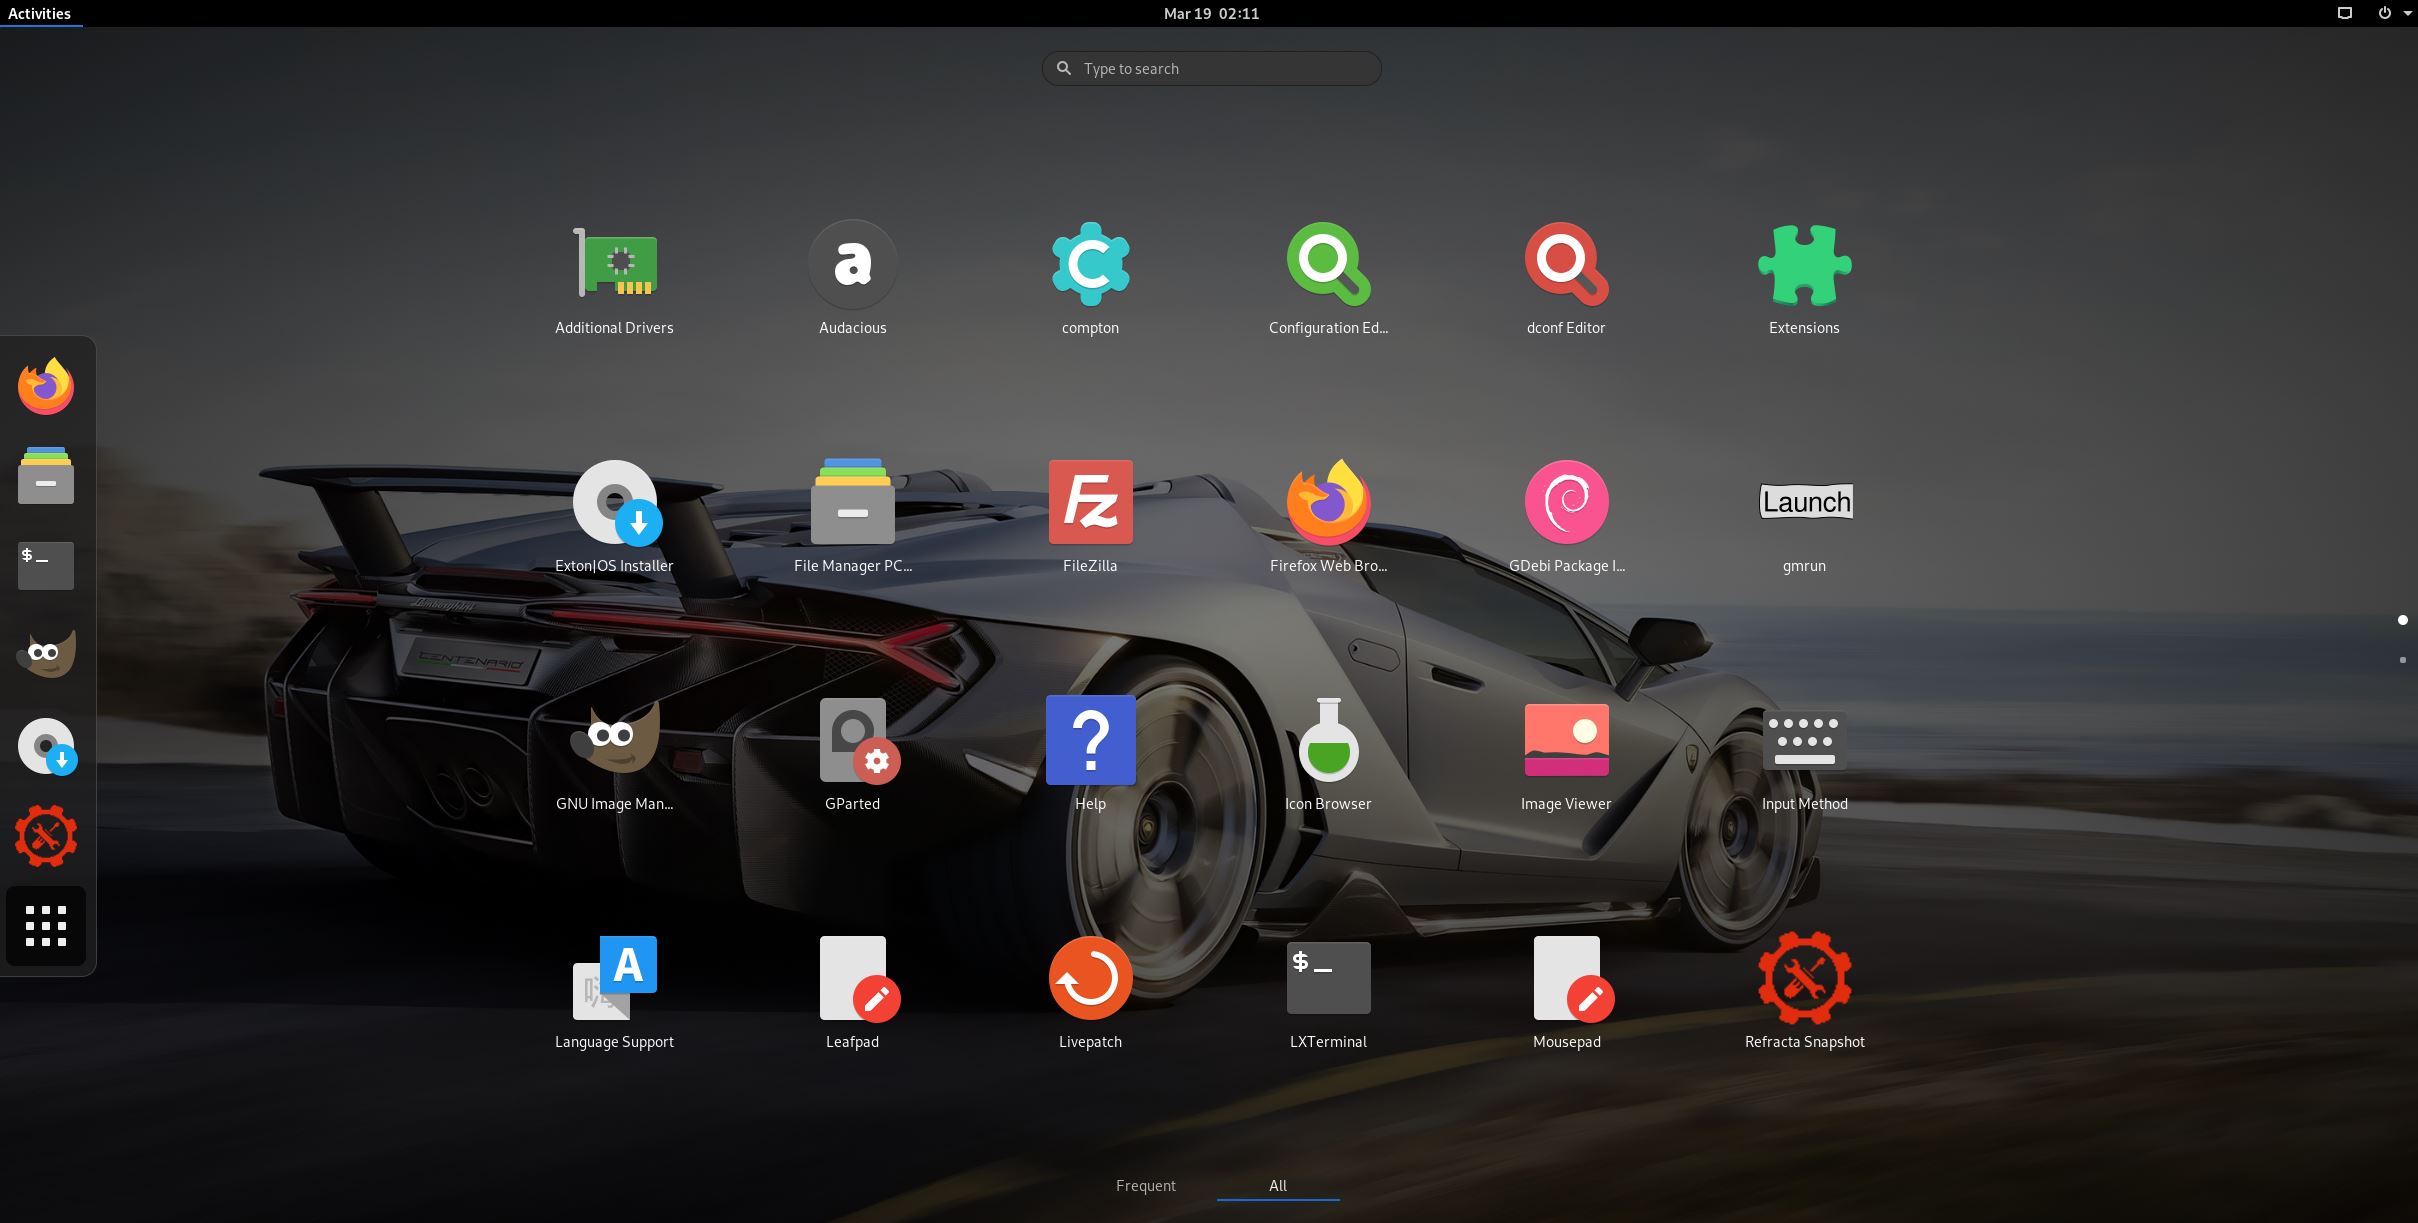
Screenshot 1 – Exton|OS’s Budgie root Desktop
Screenshot 2 – Exton|OS’s Budgie live Desktop
Screenshot 3 – Exton|OS Gnome live Desktop
Screenshot 4 – Exton|OS’s Budgie Desktop installing Spotify
Screenshot 5 – Exton|OS’s Budgie Desktop running Calamares
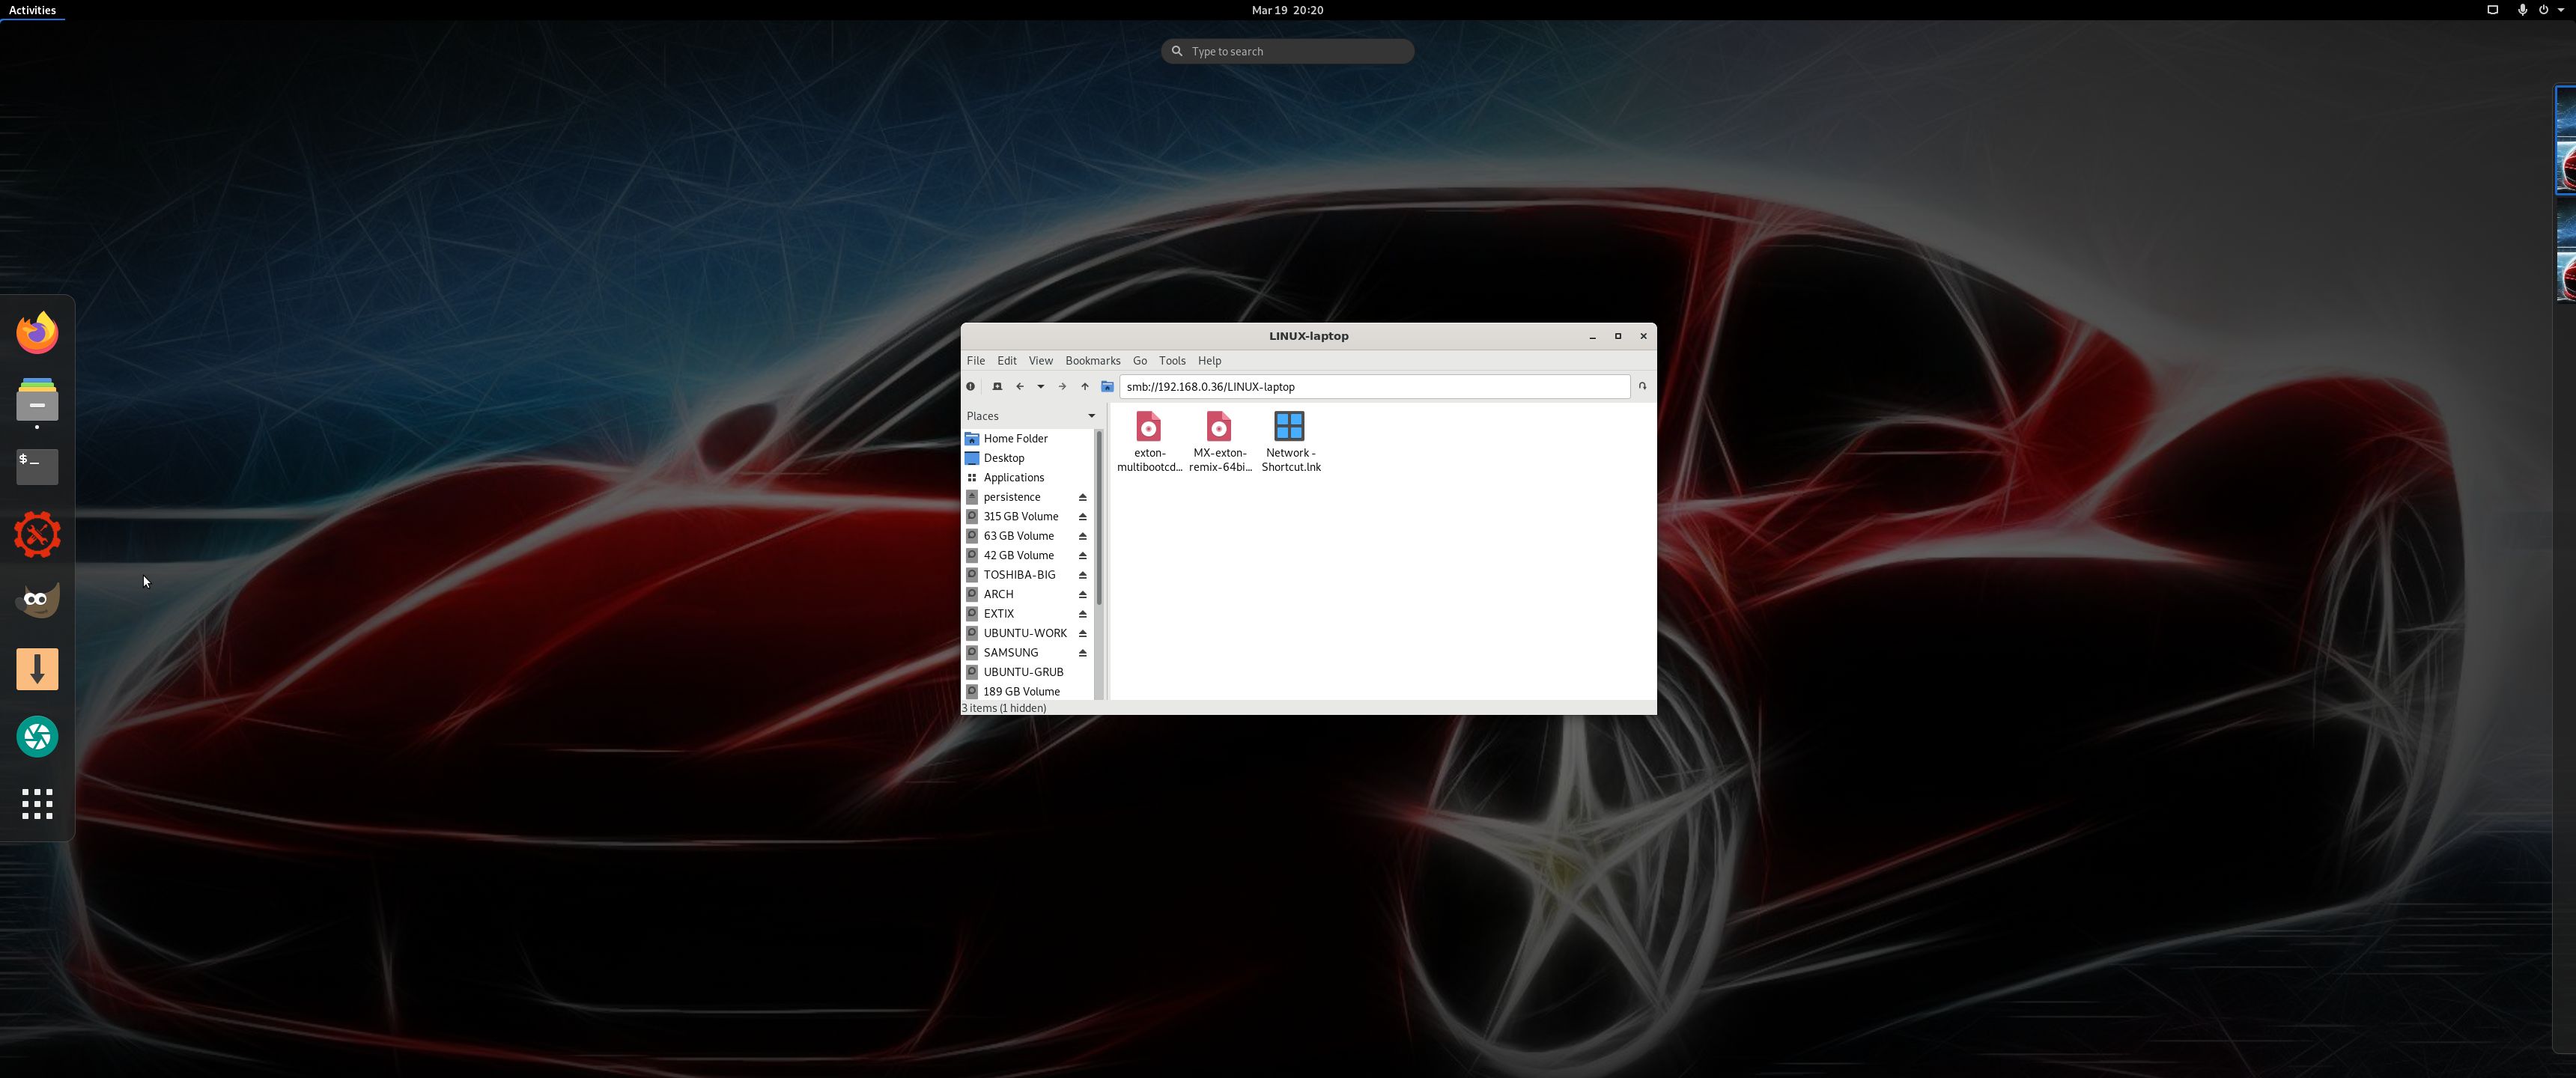
Screenshot 6 – connection to a Windows computer with Samba
Screenshot 7 – Exton|OS running in VMware
Screenshot 8 – showing how to configure a wireless Network
DOWNLOAD
NEWS 231223
This Exton|OS version has been removed from the servers. It is too old.